3. Reinstall engine oil cap and tighten.
Check oil level before each use. Add oil if needed. Fill to full line on dipstick.
Change the oil after every 25 hours of operation or each season. You may need to change the oil
more often under dusty, dirty conditions.
ADD PETROL
NOTE: Before filling the fuel tank, remove and discard the debris plug that is inside the tank.
Fill fuel tank. Use fresh, clean, regular unleaded gasoline with a minimum of 87 octants. Do not mix oil with
petrol. Purchase fuel in quantities that can be used within 30 days to ensure fuel freshness.
1. Set the flail depth so that they just touch a flat surface, such as pavement.
2. Start engine and engage clutch to comfortable walking speed for the operator to maintain control
of the scarifier at all times.
3. Move the machine to the working area. Test the setting of the flails by dethatching a small area.
Raise the depth setting if the following conditions occur:
a. Engine RPM suddenly drops to extremely low levels.
b. Unit pulls forward, bounces roughly or otherwise becomes difficult to control.
c. Grooves are left in the lawn by the scarifier.
4. Thatch should be easily raked and deposited on top of healthy grass. If significant amounts of healthy
grass are also removed in the process, adjust flail depth to decrease damage. If the lawn is covered
by heavy thatch, lean on handle to raise front wheel slightly, engage the clutch, then SLOWLY lower
dethatcher into ground.
5. Once appropriate flail depth is set, push the scarifier in one constant direction and dethatch.
6. Engage clutch control and release to stop scarifier.
TO START ENGINE
NOTE: Due to protective coatings on the engine, a small amount of smoke may be present during the initial
use of the product and should be considered normal.
1. To start a cold engine, push in the switch knob, and then push primer (if equipped) three times before
trying to start. Use a firm push. This step is not usually necessary when starting an engine, which has
already run for a few minutes.
2. Move throttle control lever to fast position.
3. Hold and pull starter handle quickly. Do not allow starter rope to snap back.
NOTE: In cooler weather it may be necessary to repeat priming steps (if primer equipped). In warmer
weather over priming may cause flooding and the engine will not start. If you do flood the engine, wait a few
minutes before attempting to start and do not repeat priming steps.
TO STOP ENGINE
To stop engine, release the driving clutch lever,
and then push in the Stop Engine switch knob.
C. Dethatching on Flat Surfaces
7.
To turn the scarifier, push down on the handle to raise rotor and flails from turf and pivot on back wheels.
8.
Remove and dispose of thatch after raking prior to any further lawn treatments.
D. Dethatching on Inclined Surfaces
1. When operating on inclines, note the following:
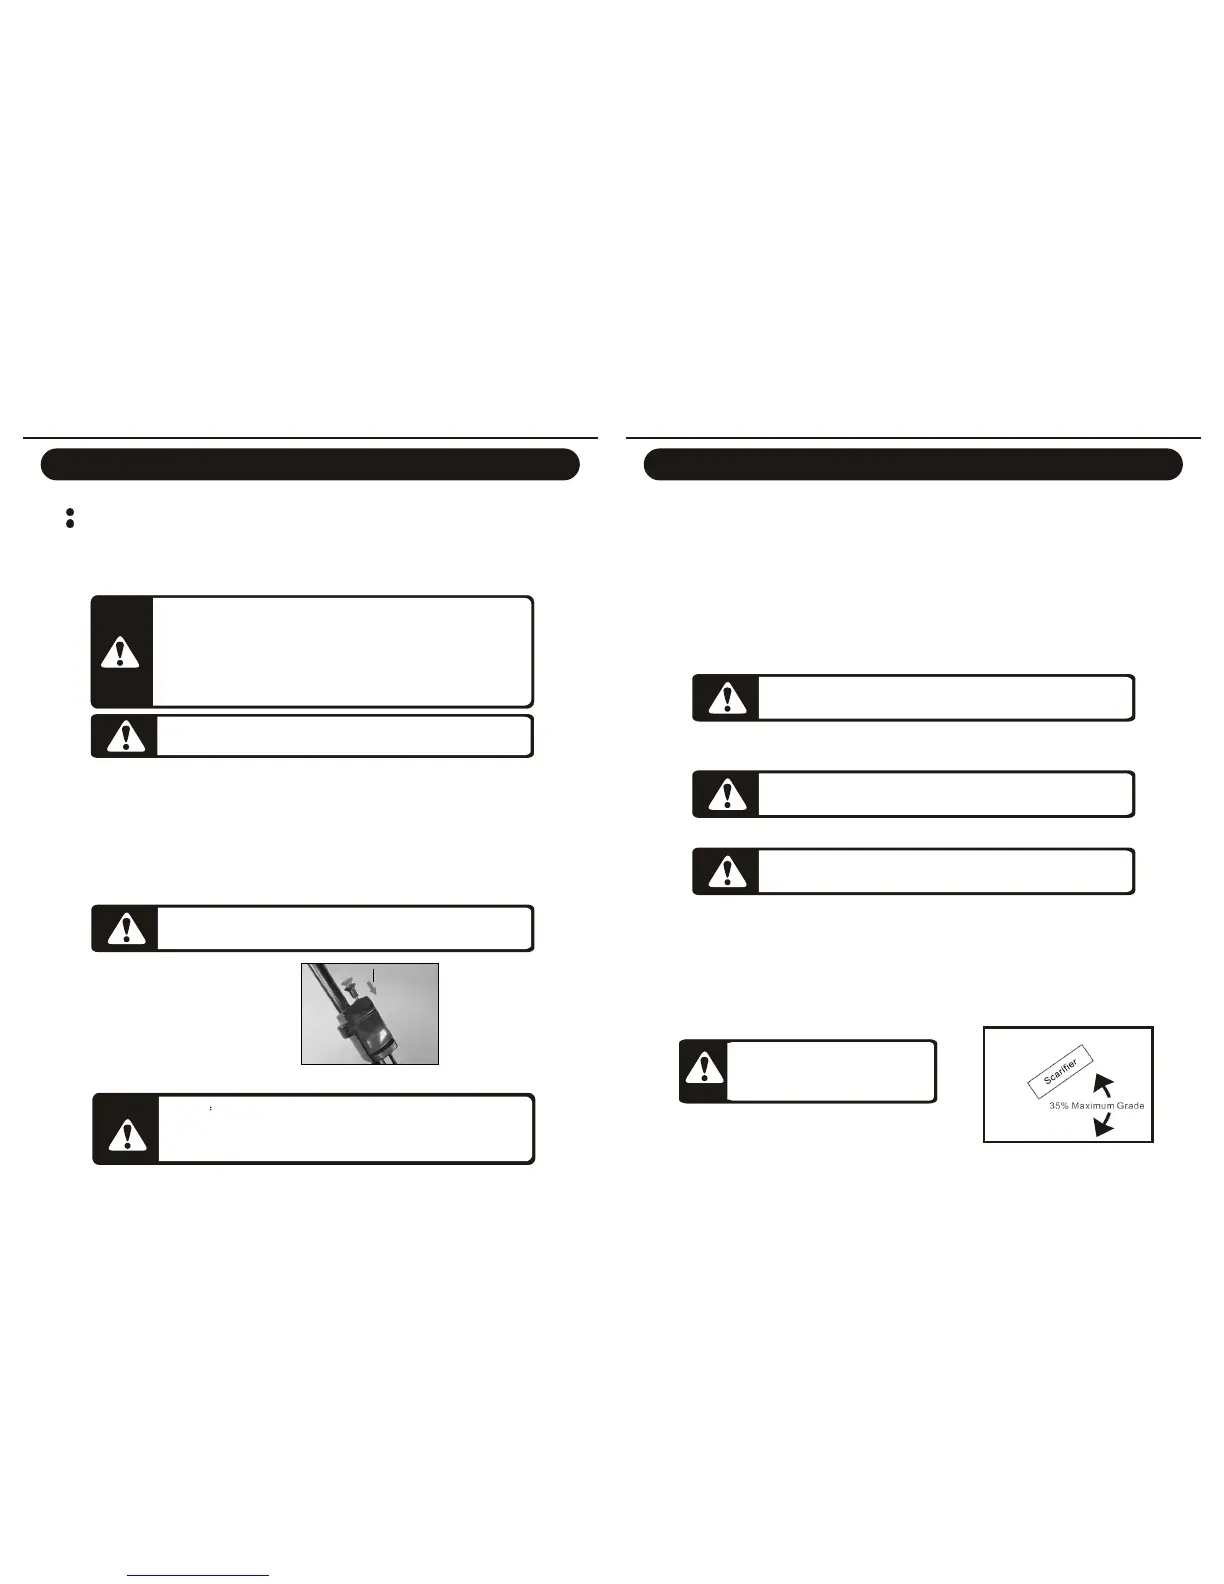
a. THIS MACHINE IS NOT DESIGNED FOR USE ON INCLINES OF MORE THAN 35% GRADE.
b. Dethatching on inclines will cause the centre of gravity of the unit to shift to the downward side of
the machine. The following conditions may occur as a result:
i. Greater effort and physical exertion may be required to maneuver and control the balance of the
machine.
ii. Uneven raking results from the shift in gravity leading to downhill flails working at a lower raking
depth than the uphill flails which are working at a higher setting.
2. Consider the following tips for dethatching on inclines:
a. Move machine across hills rather than up and down on the hill for greater control and even
dethatching. (see above for explanation and Diag.1 below for diagram). Raking across hills helps
to prevent water runoff, and allows the lawn to hold more seed, fertiliser and water to encourage
healthy growth.
Diag.1: Dethatching on inclined site
 Loading...