Important: Use the strip only in combination with the holder. Do NOT place the strip on the serial num-
ber sticker of the device.
5. Remove the protective film from the other side of the strip.
6. Place the holder with the adhesive strip on the prepared surface. Press it gently for a few seconds until it
sticks.
Note: The full strength of the strip will be reached after approximately 72 hours depending on the
temperature.
7. Insert the LINK 740 into the holder. Press gently until it clicks into place.
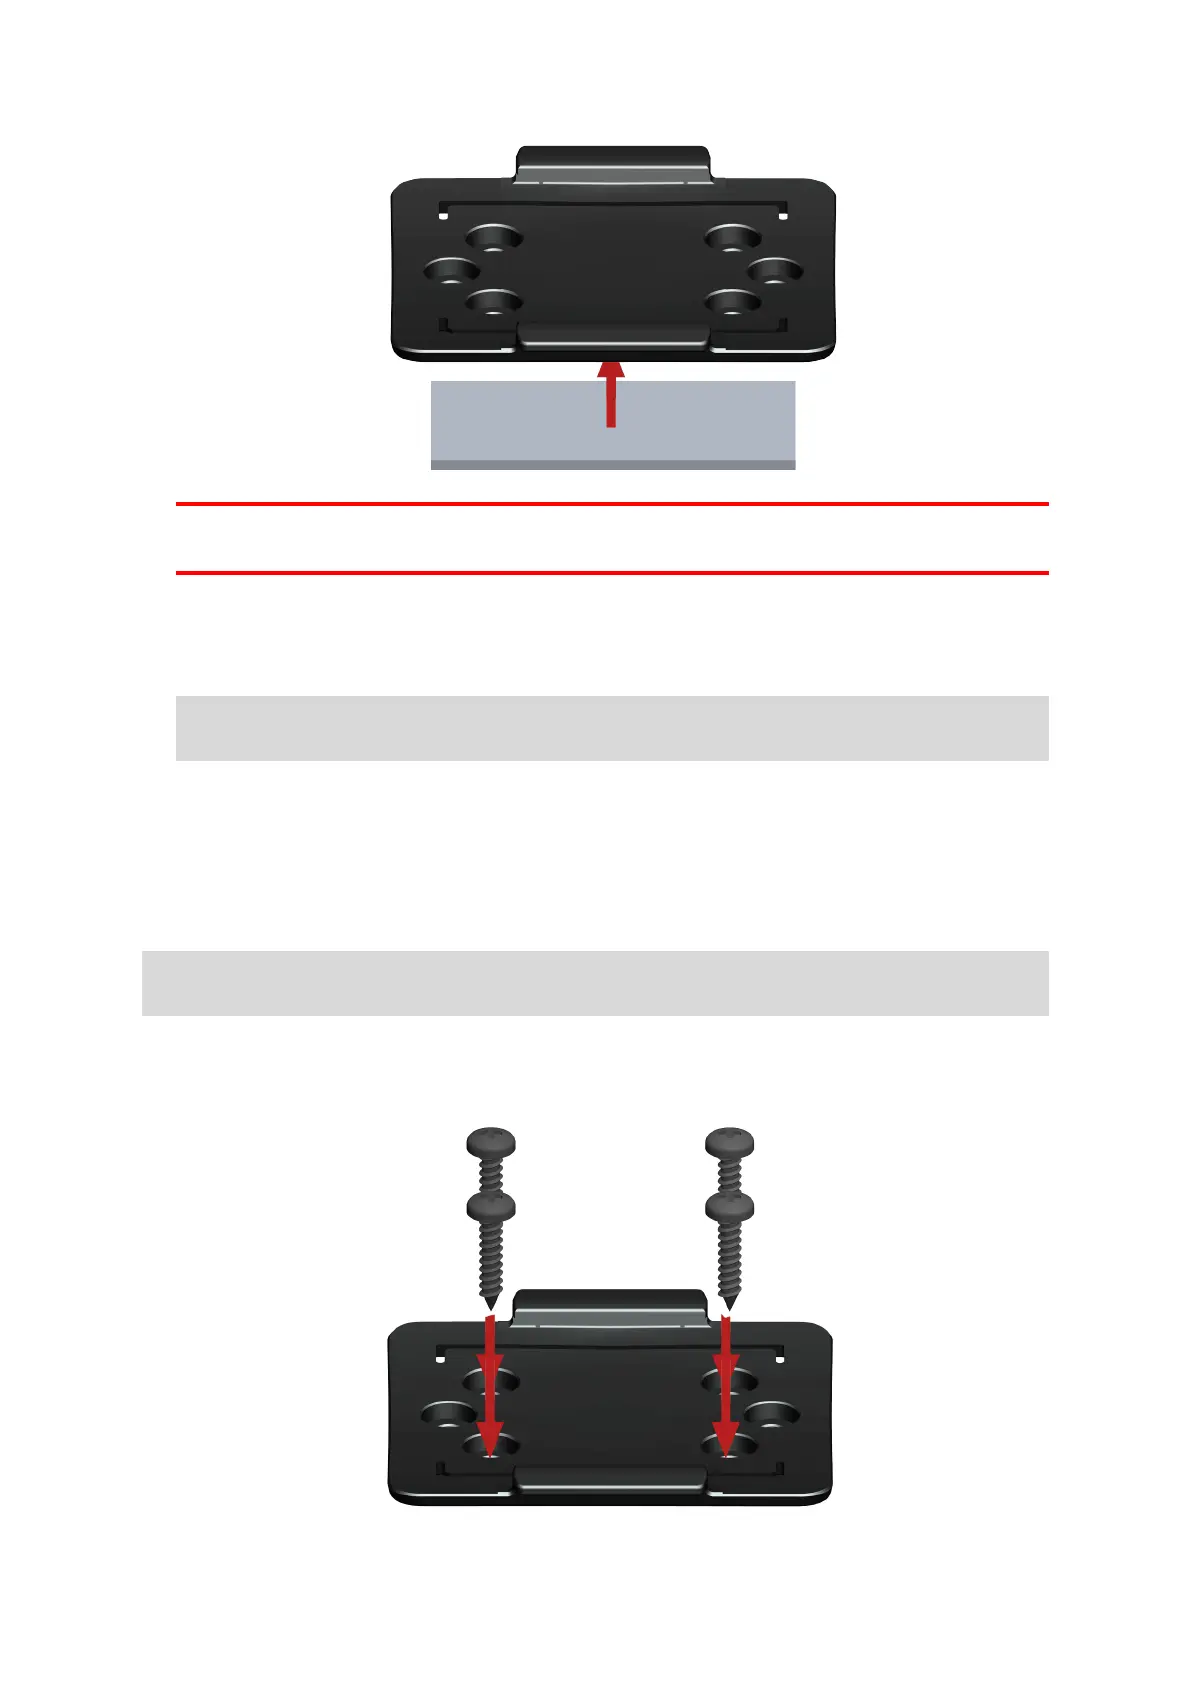
Attaching the holder using self-tapping screws
You can use two self-tapping screws to fix the holder to your vehicle.
Please refer to the list of what's in the box, to check that the self-tapping screws (3.5 x 16 mm, 1/7 x 5/8
inches) are included in your product package.
1. Choose a flat surface for the LINK 740.
Remember, when the LINK 740 is in the holder, it must not be obstructed by metal objects.
2. Insert the screws into the corresponding holes in the holder.
3. Tighten the screws.
4. Carefully place the LINK 740 in the holder until it clicks into place.
17