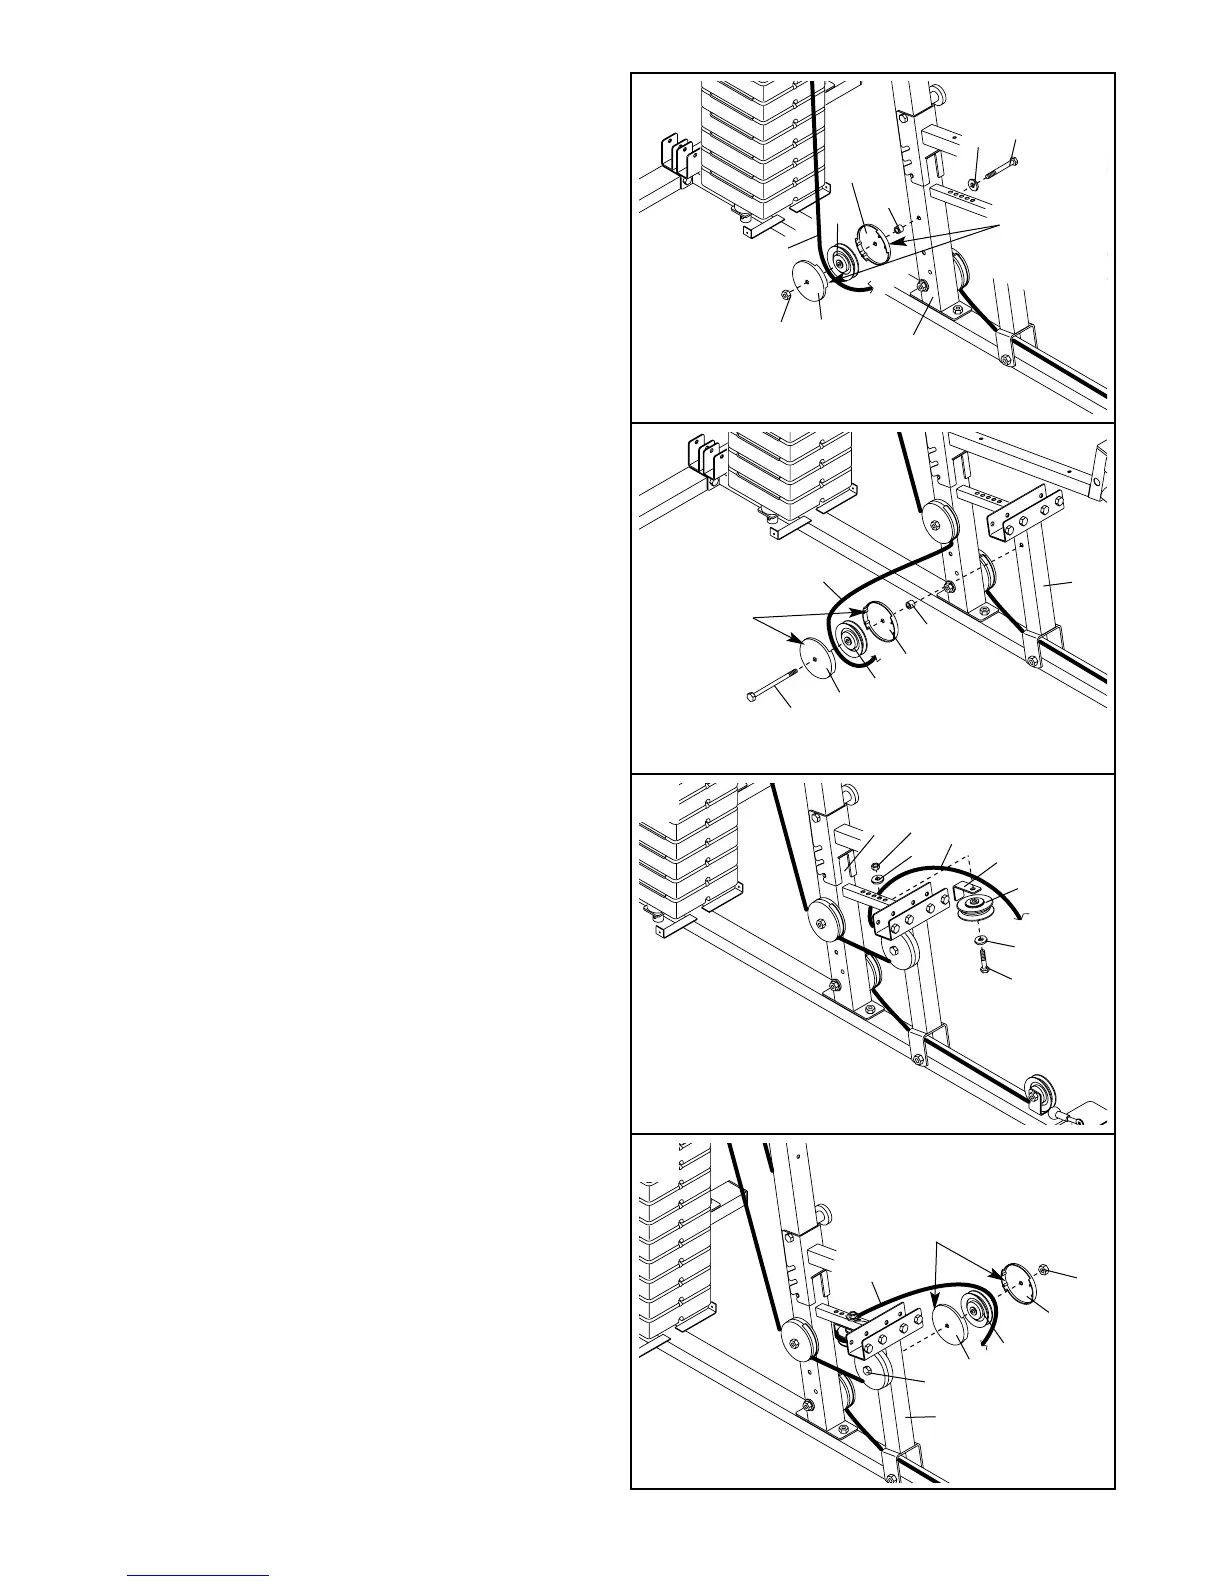
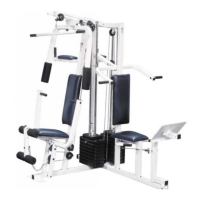
16
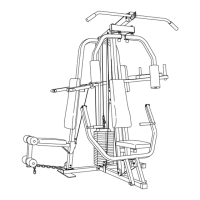
33. Wrap the Low Cable (69) under a 90mm Pulley
(15). Attach the Pulley and a pair of Pulley
Covers (40) to the upper hole in the Front Upright
(42) with an M10 x 115mm Bolt (102), an M10
Thick Spacer (104), an M10 Washer (9), and an
M10 Nylon Locknut (21). Make sure the large
tabs on the Pulley Covers are on the side
shown.
35. Wrap the Low Cable (69) around a “V”-Pulley (6).
Attach the Pulley and a Long Cable Trap (50) to
the second hole from the end of the tube on the
Front Upright (42) with an M10 x 80mm Bolt (8),
two M10 Washers (9), and an M10 Nylon Locknut
(21).
36. Wrap the Low Cable (69) around a 90mm Pulley
(15). Attach the Pulley and a pair of Pulley
Covers (40) to the Press Frame (17) with the M10
x 135mm Bolt (75) used in step 34 and an M10
Nylon Locknut (21). Make sure the small tabs
on the Pulley Covers are on the side shown.
34. Wrap the Low Cable (69) around a 90mm Pulley
(15). Attach the Pulley and a pair of Pulley
Covers (40) to the Press Frame (17) with an M10
x 135mm Bolt (75) and an M10 Thick Spacer
(104). Make sure the small tabs on the Pulley
Covers are on the side shown. Note: A nylon
locknut will be attached to the bolt in step 36.
33
34
35
36
Large
Tab
15
69
102
40
104
40
21
42
9
Small
Tab
75
40
40
104
17
15
69
42
69
50
6
9
8
21
9
Small
Tab
40
69
40
15
21
17
75