7
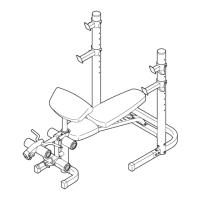
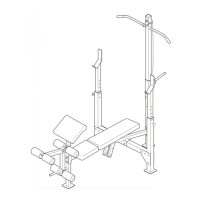
2. Attach the Front Leg (4) to the Frame (1) with
two M10 x 101mm Bolts (38), two M10 Curved
Washers (58), and two M10 Locknuts (37). Do
n
ot tighten the Locknuts yet.
T
hen, attach the Leg Lever Bumper (49) to the
Front Leg (4) with an ST4.2 x 20mm Screw (53).
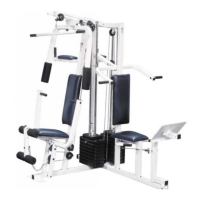
4. Orient the Seat (18) as shown.
Attach the Seat (18) to the Frame (1) with four
M6 x 25mm Screws (39).
2
4
1
37
37
58
38
53
49
3
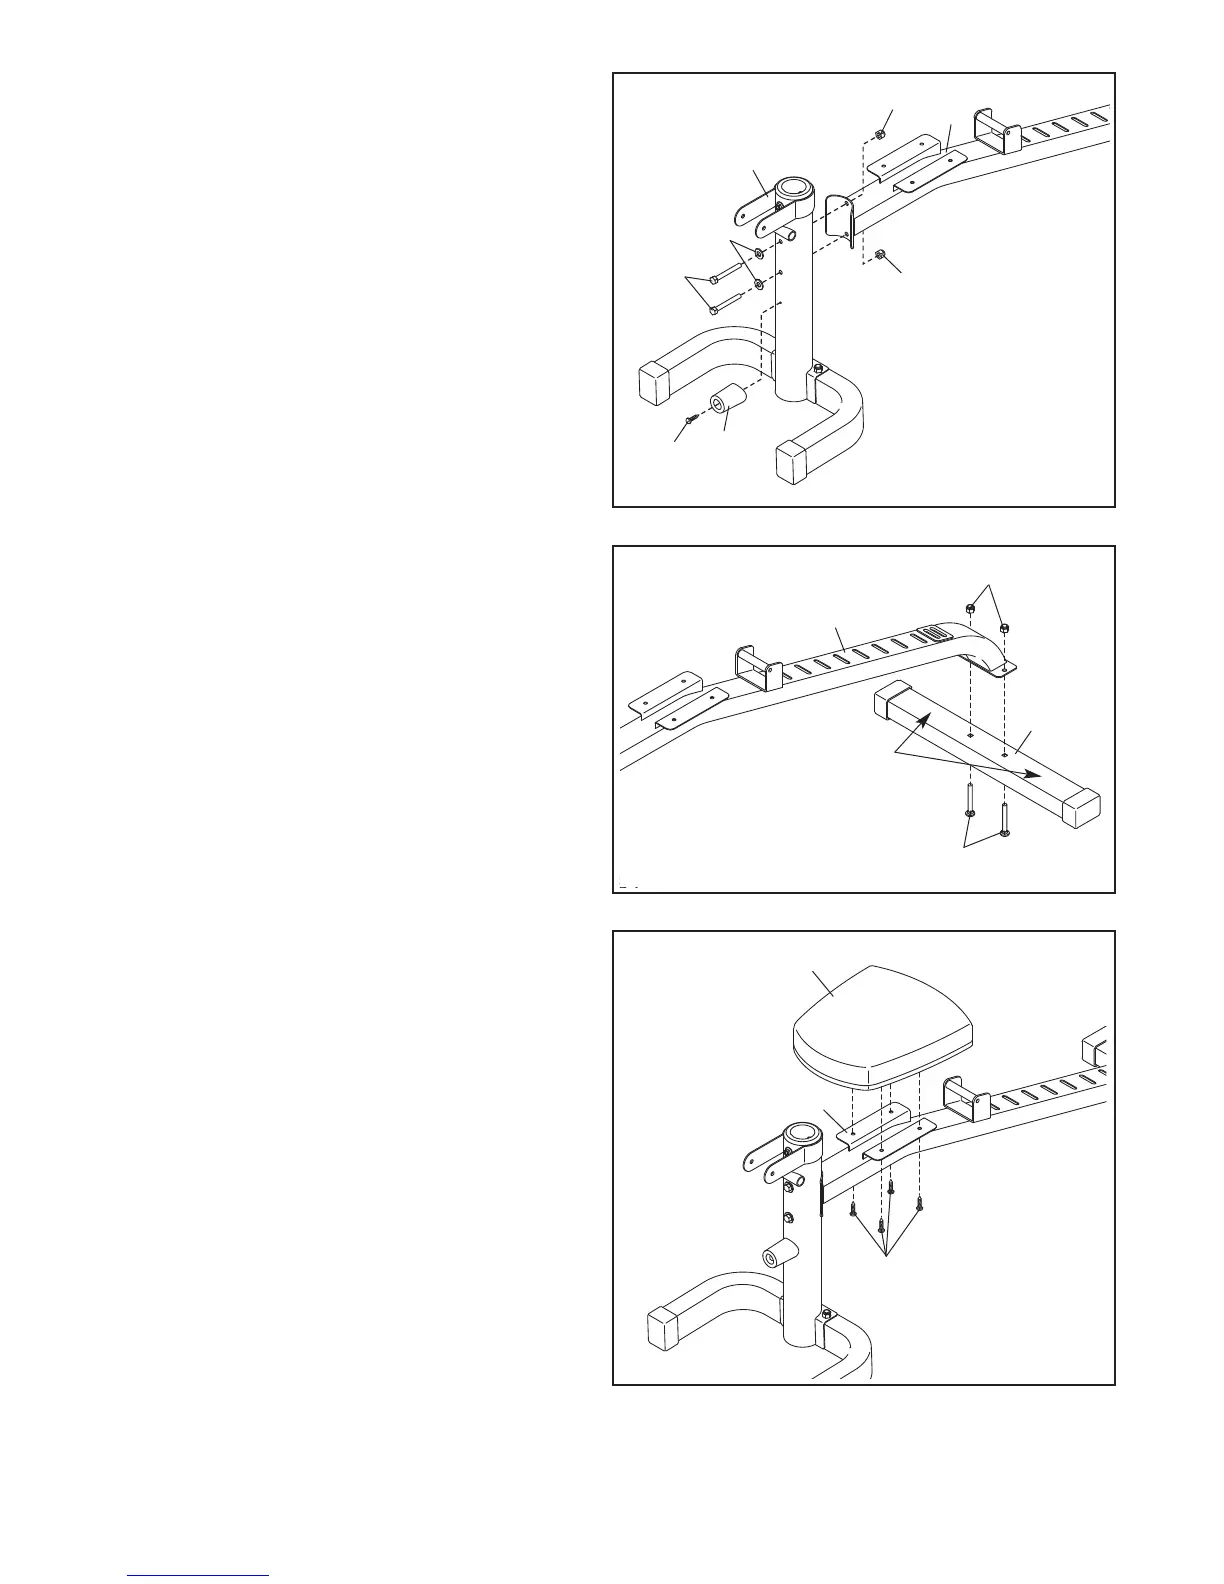
3. Orient the Rear Stabilizer (3) so that the warn-
ing decals are facing upward.
Attach the Rear Stabilizer (3) to the Frame (1)
with two M10 x 58mm Carriage Bolts (40) and
two M10 Locknuts (37).
See step 1. Tighten the M10 Locknuts (37)
and the M8 x 65mm Screw (56).
See step 2. Tighten the M10 Locknuts (37).
4
1
18
39
1
3
Warning
Decals
37
40