3-22 Weinig Tools Tech. Dok. / WNW 850 02 / 02.2005.A / © MICHAEL WEINIG AG
Normal clamping
Installation:
1. Remove dirt and resin on clamping ledges and
serrated back.
2. Fit cutters in serration.
3. Slide clamping ledge in from the side.
4. Axially align the clamping ledge and cutters and
slightly tighten the clamping screw.
5. Check that the cutters are correctly seated in the
serration.
6. Tighten down the clamping screws when all cutters
have been fitted.
7. Use an angled Allen key with shank to tighten the
clamping screws uniformly (extensions and striking
tools must not be used!)
8. Tightening torque of the clamping screws:
25–26Nm.
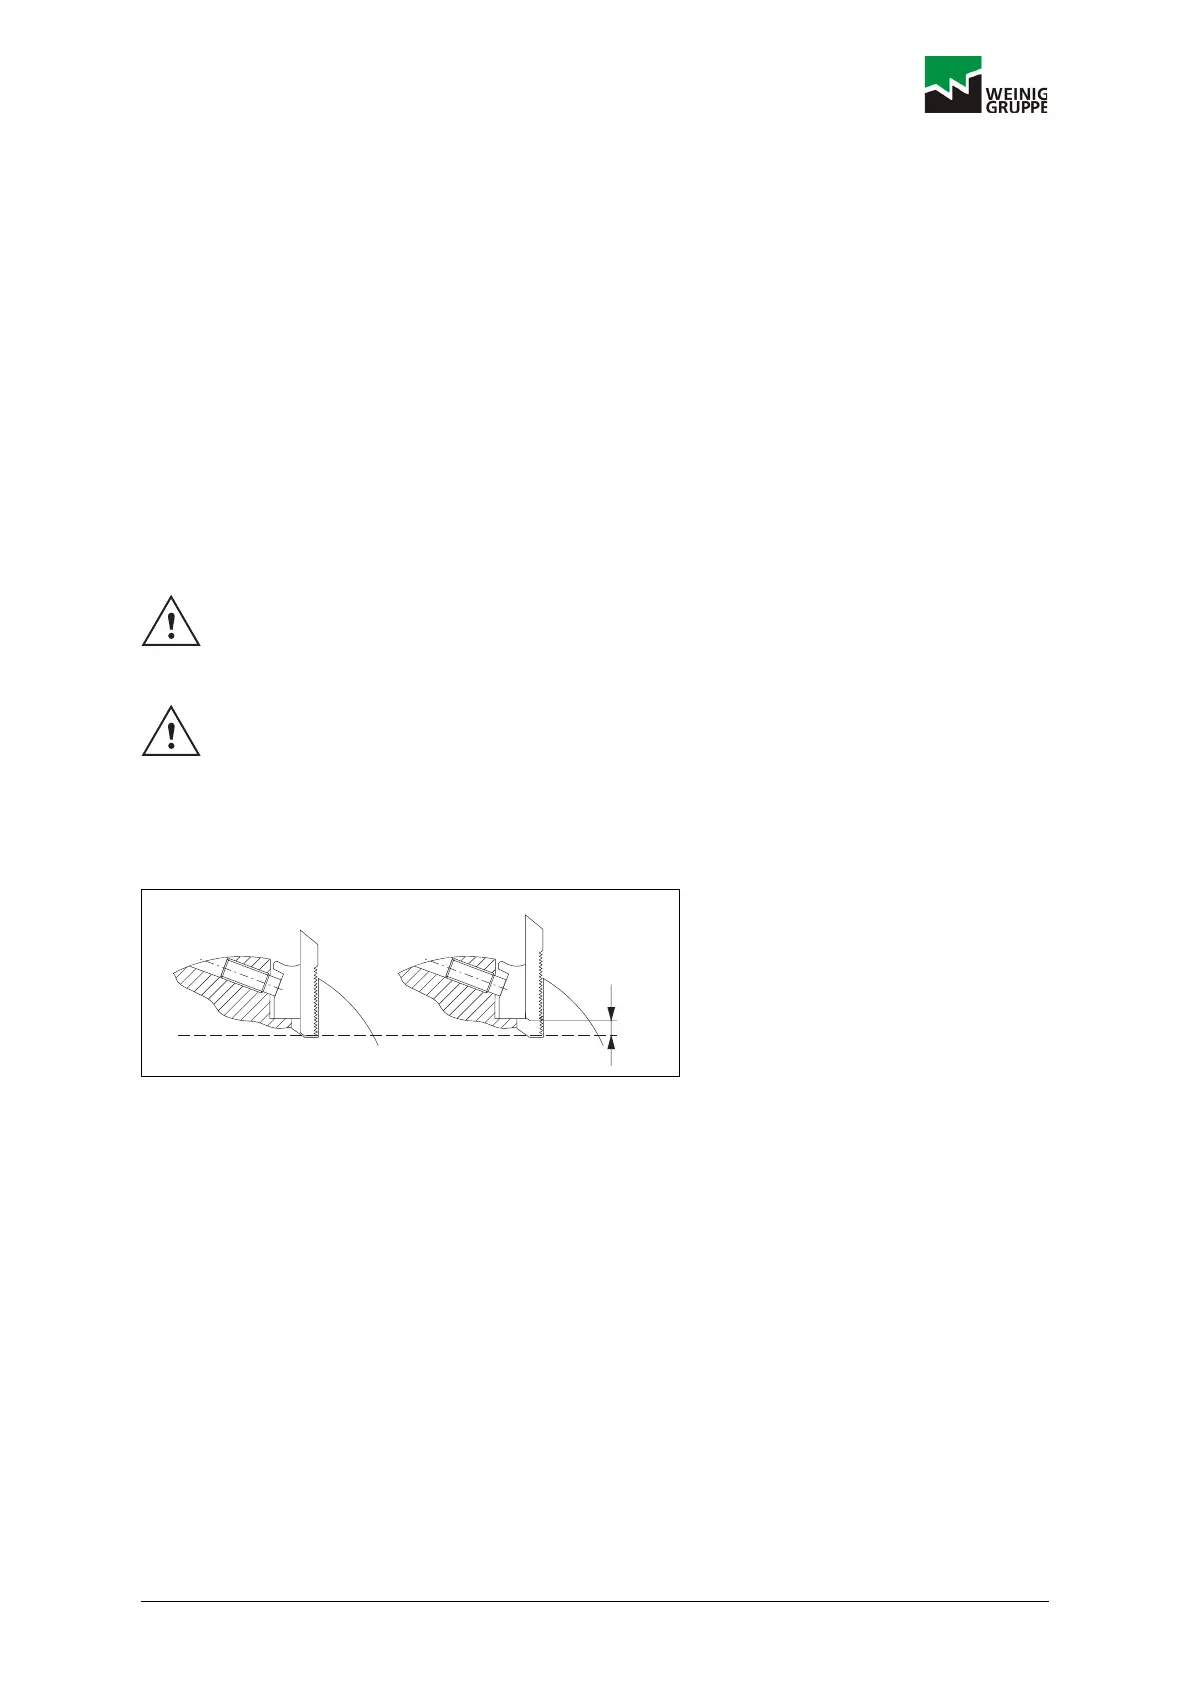
9. Note the maximum cutter adjustment (a).
a = 4 spaces (6.4 mm)
3.6.6 Grinding
The cutterhead must be ground with fitted cutters on a
Weinig grinder for cutters in order to ensure that it is
accurately ground for concentric running.
3.6.7 Technical data
– Precision tool for producing tongue-and-groove
parts to DIN 68126
– Speed: max. 8,000 rpm
Subject to change without notice!
Never tension the complete cutter groove in
one operation, otherwise the tool could
become deformed.
Do not use damaged Allen keys or keys on
which the hexagon head has become round,
as this may result in damage to the clamping
screws.
a
DOKW0031
 Loading...