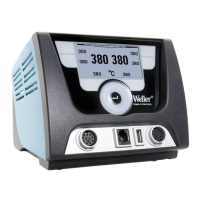
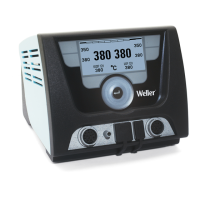
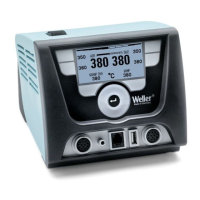
WX 2 11-20
DE EN FR IT ES PT NL SV DK FI GR TR CZ PL HU SK SL EE LV LT
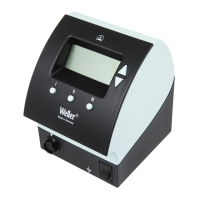
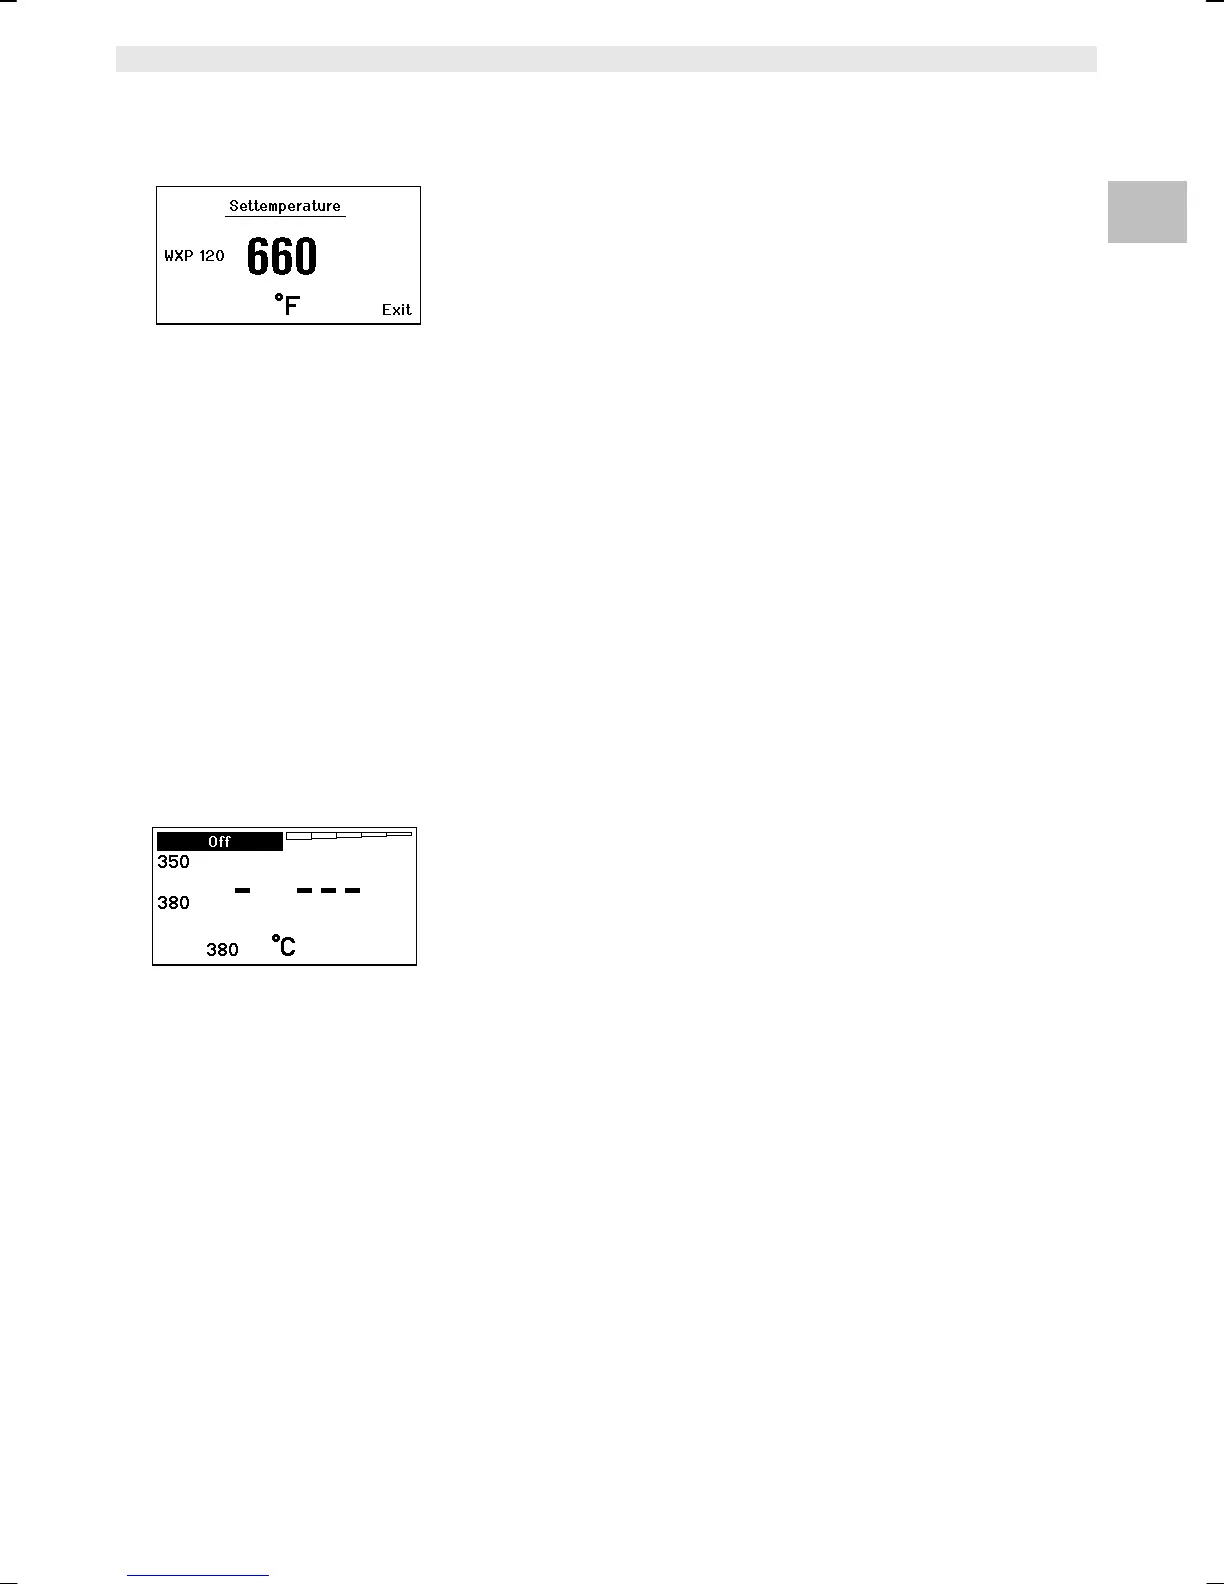
Fig. 13
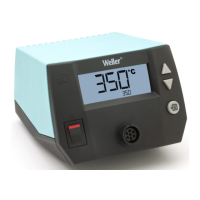
Fig. 14
6.5 Setting the temperature individually
Please observe the overview diagrams (Fig. 1 and Fig. 2).
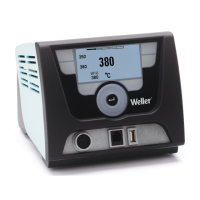
Setting the fixed temperature
1. Press the required selection key 6 or 13.
The current set-point temperature is shown on the display (see
Fig. 13).
2. Set the required set-point temperature with the turn-and-click
wheel (7).
3. Confirm the value with the Enter key (8).
4. Press and hold down the required control key 1, 2, 3 or 4 for
3 sec. in order to save the current set-point as a fixed
temperature (under the key being pressed).
Note You can find further information about the intelligent tool (e.g. fixed
temperature, factory settings) in the relevant operating instructions.
Select the temperature with control keys 1, 2, 3 and 4
The temperature set-point can be set by selecting two preset
temperature values (fixed temperatures) per tool.
Z Press the required temperature key 1, 2, 3 and 4.
The tool adjusts to the required temperature.
6.6 Switching the channel on/off
Please observe the overview diagrams (Fig. 1 and Fig. 2).
Left channel (12)
Z Press control keys 1 and 2 simultaneously to switch the tool
on/off.
Right channel (9)
Z Press control keys 3 and 4 simultaneously in order to switch the
tool on/off.
Note The tool is switched on as soon it is removed from the holder. A
motion sensor is integrated in the tool.
Channel disabled
If a channel is disabled, the display will read "OFF" (19).
 Loading...