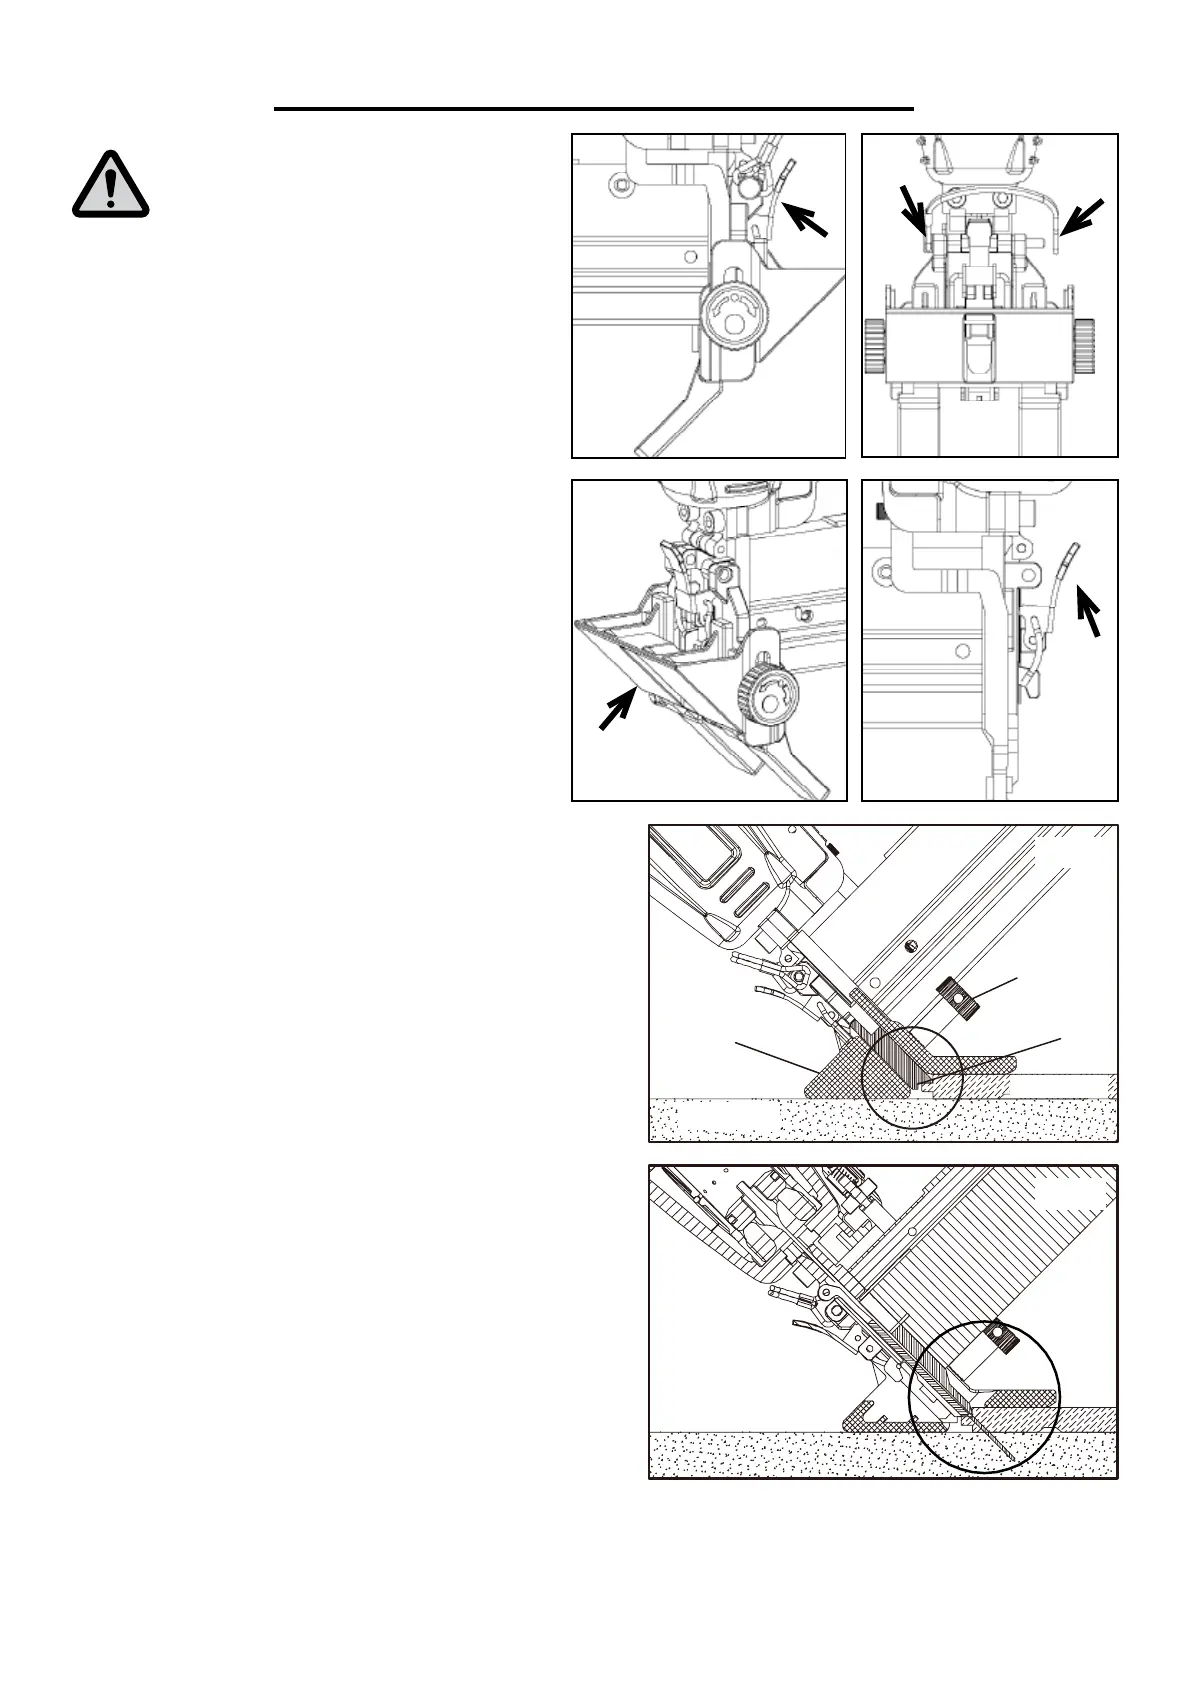
Adjustment
Knob
Contact Tip
Flooring Shoe
Flooring
Sub-Floor
10
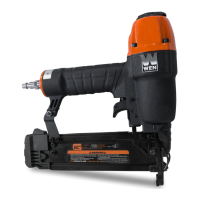
OPERATION
WARNING: Never uninstall or install the
flooring shoe while the nailer/stapler is
attached to its air supply or while nails are
loaded in the magazine.
REMOVING THE FLOORING SHOE
For general installation at a 90-degree angle, use
the following directions to uninstall the flooring
shoe.
1. Open the plate pressing latch (Fig. 6).
2. Open the D-ring pin by unclasping the hook
(Fig. 7 - A) from the pin.
3. Remove the pin from the floor shoe (Fig. 7 - B).
4. Slide the flooring shoe off (Fig. 8).
5. Close the plate pressing latch (Fig. 9).
INSTALLING THE FLOORING SHOE
1. Open the plate pressing latch (Fig. 9).
Fig. 6
A
B
Fig. 9Fig. 8
Fig. 7
2. Attach the flooring shoe in place by sliding in the pin.
Reattach the hook to the end of the pin (Fig. 7 -- A).
3. Close plate pressing latch (Fig. 6). Remove no-mar tip.
USING THE FLOORING SHOE
1. Make sure no-mar tip has been removed from nailer.
2. Turn the depth adjustment wheel (Fig. 4) to set the
depth of the fired nail. For flooring, it is suggested to al-
ways fire at the deepest depth.
2. Loosen the shoe adjusting knobs on either side of the
shoe so that the upper part of the shoe lays flush against
the top of the flooring (Fig. 10).
3. Place the contact piece flush against the corner of the
tongue of the flooring. Push the nailer towards the flooring
so the contact piece fully contacts the tongue of the floor-
ing (Fig. 10).
4. Place the nose tip flush with the tip flush with the corner
of the tongue of the flooring. Once you are sure that the
contact piece is flush with the hardwood, fasten the adjust-
ing knobs in place.
5. Pull the trigger. The fastener will be fired at a 45-degree
angle through the flooring tongue and into the subfloor.
through the hardwood and into the ground (Fig. 11).
Fig. 10
Fig. 11

 Loading...