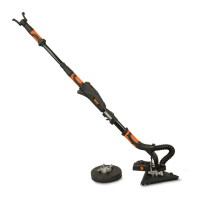
KNOW YOUR DRUM SANDER
ASSEMBLY & ADJUSTMENTS
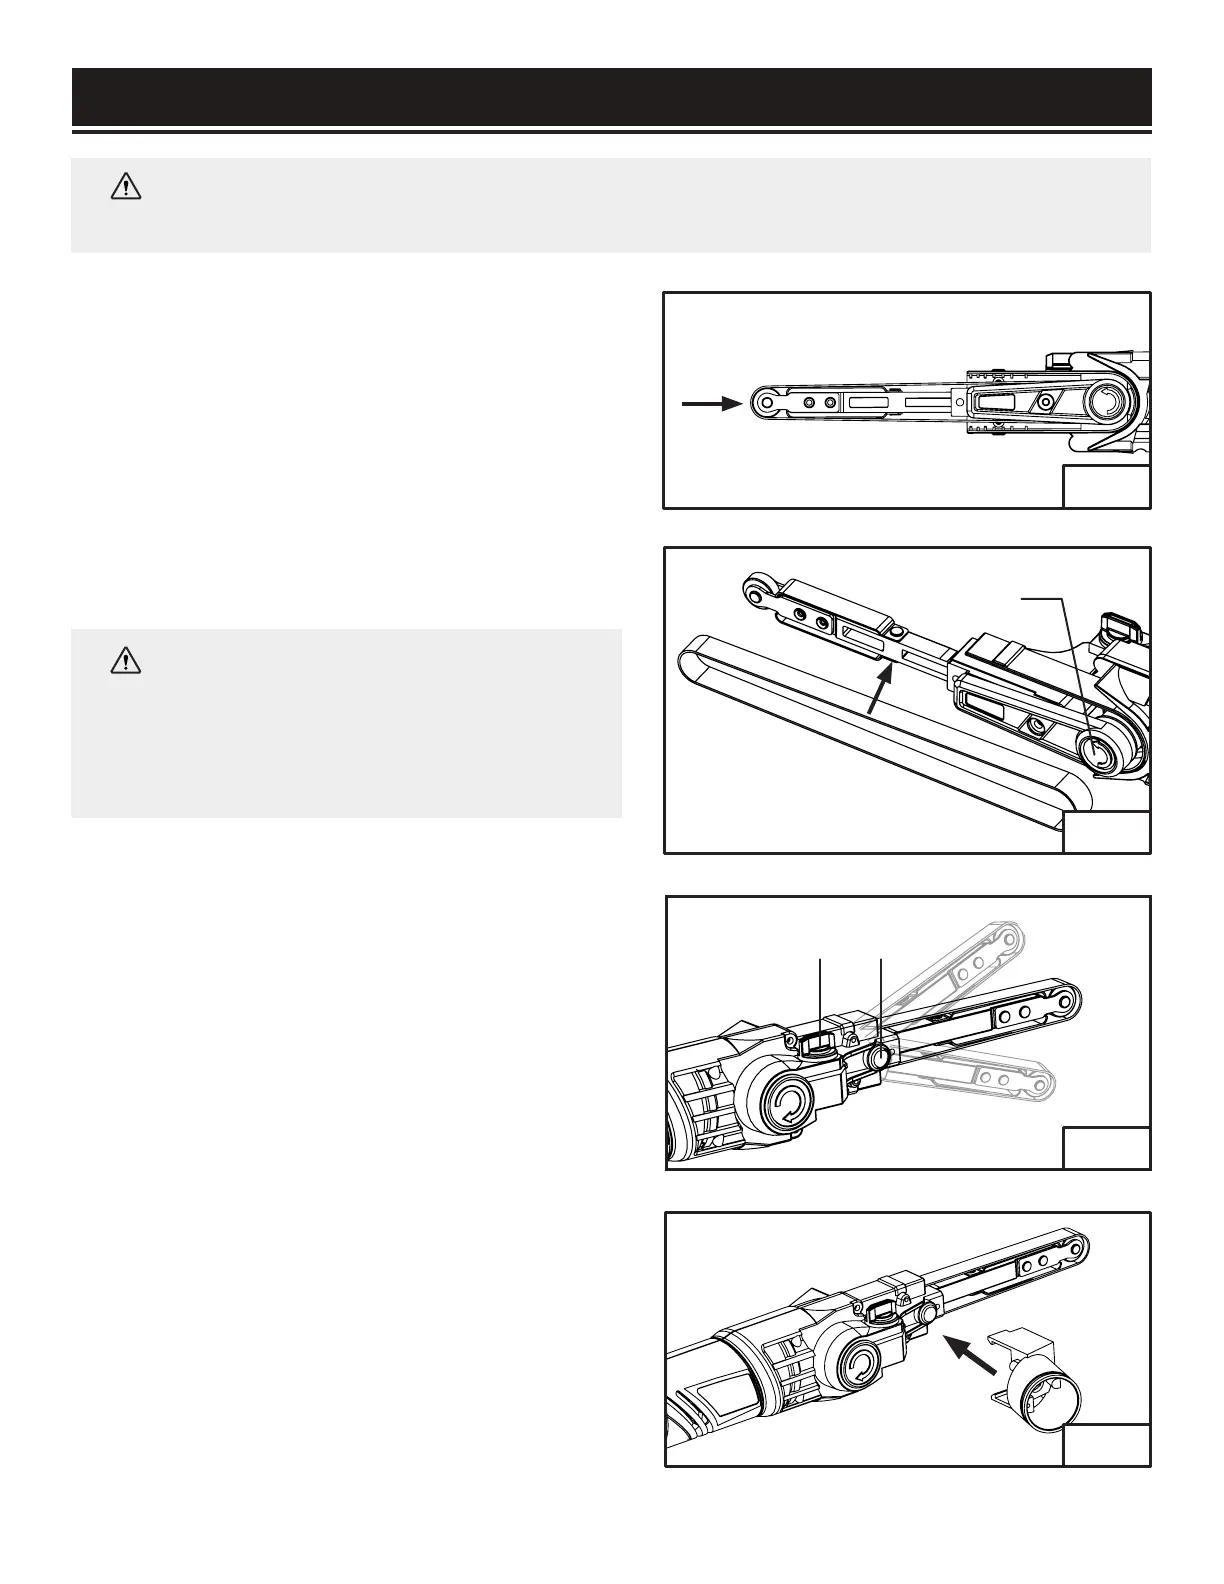
INSTALLING THE SANDING BELT (FIG. 2 - 4)
1. Press the tip of the sander against a hard object
to retract the front roller (Fig. 2).
2. Insert the sanding belt on the rollers. Check that
the arrow on the inside of the sanding belt points
in the same direction as the arrow indicated on the
tool (Fig. 3 - 1).
3. Press the belt tensioning lever (Fig. 4 - 1) to
tension the sanding belt.
WARNING:
To avoid injury from accidental startups, switch off the tool and unplug the
power cord before adjusting, replacing accessories, cleaning or maintenance.
1
12
WARNING:
Do not use worn, damaged or
clogged sanding belts. Do not use the same
sanding belt for metal and wood. Metal
particles embedded in the sanding belt will
damage the surface of the wood.
ADJUSTING THE ARM ANGLE (FIG. 4)
1. Loosen the angle locking screw (Fig. 4 - 2) by
turning it counterclockwise.
2. Move the arm to the required angle.
3. Tighten the screw (clockwise) to the lock the arm
in place.
USING DUST EXTRACTION (FIG. 5)
We recommend that you always use a dust extractor
and an approved face mask during sanding
operations.
1. Match the groove on the dust extractor port with
that on the sander and attach the dust extractor
port on the tool (Fig. 5). Check that it is securely
installed.
2. Connect a dust extractor hose or dust bag with an
inner diameter of 1-1/4 inches (32 mm) to the dust
extractor port.
Fig. 2
Fig. 3
Fig. 4
Fig. 5
10