
A
Aaron BridgesJul 28, 2025
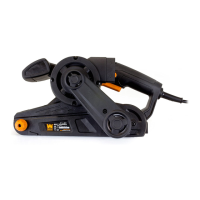
Why is my Wen 6369 Sander motor getting hot?
- KkristenpayneJul 28, 2025
Your Wen Sander motor might be getting hot because foreign substances have entered the motor. To resolve this, have the foreign substances removed. Another reason is applying too much pressure during sanding. Try using less pressure during sanding operations.