10
OPERATING THE DRYWALL SANDER
1. Hold the machine with both hands.
2. Do not hold the machine by the machine’s head.
3. Before operation, make sure that the unit does not have any
loose parts and that the sanding pad has been properly installed
and aligned.
4. Before switching on the machine, keep the sanding head
slightly away from the work surface.
5. Do not press down too hard in order to avoid overloading the
sander. Use proper pressure for better sanding effects. If the
machine slows or bogs down, immediately lessen the applied
pressure. The quality of the results are mainly determined by
choosing the right abrasive material for the job.
6. Once the sanding task has been completed, turn off the ma-
chine. Wait for the pad to stop rotating before setting down the
machine.
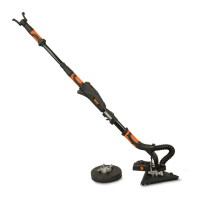
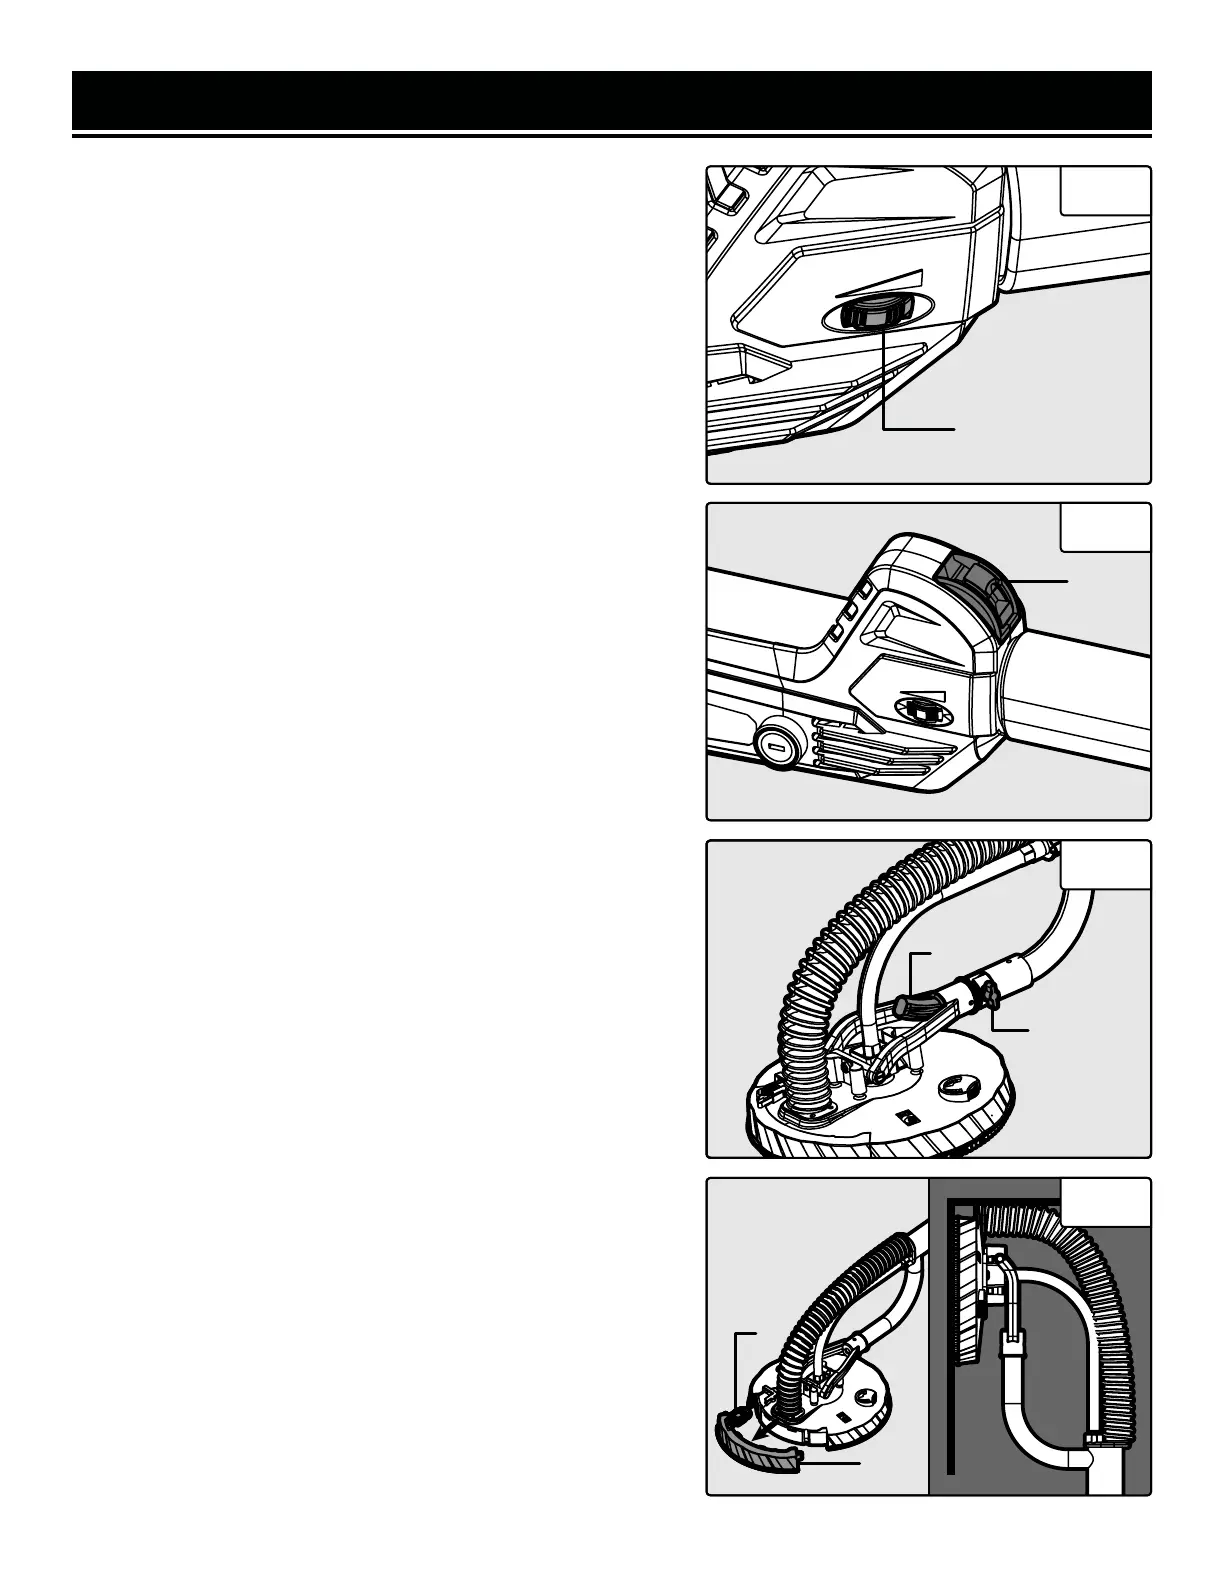
VARIABLE SPEED CONTROL
Use the variable speed wheel (Fig. 4 - 1) to adjust the sander’s
head speed between 1,000 to 2,450 RPM. This drywall sander
is equipped with constant speed control to keep the pad running
at a relatively consistent rate despite changes in applied load.
TURNING ON THE DRYWALL SANDER
After setting the variable speed to your desired RPM, power the
machine by pressing forward on the power switch (Fig. 5 - 1).
ADJUSTING THE ANGLE OF THE SANDING HEAD
Loosen the locking knob (Fig. 6 - 1) on the adjustable angle slot.
Adjust the angle of the head by sliding the head sleeve along the
adjustable angle slot (Fig. 6 - 2) to the desired position. Tighten
the locking knob to secure the sanding head in the desired posi-
tion.
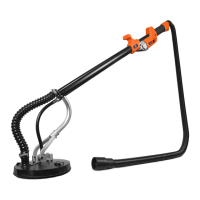
SANDING CLOSE TO CORNERS
Your drywall sander comes equipped with a detachable brush
(Fig. 7 - 1) that allows you to be able to sand closer to corners.
To remove the detachable brush, push down on the tab (Fig.
7 - 2) and swing the brush out. To reinstall the brush, hook the
brush on the left side and snap the tab back into place.
OPERATION
Fig. 4
1
Fig. 5
1
Fig. 6
2
Fig. 7
1
2
1
 Loading...