6
ASSEMBLY
Assembly requires two people. Place all parts of the elliptical glider in a cleared area and remove the packing
materials. Do not dispose of the packing materials until assembly is completed.
Assembly requires that you have two adjustable spanner , a rubber mallet , and
the included allen wrench .
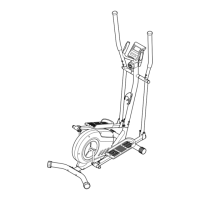
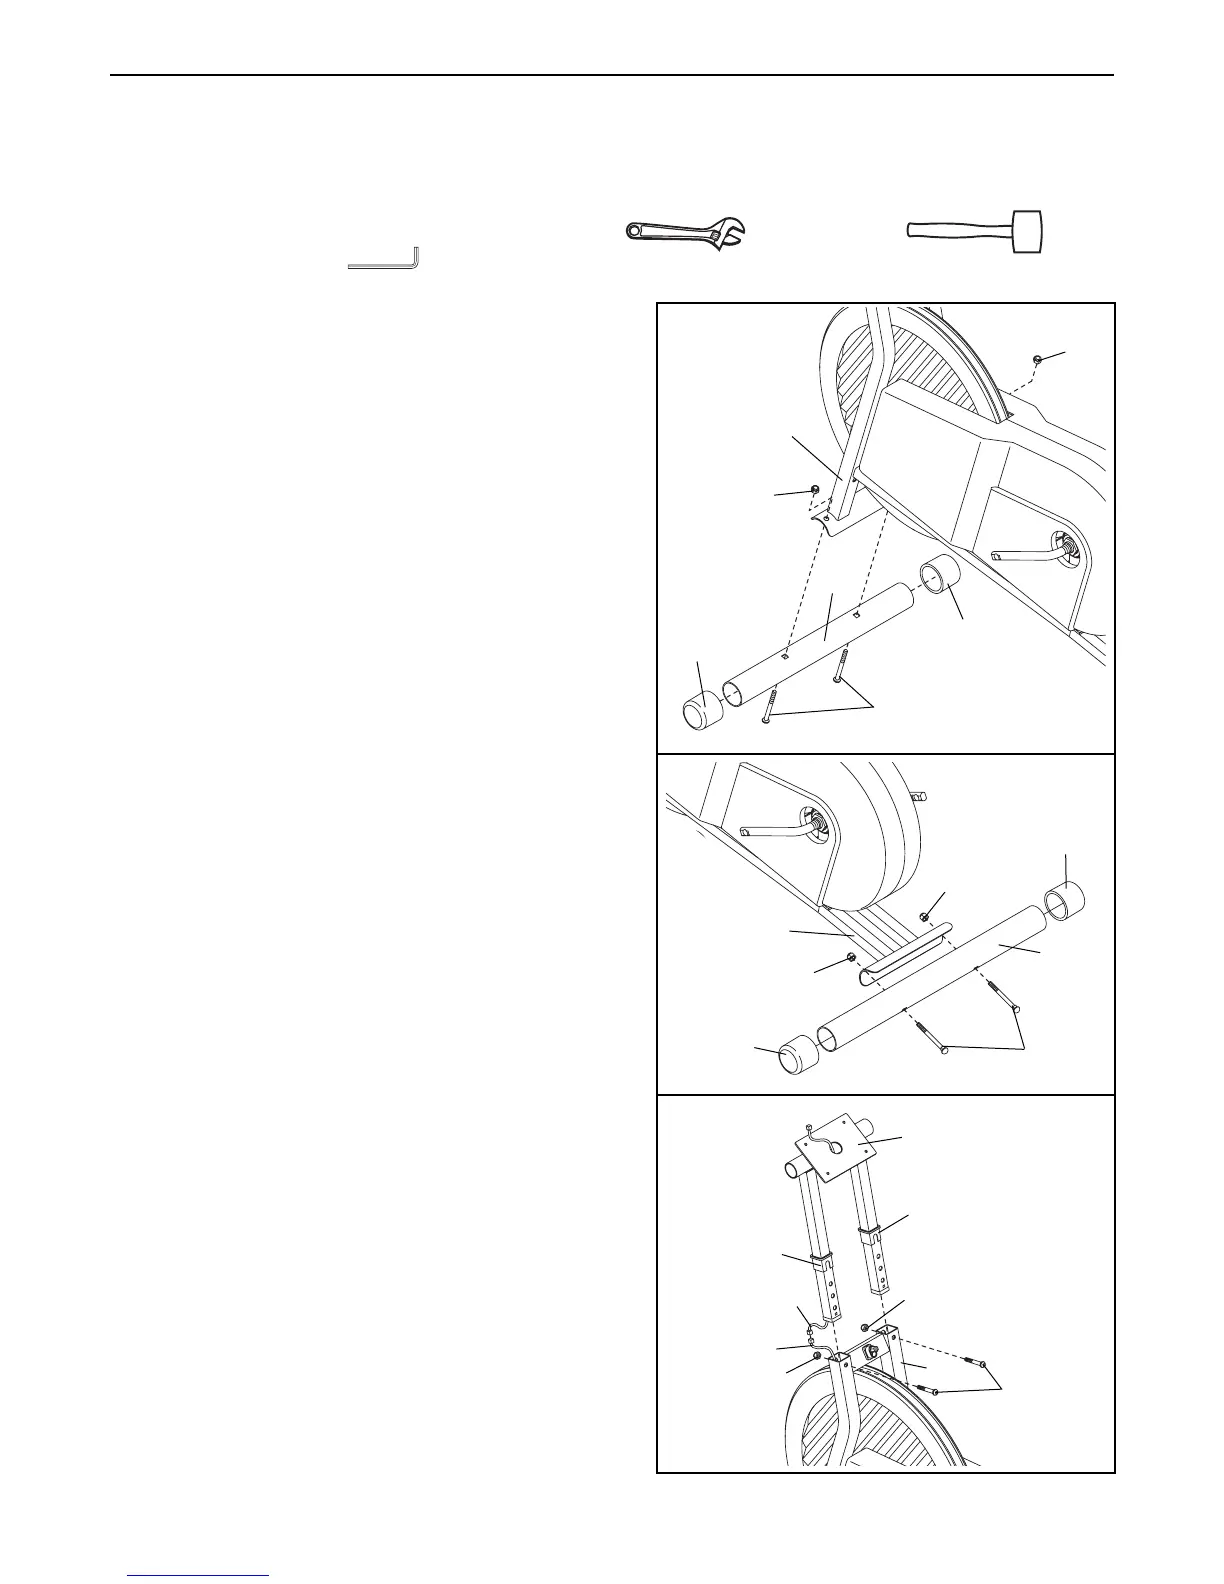
1. Identify the Front Stabiliser (18), which is the nar-
rowest Stabiliser. If there are no Stabiliser Endcaps
(20) on the Front Stabiliser, push one onto each end.
Attach the Front Stabiliser (18) to the front of the
Frame (1) with two M8 x 63mm Carriage Bolts (49)
and two M8 Nylon Locknuts (50).
2. If there are no Stabiliser Endcaps (20) on the Rear
Stabiliser (19), push one onto each end.
Attach the Rear Stabiliser (19) to the Frame (1) with
two M8 x 63mm Carriage Bolts (49) and two M8
Nylon Locknuts (50).
3. Whilst a second person holds the Upright (2) near
the Frame (1), connect the Extension Wire (47) to
the Reed Switch Wire (41).
Insert the Upright (2) into the Frame (1), being care-
ful to avoid damaging the wires. Make sure that the
Frame Bushings (3) are inserted fully into the
Frame. Adjust the Upright (2) so that a bolt can be
inserted through the centre hole in each side.
Secure the Upright with two M8 x 38mm Button
Bolts (53) and two M8 Nylon Locknuts (50).
20
2
3
1
18
49
20
50
19
20
50
49
2
3
3
50
41
47
50
53
1
1
50
50
1
20
 Loading...