5. NOTE Do not screw directly to the hull - the pump must be mounted on a bulkhead or on an additional board.
6. NOTE Do not unscrew the rear section, as interference with the internal electrics will render the pump unt
for use and invalidate the warranty. This is a non-serviceable part of the pump.
7. WARNING: Fire hazard. Wiring must comply with applicable electrical standards and include a properly rated
fuse or circuit breaker (see section 7) Improper wiring can cause a re resulting in injury or death. Switch off
the power while making connections.
Suggested wiring information is given as a guide only. For full information, refer to the USCG, ABYC and ISO
regulations for marine applications and wiring gauges, connectors and fuse protection.
Contact Whale® Support team for further technical advice +44 (0)2891 270531 or email: info@whalepumps.com
6. Installation
Note: Incorrect installation will invalidate warranty.
Preparation - Always disconnect power sources before installing.
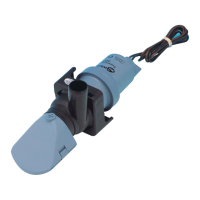
6.i Location
• Choose a position to mount the pump that is dry and away from standing water.
• The pump may be mounted on a horizontal or vertical surface.
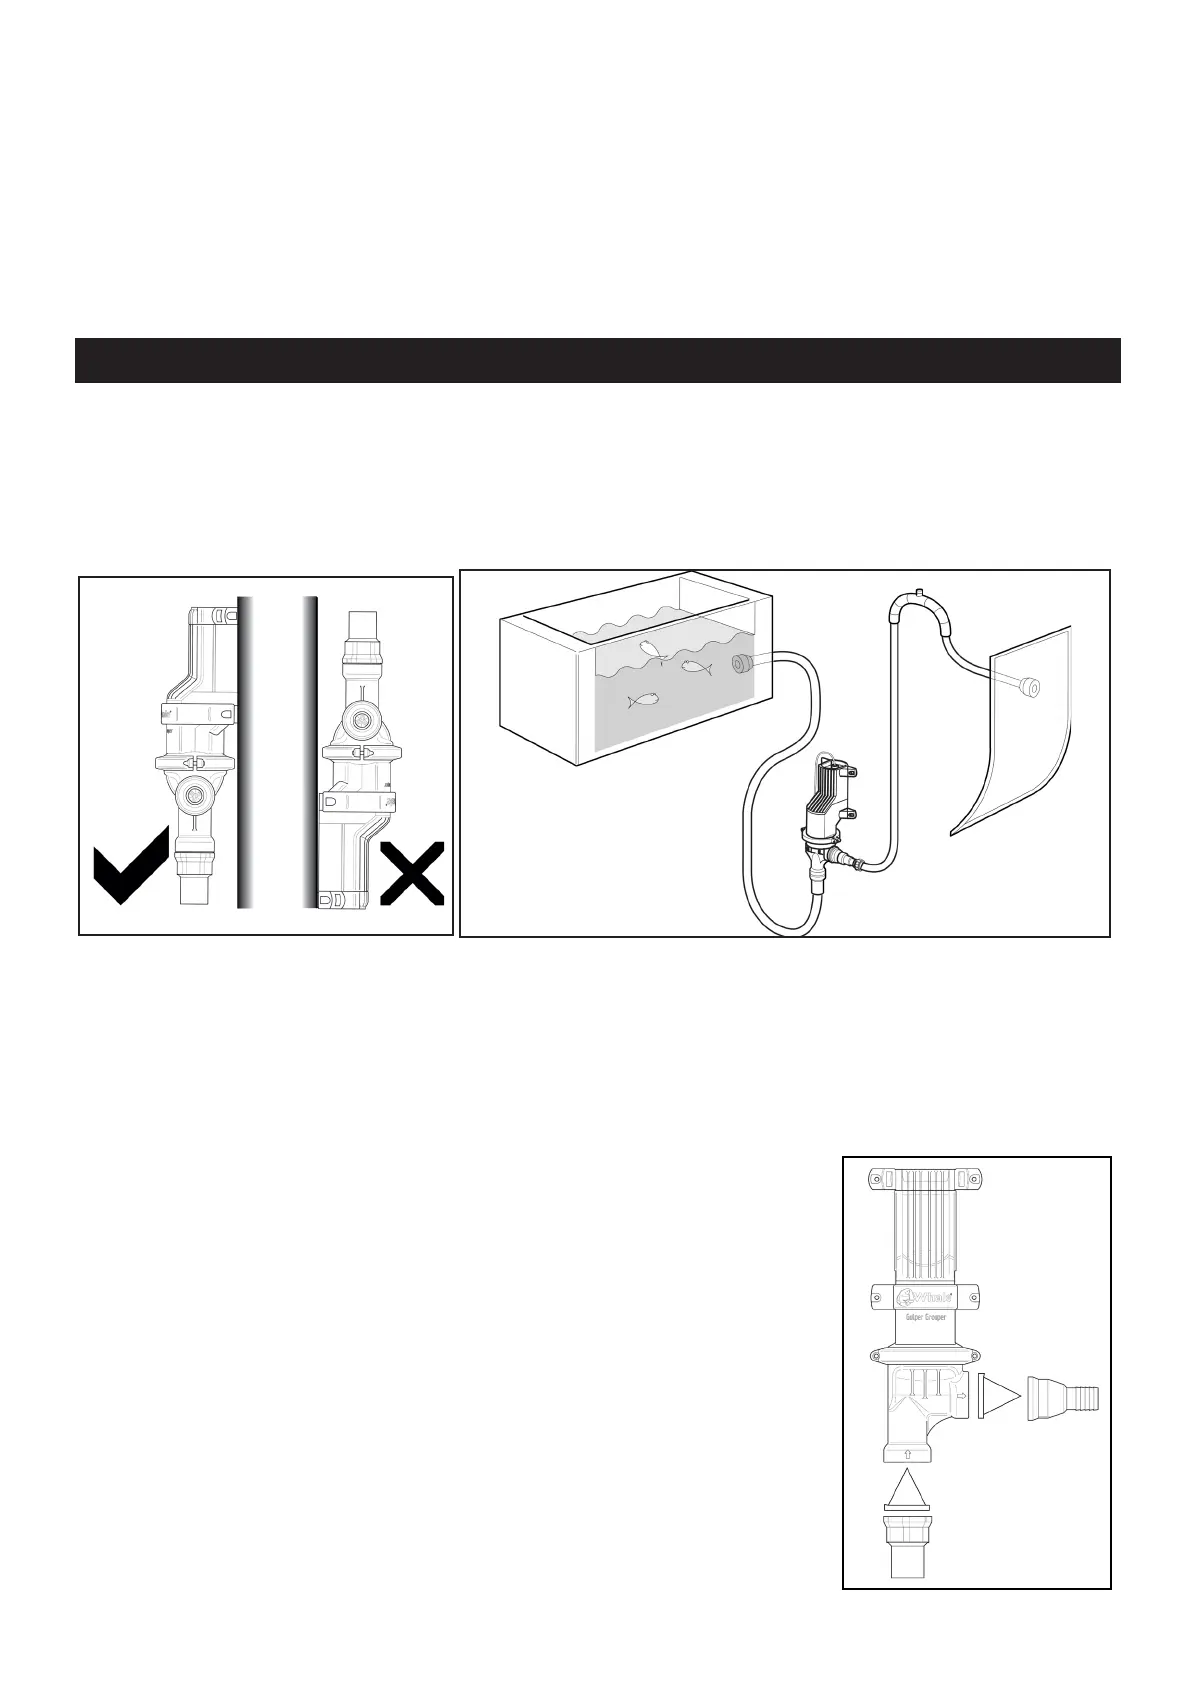
• When mounted vertically ensure that the pump head is lower than the pump body (see Fig 1).
Figure 1 - Pump Orientation
Figure 2 - Typical Installation
6.ii Mounting Instructions
• The Whale® Gulper® Grouper pump must be installed at or below the level of the sh box drain (Fig 2). The
opening for the shbox drain must include a grid. with openings no greater than 19mm x 19mm.
• The pump must not be mounted below the water line when connected to an intake or outlet unless the
system has a vented loop (Fig 2).
• When mounting, position the pump on the intended surface. Then mark the 4 hole positions using the pump
feet.
NOTE: The pump head may be rotated to suit the hose connections. This is achieved
by loosening the screw which holds the clamping ring and rotating the pump
head. (Fig 4)
• Once the position for the four mounting feet is marked, drill four pilot holes of
3.2mm(1/8”). Use four No.8 self-tappers and washers to secure the pump.
NOTE: Do not screw directly into the hull, mount the pump on a bulkhead or
additional board.
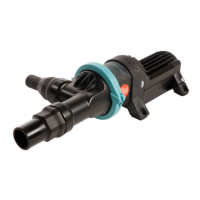
6.iii Inlet and Outlet Valves
• Inspect and ensure that the tricuspid valves are seated in both inlet and outlet
ports.
NOTE: The inlet valve must point with the triangular part pointed into the pump and
the outlet valve with the triangular part pointing towards the hose. (Fig 3)
• Install ports on the pump head.
• The retail Gulper Grouper (BP4772 / BP4774) contains, 2 x 25mm (1”) ports
and 2 x 38mm (1 ½”) ports are supplied to suit your installation. For optimum
performance, Whale recommend using a 38mm (1 ½”) port on the inlet and
25mm (1”) port on the outlet connected with reinforced hose.
Figure 3 - Valve Orientation
 Loading...