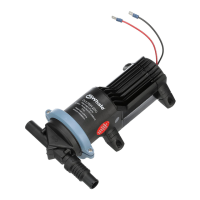
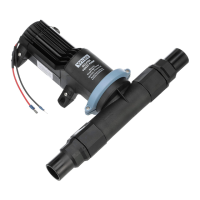
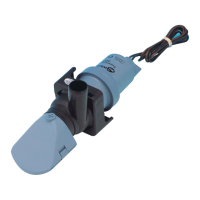
7. Electrical Connections
8. Maintenance
NOTE If you are not familiar with applicable electrical standards, ensure that the unit is installed by a qualied
electrician / technician.
WARNING: Fire hazard. Wiring must comply with applicable electrical standards and include a properly rated fuse or
circuit breaker. Improper wiring can cause a re resulting in injury or death.
NOTE Switch off the power prior to making connections. Suggested wiring information is given as a guide only. For full
information, refer to the USCG, ABYC and ISO regulations for marine applications and wiring gauges, connectors and
fuse protection.
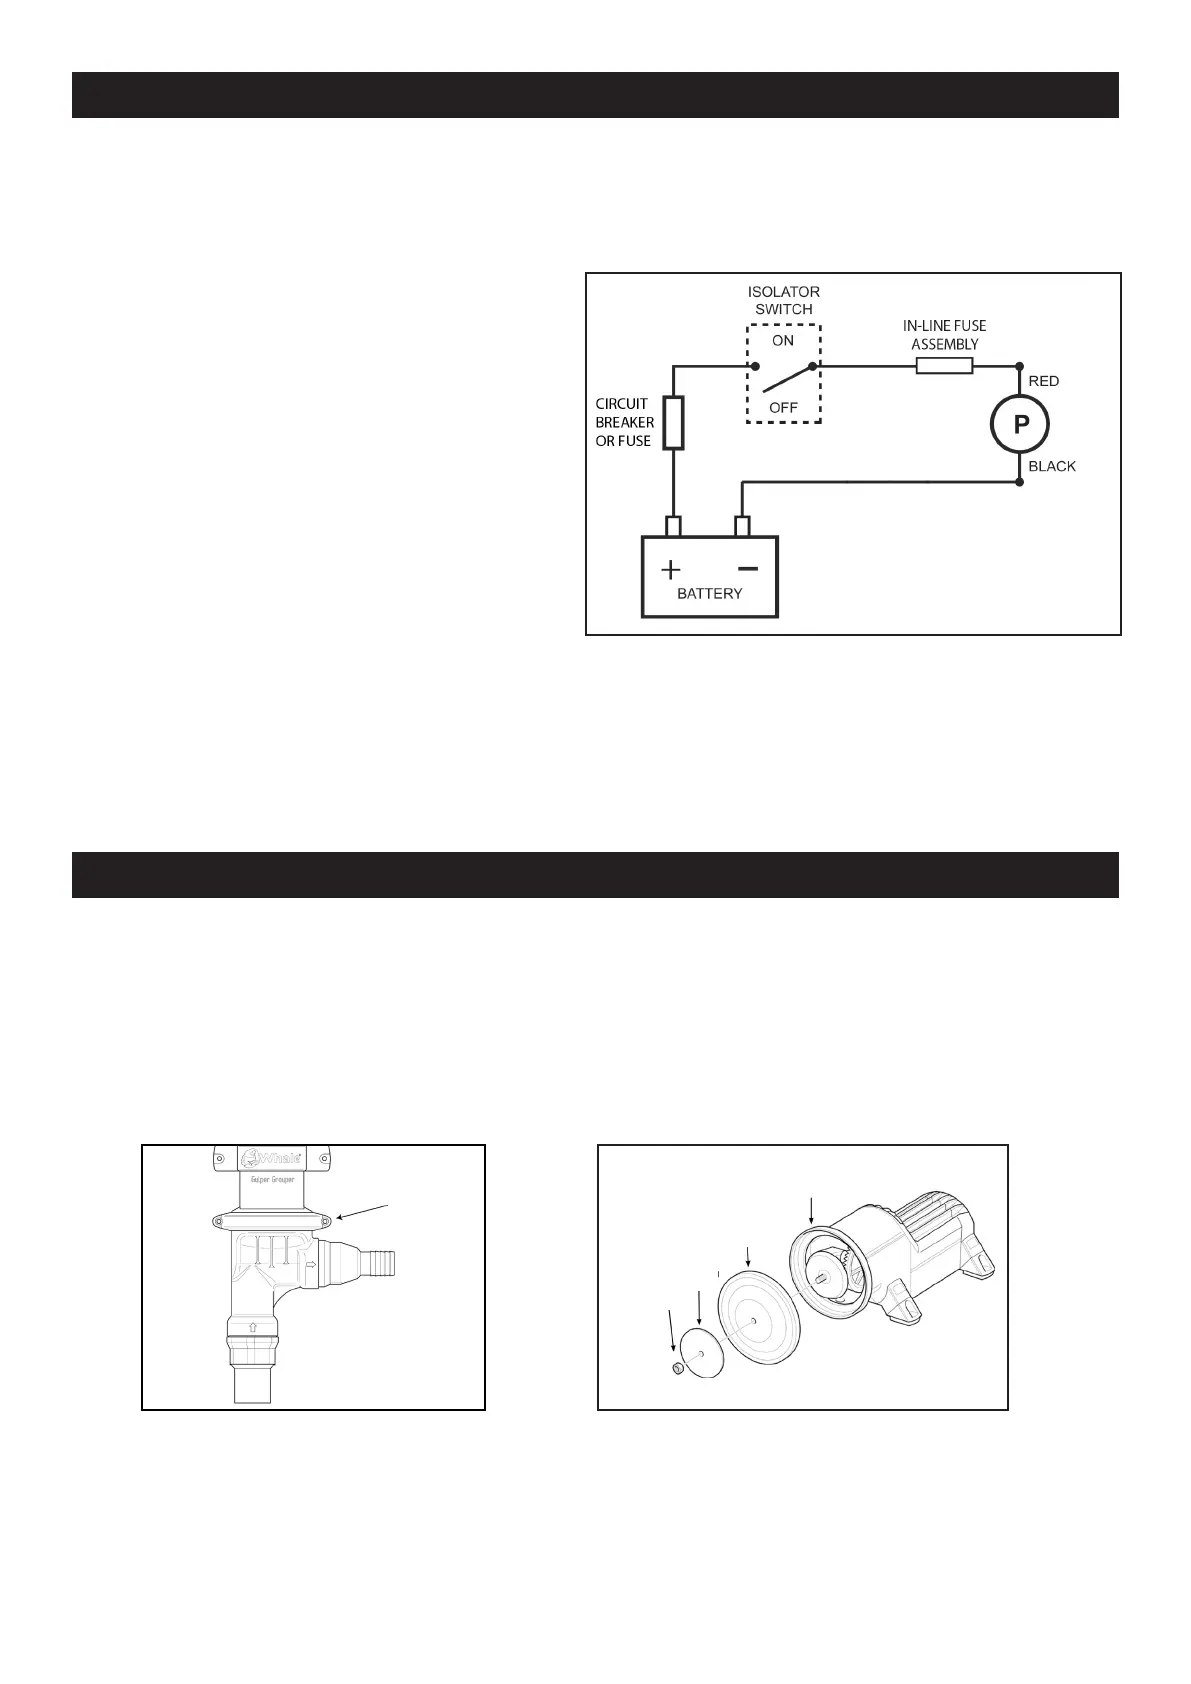
• The polarity is indicated by coloured cable
(Positive: red, Negative: black).
• The pump is protected against reverse polarity
connection when the fuse is correctly rated
• Minimum wire size is to be 1.5mm² or 16 AWG.
NOTE Undersized wire reduces voltage under load at the
pump, thus giving poor performance and potential motor
failure.
• To control the pump, an in-line switch should
be tted between the positive live terminal on
the battery and the positive lead on the pump.
If using an automatic switch (such as a oat
switch) an isolator switch must also be tted.
Circuit Breaker / In-Line Fuse Assembly:
The purpose of this fuse is to protect the pump from serious damage in the event of system blockages, therefore
please ensure all valves are fully open before operating the pump.
1. If the circuit breaker trips, or the fuse blows, check:
a) All system valves / stop cocks are open (if installed).
b) The inlet and outlet ports are not blocked.
c) The remainder of the system is not blocked in anyway.
2. For 12 V d.c. models, use a 10 Amp automotive fuse. For 24 V d.c. models, use a 5 Amp automotive fuse.
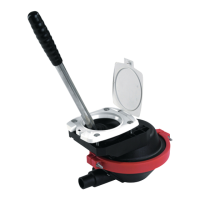
This Whale® Gulper® Grouper Mk 3 is designed to only require minimal maintenance.
WARNING: Before servicing pump, turn off pump and drain water from system. Ensure that the pump is disconnected
from electrics and plumbing during maintenance.
Optimal Performance
• Ensure this product is clear of debris and ush with clean water after each use.
• Check / tighten hose clamps on elbow connections once per season.
Annual checks
• Whale advise that the boat’s plumbing system is checked annually for leaks and obstructions. An annual
pump electrics check is also recommended and must be conducted by a qualied electrician.
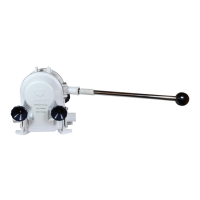
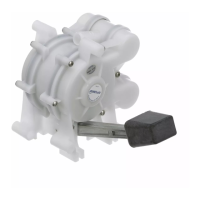
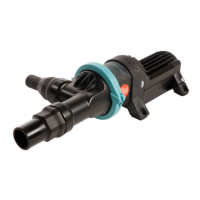
To inspect or replace the diaphragm, the user must rstly remove the pump head clamping ring. This is done by
unscrewing the clamping screw (Fig 4). This will release the pump head, and allow easy access to the diaphragm.
• If diaphragm shows signs of wear, damage or cracks it should be replaced (using Service Kit AK1557). If the
diaphragm needs replaced, undo the nut in the centre of the diaphragm and remove the diaphragm plate and
diaphragm (Fig 5).
NOTE The centre pin may be in one of several positions; (this will not affect replacement of the diaphragm).
• When replacing, the diaphragm can be tted either cup up or down.
Figure 4 - Wiring
Figure 4 - Clamping Screw Figure 5 - Gulper Pump Components
Clamping
Ring
Nut
Clamping Plate
Diaphragm
Gear Housing
 Loading...