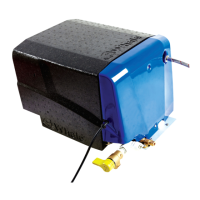
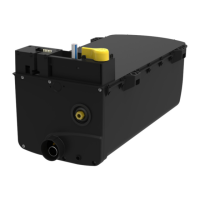
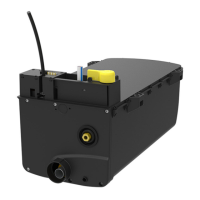
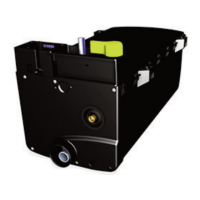
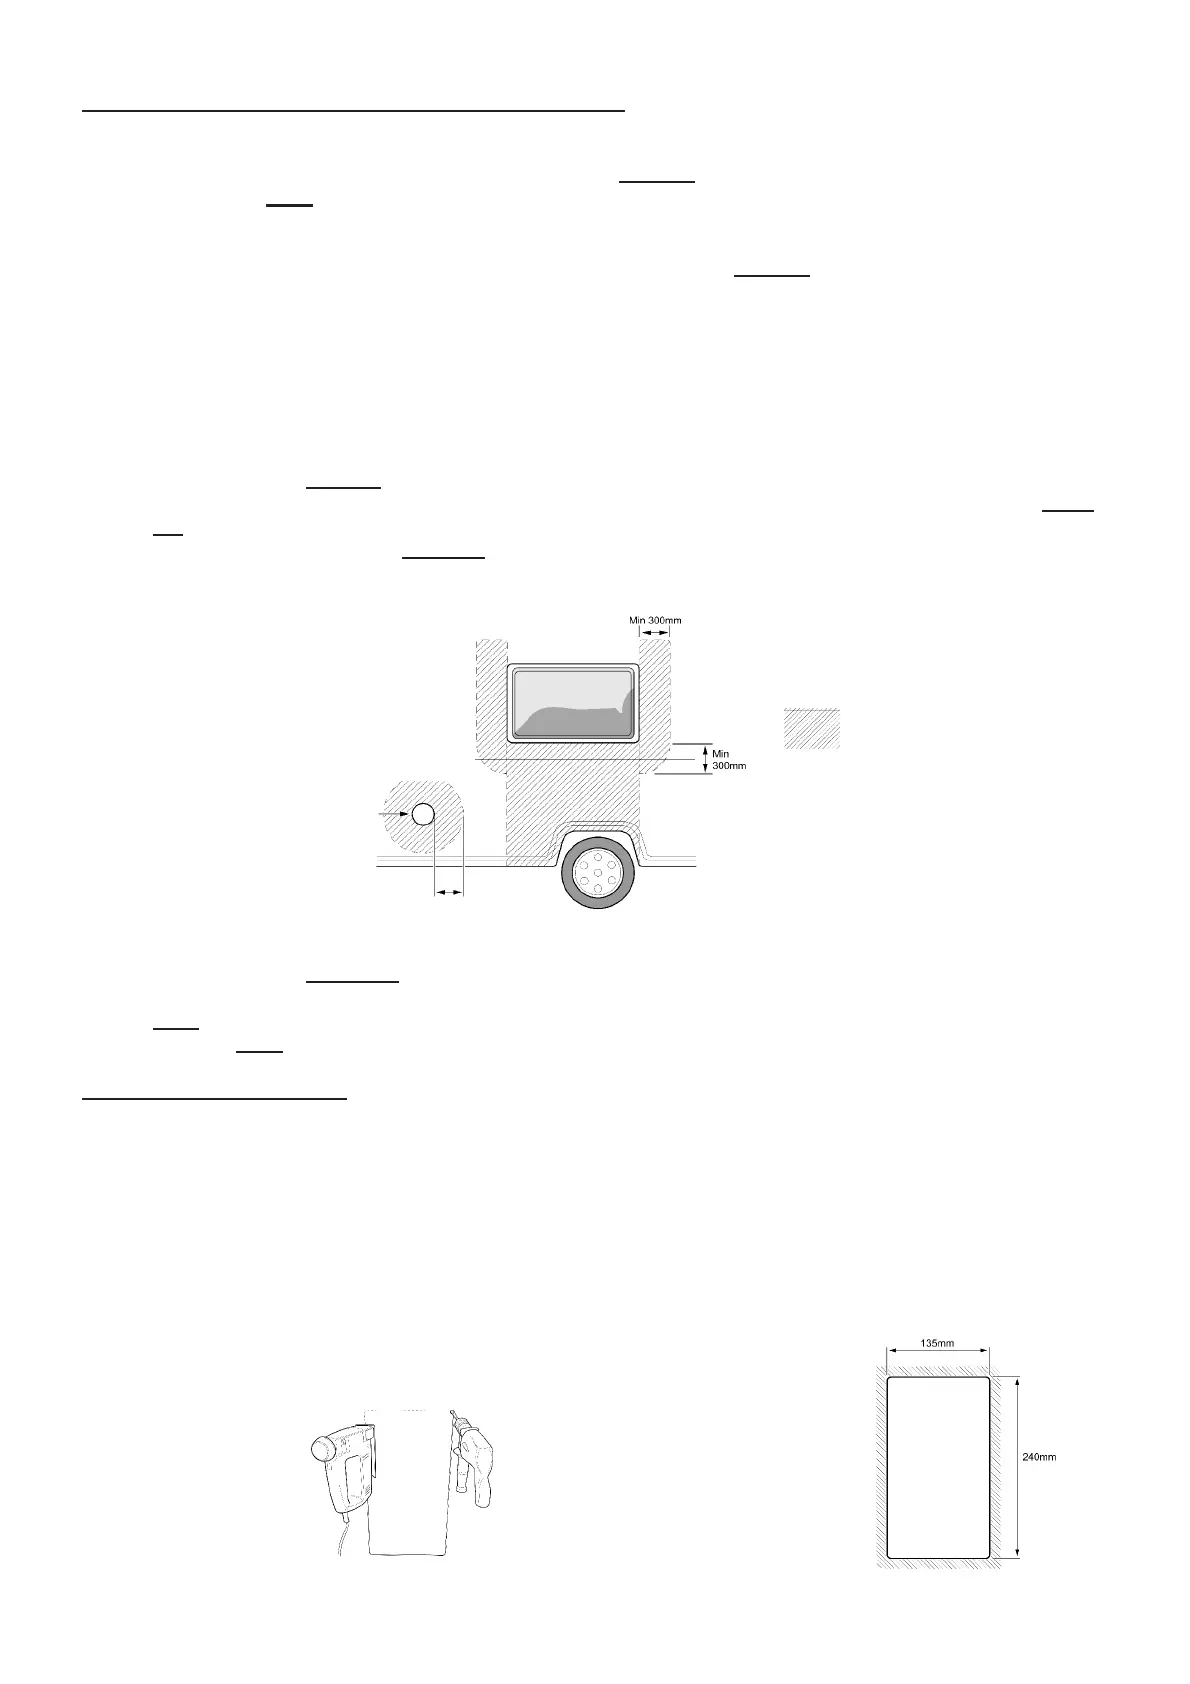
Step 1 Find a Suitable Location to Install the Water Heater
Consider the following 10 points:
i. For weight distribution in caravans, the Water Heater must be
positioned as close to the axle as possible.
The installer must
avoid locating the Water Heater at the very rear and the very front of the vehicle.
ii. Ensure the pressure relief valve / discharge pipe can be located through the floor without fouling chassis
members etc.
iii If the Water Heater is installed in a raised position, the drain valve must be installed at the lowest position in
the water system, to achieve effective draining. To achieve this, remove the drain valve from the Water
Heater and relocate it, near the Water Heater in the lowest position between the Water Heater and the non-
return valve (if one is fitted), in the water system. Make sure the water system cannot create air locks that
would prevent the Water Heater and the full system from draining.
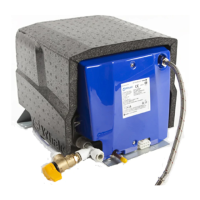
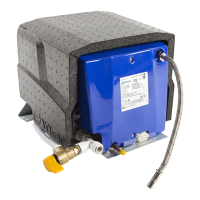
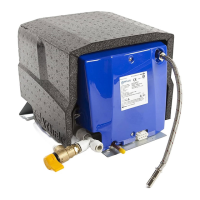
iv. Ensure that any surfaces in contact with the Water Heater are rated to at least 70 degrees C.
v. Ensure that the location allows access for servicing the Water Heater.
vi. In selecting the Water Heater location, ensure that the flue terminal will be located on a flat and exposed
outside surface, avoiding trim strips.
vii. The flue terminal must be
positioned at the side of the vehicle that an awning will never be fitted to.
viii. Only the supplied flue terminal is permitted to be used in conjunction with this Water Heater. This flue must
not be positioned within 500mm of a refuelling point or fuel tank breather outlet or any ventilator from the fuel
system(s). The flue terminal must not be fitted within 300mm of a ventilator for the living space or an
opening part of a window.
ix. The flue terminal must only
be positioned vertically below an opening part of a window if the appliance is
fitted with an automatic shut-off device to prevent operation when the window is open. The flue terminal
must still be a minimum of 300mm below the window.
x. The user must have access to the reset button.
Step 2 Cut Out Hole for Flue
See the flue template supplied with the Water Heater.
i) Position template on the inside of the wall with side ‘A’ visible, then drill hole at centre position marked ‘X’ on the
template.
ii) Position the template on the outside of the wall with side B visible, locate over the drilled position hole ‘X’, and
ensure the template is level. Ensure that the flue outline is on a flat surface avoiding trim strips etc.
If the flue needs mounted in a higher position, the Water Heater mounting board can be raised to suit, if there is
sufficient height available.
iii) Drill four 6mm corner holes and cut aperture using flue template (provided) as a guide.
6
Fig. 6 Cut Out Hole for Flue
Fig. 7 Flue Dimensions
Fuel refuelling
/ breather vent
PLEASE NOTE: Steps i to x
for information on Water
Heater and Flue Locations.
KEY
Prohibited area for
Water Heater flue
Fig. 5 Installation Locating Diagram
Min 500mm
 Loading...