iv) Reinforce the cut out with wooden batons (minimum 20mm wide). This may require insulation in the wall to be
removed.
Fig. 8 Reinforce Flue Hole
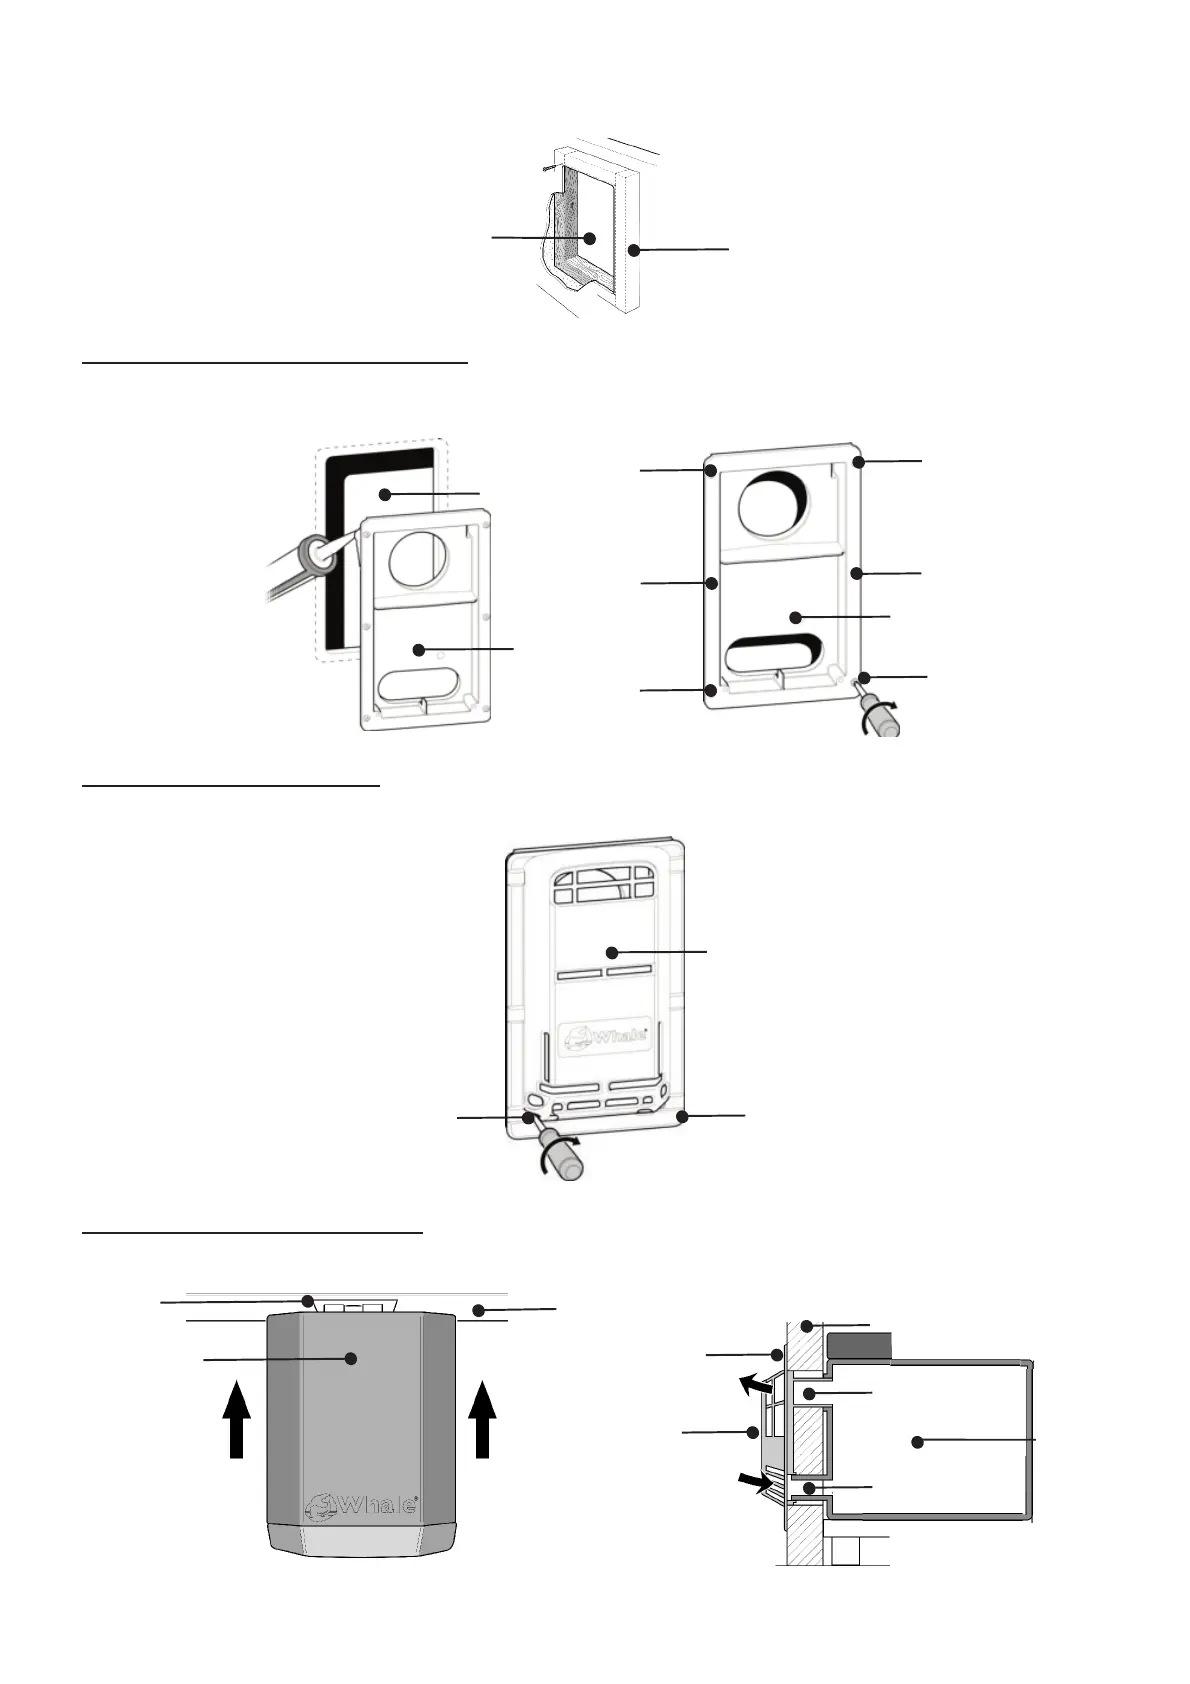
Step 3 Attaching the Flue to the Caravan
Apply sealant to seal flue box on the caravan side wall of the flue sealing face, ensuring each screw hole is
surrounded by sealant. Secure flue with the 6 screws (No. 8 x
3
⁄4”) provided and remove excess sealant.
Step 4 Attaching the Flue Cover
Clip the top of the flue cover onto the back box and secure with two screws (No.6 x
1
⁄2”) provided.
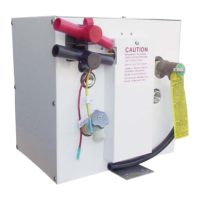
Step 5 Connect Water Heater to Flue
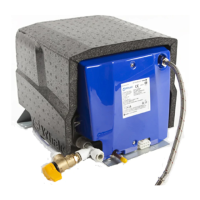
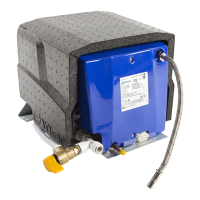
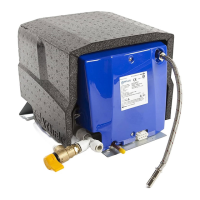
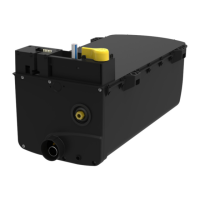
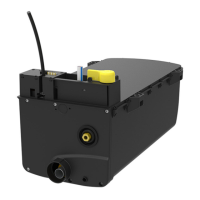
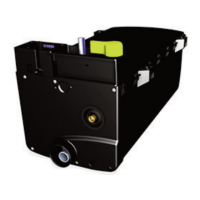
Set Water Heater on the floor and slide fully into flue as shown (see Fig. 12).
7
Fig. 9 Sealing the Flue to Caravan
Fig. 10 Attaching Flue Box
Fig. 11 Installation and Securing of Flue Cover
Fig. 12 Connect Water Heater to Flue (Plan View)
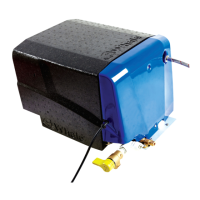
Fig. 13 Water Heater Position
Flue Hole
Wooden Batons
Flue Hole
Flue Box
Screw Hole
Flue Box
Screw Hole
Screw Hole
Screw Hole
Screw Hole
Screw Hole
Screw Hole
Screw Hole
Flue Cover
Flue Hole
Inside Wall
Water Heater
Outside Wall
Flue Cover
Wall Interior
Water
Heater
Air Inlet
Air Outlet
 Loading...