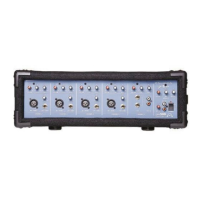
BX1060SD FEATURES AND CONTROLS:
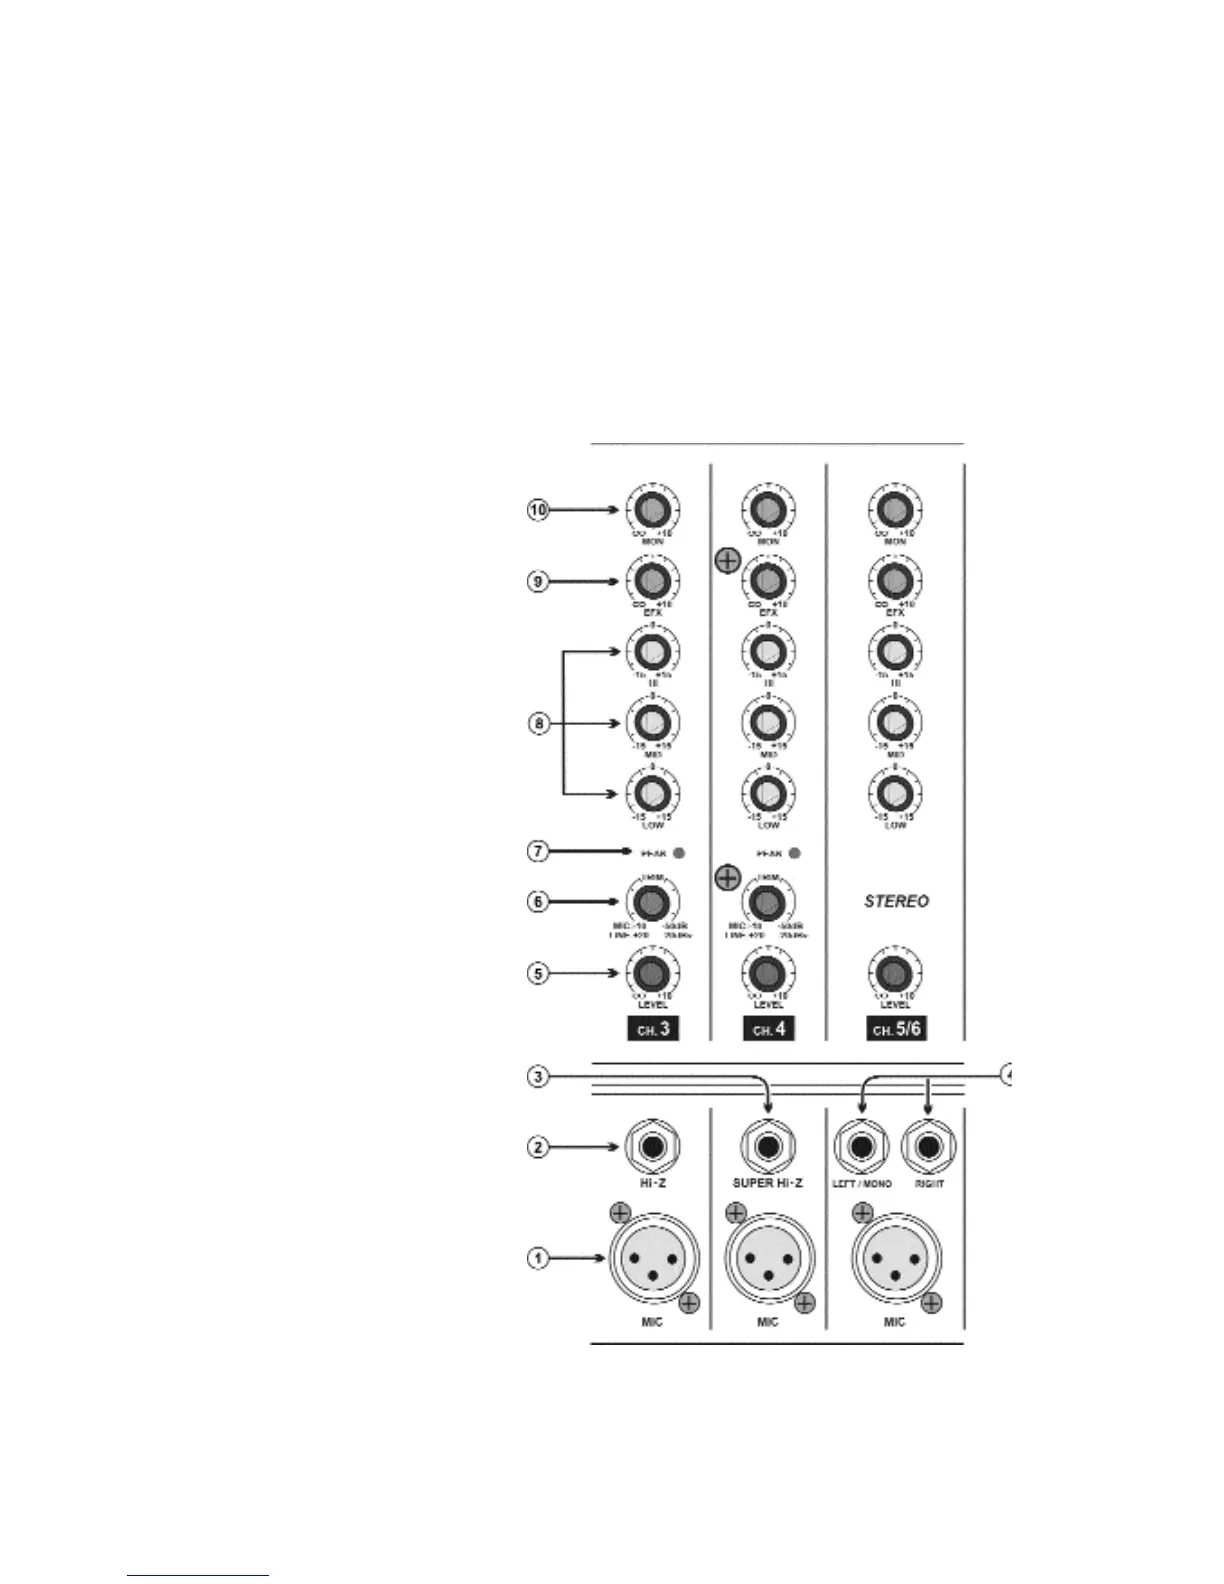
1. Low Z input with phantom power (balanced):
The microphone inputs are electronically balanced for maximum noise suppression and have characteris-
tics matching all low impedance dynamic microphones. Condenser microphones may also be connected
with 48Volt DC Phantom Power activated via the phantom power switch in the master section.
2. Hi Z input for high output source (balanced):
the high-impedance 1/4” balanced line in jack on channel 1 through 3. These are electronically balanced
line-level inputs, but will accept either balanced or unbalanced input from high impedance microphones,
guitar amplifier line output synthesizers, electric pianos, etc.
Note: It is not possible to simultaneously use both the Hi-Z and Low-Z inputs of a given channel. For
each channel, use only the appropriate inputs for the input source.
3. Super Hi-Z input (unbalanced):
For connecting directly with
acoustic/electric guitar or bass input,
can also be used with line-level
sources, such as synthesizers and drum
machines.
4. Stereo line level input (unbalanced)
These two inputs are routed to the left
and right output. You can plug a mono
signal into the LEFT/MONO input and
the signal is automatically routed to both
the left and right inputs and may be
used to connect a tape deck, CD player,
outboard mixer, drum machine, key-
board, guitar effect, etc.
5. Level control:
The LEVEL control is equivalent to a
channel fader to adjust the output level
for each channel.
6. Gain control:
The gain control adjusts the input sensi-
tivity of the mic and line inputs to allow
optimum level matching with just about
any source.
To correctly adjust the gain level, apply
a signal to the channel and turn up the
GAIN control until the LED next to it just
blinks. This provides the best signal-to-
noise ratio for the channel.
7. Peak indicator LED: The peak indica-
tor will illuminate 3 dB before clipping,
warning that the clipping level is near.
Page 2
 Loading...