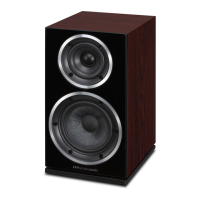
SETTING UP TWO SUBWOOFERS
General notes
Site the subwoofers so that they enhance the system bass
response but do not cancel each other out.
! A well-sited pair of subwoofers for stereo applications
will be adequately sited for Home Cinema
applications.
! A second subwoofer raises the bass output level 6dB
when operating in Home Cinema but not in Stereo.
! Both subwoofers should be in line of sight to the
listening seat as both answer to one remote handset.
! When operating two subwoofers, do all setups and
operations on one handset When allocating presets
make sure that the same preset (e.g. Home Cinema on
preset 1) is allocated to each subwoofer.
Home Cinema:
! As AV Processors produce a common subwoofer
channel, considerations of Left and Right do not
apply, but with spaced subwoofers each helps to fill in
the troughs caused by in-room standing waves,
smoothing the bass and giving the sound greater
intensity, ‘air’ and depth.
! Set up the position of each subwoofer separately with
the other one switched off. After you have set both
subwoofers up, reduce the front panel volume level of
each subwoofer by 3 points. Complete the final
adjustment with both subwoofers switched on. You
may need to make some small adjustments to the
position of each sub for best results. We suggest you
enter this final setting as a Home Cinema preset.
Stereo:
! Each subwoofer should be located as near as possible
to its partnering loudspeaker. The smaller the main
speakers, the more necessary this becomes.
! It is easier to set up each subwoofer with a mono
source playing through one channel with the other
channel turned off.
! Complete the adjustment by ear using a mono source
with both channels and subwoofers operational. We
suggest you enter this setting as a Stereo preset.
HOME CINEMA LINE CONNECTION
STEREO LINE CONNECTION A
STEREO LINE CONNECTION B
Model .
SW 150
SW 250
Format
Powered Subwoofer Powered Subwoofer
Drive Unit 250 mm long throw
250 mm long throw
Amplifier Power 150W 250W
Line Input Sensitivity 200mV for 75W 325mV for 150W
Averaged Max. O/P (@ 1M)
110 dB 113 dB
Frequency Response
(Boundary Position)
35 Hz – 110 Hz 30 Hz – 100 Hz
Low Pass Filter Frequencies
35 Hz – 85 Hz
(6x10Hz steps)
35 Hz – 85 Hz
(6x10Hz steps)
Phase Adjustment Switchable 0º - 180º Switchable 0º - 180º
Dimensions (H x W x D) mm 330 x 330 x 370 420 x 420 x 375
Height on Feet mm
360
478
SUBWOOFER SPECIFICATIONS
HIGH LEVEL SPEAKER CONNECTION
Page 14
Page 3
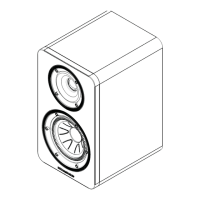
Crossover Networks
PRELIMINARIES
Most speakers in the Diamond 9
Unpacking the Speakers
series use a specially designed bi-
Carefully remove each loudspeaker from its packing carton. Be
wireable crossover panel with four
especially careful when removing the polythene bag. DO NOT attempt to
terminal binding posts. Please follow
lift the loudspeaker by the polythene bag.
the drawing carefully to see the
Retain the packing for future use. If you decide to dispose of the packing,
correct orientation of the loudspeaker
please do so with regard to any recycling regulations in your area.
terminals. The upper terminals
connect to the treble unit, the lower
Retain the instructions. If you pass a product to a third party, please
pair to the bass unit. As supplied, the
include the instructions.
treble terminal pair is connected to the
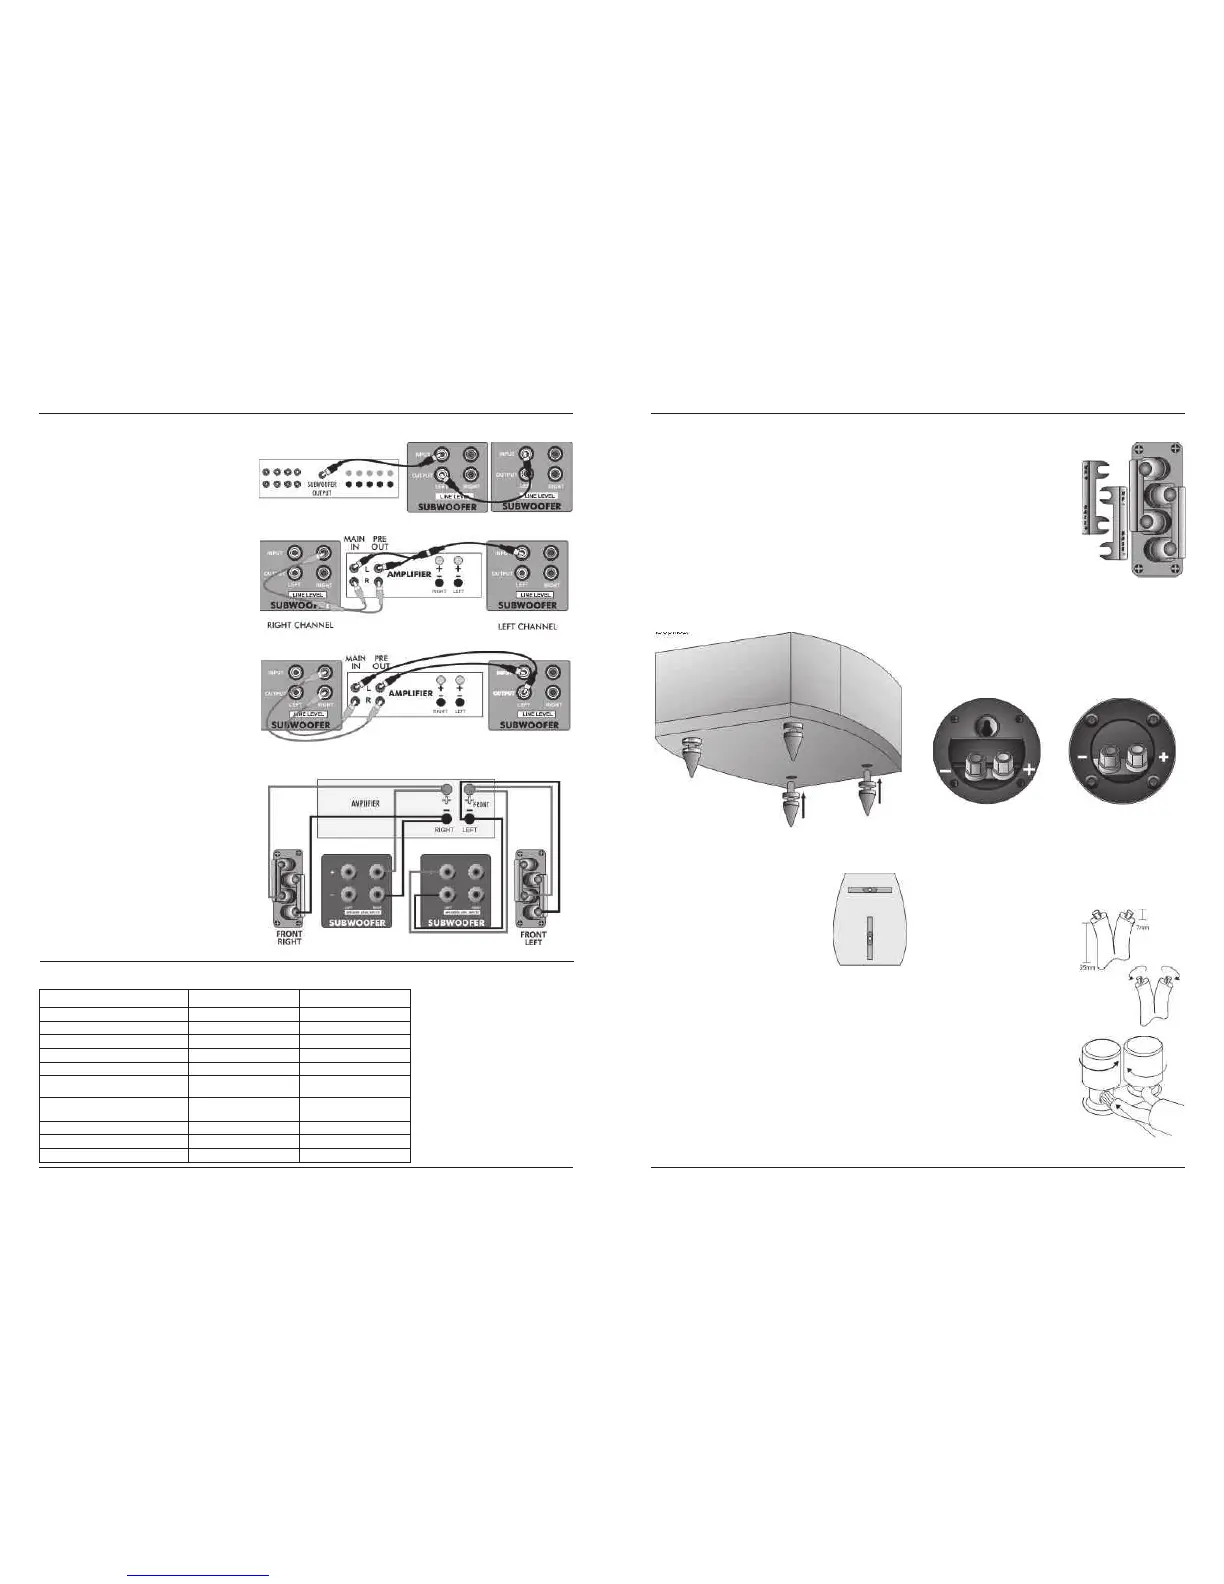
Fitting the Plinth and Spikes (Models 9.4, 9.5, 9.6 only)
bass terminal pair via removable
Carefully invert each loudspeaker. Protect the top surface from
metal straps. These should be left in
scratches or damage when the loudspeaker is in the inverted position.
place for standard installations.
Each loudspeaker is provided with four spikes. Prepare the spikes as
The D9.0 compact monitor, the D9.CC compact Centre Channel speaker
shown and screw the spikes into the threads on the plinth. Return the
and the D9.SR use essentially the same circular section crossover panel.
loudspeaker to its normal position taking care not to cause damage with
These are illustrated below.
the spikes.
The D9 DFS uses a crossover network panel built into the speaker’s rear
wall. This is illustrated on Page 4.
None of the abovementioned loudspeakers are bi-wireable.
Choosing and Preparing Cables
When moving speakers, be careful not to let the spikes pierce objects or
Specialist audio cable offers better performance than general purpose
cables which may be concealed under the carpet. Never drag
'bell' or 'zip' wire.
loudspeakers. If you cannot lift them easily, get someone to assist you
Choose a cable of suitable diameter - cable that is too thin will limit the
dynamics of the sound and may impair the bass response. Audio cable
Adjusting the Spikes: Loosen the nut. Screw
is polarised, with two cores of different colours, or often a raised rib or
each spike in or out so that the speakers are
coloured tracer in the case of twin cable.
stable. The top surfaces of each loudspeaker
should be level and the speakers should be the
Split the twin cores to a depth of about
same height above the floor.
40mm. Carefully strip the insulation
from each end, leaving about 10mm of
When the speakers are in their final positions,
bare wire. If the cable is stranded, lightly
tighten all the nuts.
twist to gather any loose strands.
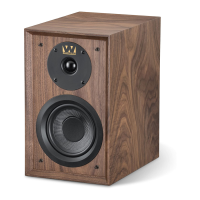
Stands and Brackets
Connecting Terminals
The 9.1, 9.2, and 9.3 are intended primarily for stand mounting, though
Unscrew the terminal. Thread the bared
they can be mounted on wall brackets or even on sturdy shelves. The
end of each cable through the hole in the
quality of loudspeaker stands greatly influences the performance of your
bottom of the terminal post. Ensure that
loudspeakers so do not use flimsy products.
there are no loose strands which may
The Diamond 9.0 may be stand or wall mounted. The rear panel has a
touch adjacent terminals. Re-tighten the
threaded insert for attaching a pair of suitable wall brackets.
terminal securely. The drawing on the
Centre Channel Loudspeakers
right illustrates the method.
Each centre channel loudspeaker is supplied with two sets of mounting
NOTE: When connecting loudspeakers,
feet. By using a combination of large and small feet the loudspeaker may
the cables to left and right channels
be angled to point directly at the listening position. This will be found
should ideally be of equal length,
useful when the centre speaker is positioned under the TV screen.
regardless of the distance of the
speakers from the amplifier.
Surround Loudspeakers
These speakers are designed primarily for wall mounting, though they
may be stand or shelf mounted if required. Please see Page 5
D9.SR D9.0 & D9.CC

 Loading...