5 - SET-UP FOR OPERATION
0812_GB_42 - GAS KITCHENS 04/2008
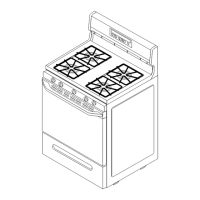
5.1.12 Setting reduced capacity power oven
Loosen screw (pos. 9 fig. 2) by two or three turns after having remo-
ved the knob and the control panel cover.
Light the burner and keep it lit for at least 10 minutes with the knob
in the position, then put the knob to and tighten screw
(pos. 9 fig. 2) until a reduced but steady, even flame is obtained (the
flame must warm the thermocouple even on low).
5.2 Maintenance
Attention! Before doing any repair or maintenance
work, unplug the appliance.
The following maintenance program should be carried out at least
once a year by qualified personnel with license:
• Check that all the safety and adjustment devices are working
properly;
• Check that the burners are working properly with regard to:
- ignition
- combustion safety;
Check functioning of the appliance as described in paragraph 5.1.6
“Operation control”.
If it should be necessary to clean the open flame burners, proceed as
follows:
• Remove the grills, the flame spreaders and the bodies of the
burners;
• Clean the parts with water and detergent and an appropriate
tool. Rinse and dry.
When reassembling the parts, make sure you place them back in the
right position.
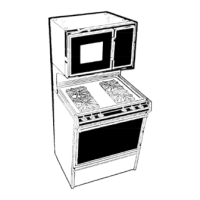
If it is necessary to clean the oven burner (pos. 18 fig. 2) proceed as
follows:
• Remove the lower panel as described previously. Unscrew the
screw fixing the hanger (pos. 2 fig. 2) of the injector-holder
(pos. 3 fig. 2), unscrew the screw (pos.5 fig. 2) fixing the burner
to the injector-holder and xtract the injector-holder from its
housing;
• Unscrew the fastening screw (pos. 19 fig. 2) of the burner and
remove it;
• Carefully clean all the holes of the burner with the aid of a tip
of a suitable size;
• Check that the smoke discharge is clear;
• Reinstall everything in reverse order.
After the replacement check the seal using a leack detector spray.
9 · 16