Level and position
the range
t
- -‘-
SPIRIT
/
LEVEL --
l I’\
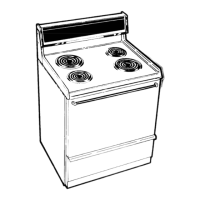
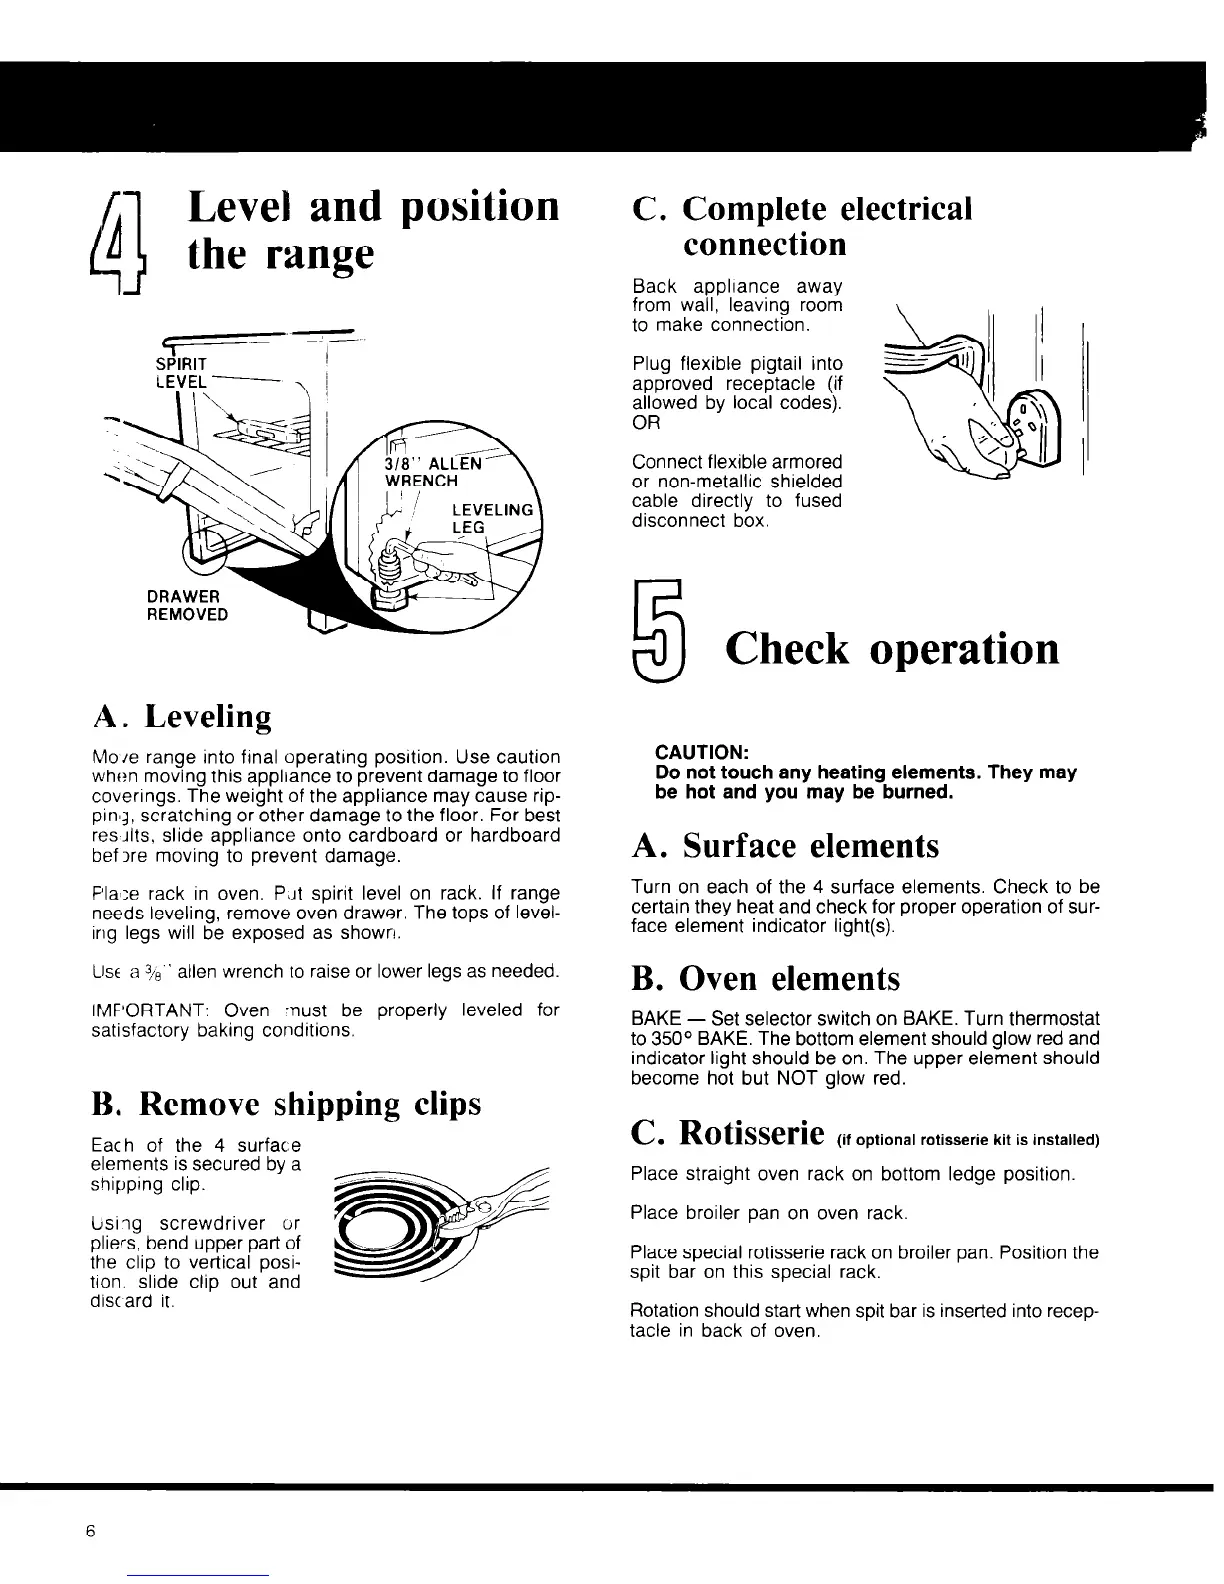
A. Leveling
MO/e range into fmal operating position. Use caution
when moving this appliance to prevent damage to floor
coverings. The weight of the appliance may cause rip-
pinlg, scratching or other damage to the floor. For best
res AIts, slide appliance onto cardboard or hardboard
before moving to prevent damage.
Plaf:e rack in oven. P$Jt spirit level on rack. lf range
needs leveling, remove oven drawer. The tops of level-
ing legs will be exposed as shown.
use a 3/R” allen wrench to raise or
IMPORTANT: Oven -nust be
satisfactory baking conditions.
lower legs as needed.
properly leveled for
B, Remove shipping clips
Each of the 4 surfac:e
elements is secured by a
shipping clip.
,A
d ’
/
w
_-
Lsiig screwdriver or
pliel-s, bend upper pat-t of
the clip to vertical posi-
tlon. slide clip out and
discard it.
C. Complete electrical
connection
Back appliance away
from wall, leaving room
to make connection.
Plug flexible pigtail into
approved receptacle (if
allowed by local codes).
OR
Connect flexible armored
or non-metallic shielded
cable directly to fused
disconnect box.
5
Check operation
CAUTION:
Do not touch any heating elements. They may
be hot and you may be burned.
A. Surface elements
Turn on each of the 4 surface elements. Check to be
certain they heat and check for proper operation of sur-
face element indicator light(s).
B. Oven elements
BAKE - Set selector switch on BAKE. Turn thermostat
to 350° BAKE. The bottom element should glow red and
indicator light should be on. The upper element should
become hot but NOT glow red.
C. Rotisserie
(If optional rotisserie kit is installed)
Place straight oven rack on bottom ledge position
Place broiler pan on oven rack.
Place special rotisserie rack on broiler pan. Position the
spit bar on this special rack.
Rotation should start when spit bar is inserted into recep-
tacle in back of oven.
6