8
Final Installation
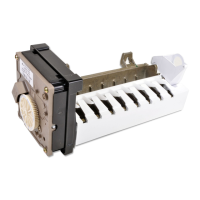
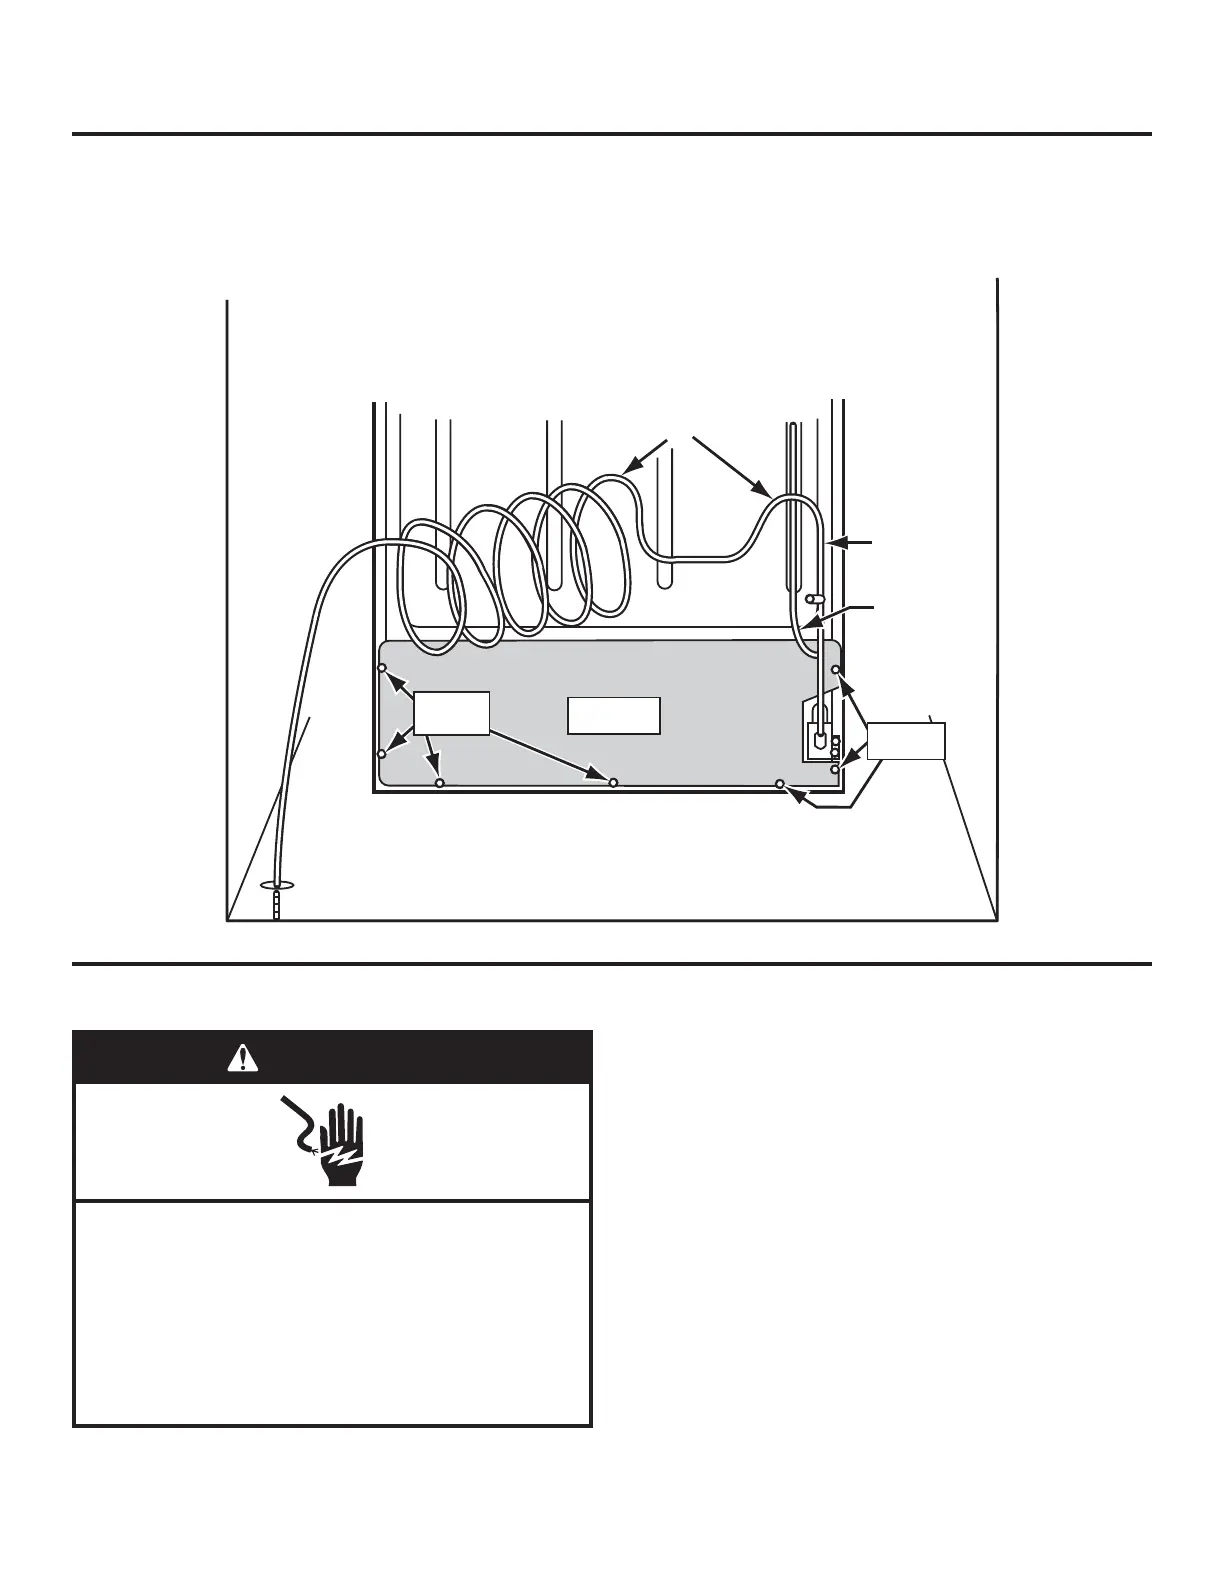
Forming the copper tubing
1. Loop the copper tubing coming from the water valve as
shown. Position the coiled copper tubing near the center of
the unit so that it forms an “accordion-fold” (as shown in the
diagram below) when it is moved to and from the wall.
Connecting the power/Leveling the unit
1. Plug the power cord into its AC outlet, and gently push the
refrigerator back against the wall.
2. Place a level on top of the cabinet. If you need to re-level the
refrigerator, follow the procedure to adjust the front casters,
as outlined in your refrigerator’s “User Guide.”
3. Check the position of the ice maker. If it is crooked and
needs to be adjusted, loosen the bottom mounting screw and
position the ice maker as desired, then tighten the screw.
WARNING
Electrical Shock Hazard
Plug into a grounded 3 prong outlet.
Do not remove ground prong.
Do not use an adapter.
Do not use an extension cord.
Failure to follow these instructions can result in death,
fire, or electrical shock.
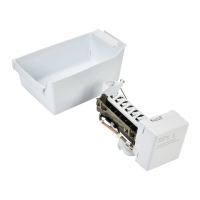
Forming the copper tubing
Hex-head
screws
Hex-head
screws
Rear access
cover
Place water
valve tubing
behind cover
Form tubing
loops as shown
Copper tubing