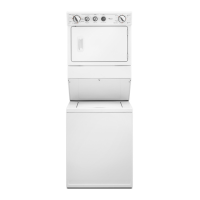
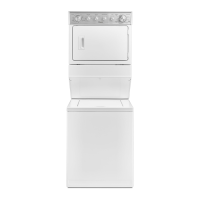
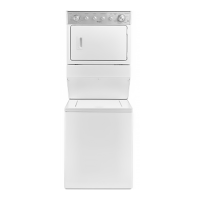
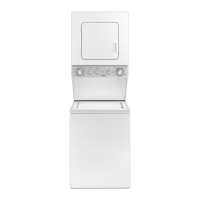
27" (69 CM) ELECTRIC WASHER/DRYER
INSTALLATION INSTRUCTIONS
INSTRUCTIONS POUR UINSTALLATION DE LA LAVEUSE/
SI CHEUSE I LECTRIQUE DE 27" (69 CM)
Table of Contents Table des mati_res
WASHER/DRYER SAFETY .......................................................... 1
iNSTALLATiON REQUIREMENTS ............................................... 3
Tools and Parts ..................................................................... 3
LOCATION REQUIREMENTS ...................................................... 5
DIMENSIONS/CLEARANCES ..................................................... 6
DRAIN SYSTEM ........................................................................... 7
ELECTRICAL REQUIREMENTS - U.S.A ..................................... 8
ELECTRICAL REQUIREMENTS - CANADA ............................... 9
REMOVE SHiPPiNG STRAP ...................................................... 10
iNSTALL LEVELING LEGS ......................................................... 10
ELECTRICAL CONNECTION (U.S.A. ONLY) ............................ 11
VENTING ..................................................................................... 17
Venting Requirements ........................................................ 17
Plan Vent System ................................................................ 18
Install Vent System ............................................................. 19
CONNECT DRAIN HOSE ........................................................... 20
CONNECT iNLET HOSES .......................................................... 21
CONNECT VENT ........................................................................ 22
LEVEL WASHER/DRYER ........................................................... 23
COMPLETE iNSTALLATiON CHECKLIST ................................ 24
SLeCURITle DE LA LAVEUSE/SECHEUSE ................................ 25
EXIGENCES D'INSTALLATION ................................................. 27
Outillage et pi_ces ............................................................. 27
EXIGENCES D'EMPLACEMENT .............................................. 29
DIMENSIONS/DISTANCES DE DleGAGEMENT ....................... 30
SYSTEME DE VIDANGE ............................................................ 31
SPleClFICATIONS leLECTRIQUES - CANADA ......................... 32
ENLEVER LA SANGLE D'EXPleDITION .................................... 33
iNSTALLATiON DES PIEDS DE NIVELLEMENT ...................... 33
i_VACUATION ............................................................................. 34
Exigences concernant I'_vacuation ................................. 34
Planification du syst_me d'_vacuation ............................ 35
installation du conduit d'_vacuation ................................ 36
RACCORDEMENT DU TUYAU DE VIDANGE ........................... 37
RACCORDEMENT DES TUYAUX D'ARRIVleE D'EAU ............. 38
RACCORDEMENT DU CONDUIT DqeVACUATION ................. 39
leTABLISSEMENT DE L'APLOMB DE
LA LAVEUSE/SI'-=CH EUSE .......................................................... 40
LISTE DE VERIFICATION POUR L'ACHEVEMENT
DE L'INSTALLATION .................................................................. 41
iNSTALLATiON NOTES
Date of purchase:
Date of installation:
installer:
Model number:
Serial number:
NOTES CONCERNANT L'INSTALLATION
Date d'achat :
Date d'installation :
Installateur :
Num_ro de module :
Num_ro de s_rie :
WASHERDR_R S_ETY
Your safety and the safety of others are very important.
We have provided many important safety messages in this manual and on your appliance. Always read and obey all safety
messages.
This is the safety alert symbol.
This symbol alerts you to potential hazards that can kill or hurt you and others.
All safety messages will follow the safety alert symbol and either the word "DANGER" or "WARNING."
These words mean:
All safety messages will tell you what the potential hazard is, tell
happen if the instructions are not followed.
You can be kifled or seriously injured if you don't immediately
follow instructions.
You can be killed or seriously injured if you don't follow
instructions.
you how to reduce the chance of injury, and tell you what can
W10356098A