Do you have a question about the Whirlpool WFC315S0JS and is the answer not in the manual?
Explains the safety alert symbol, its meaning, and associated warning words.
Instructions to prevent the range from tipping and causing injury.
Crucial precautions to reduce risk of fire, shock, or injury during appliance use.
Guide to using the self-cleaning feature, including preparation and post-cleaning.
Methods for general cleaning of the range's exterior and interior surfaces.
Instructions for cleaning stainless steel, paint, and glass cooktops.
Guidance for cleaning cooktop controls, elements, and burner bowls.
Identifies necessary tools and supplied parts for a successful installation.
Specifies clearances, site preparation, and location requirements for installation.
Details specific cabinet opening sizes and clearances for mobile home installations.
Outlines electrical grounding and wiring standards for US installations.
Step-by-step guide for connecting the range using a 4-wire power supply.
Step-by-step guide for connecting the range using a 3-wire power supply.
Electrical connection requirements and code compliance for Canadian installations.
Instructions for removing packaging and preparing the range before installation.
Detailed instructions for securely mounting the anti-tip safety bracket to prevent tipping.
Procedures for adjusting leveling legs to ensure the range is stable and level.
Step-by-step guide for making the electrical connection using the power supply cord.
Explains how to connect to 4-wire or 3-wire receptacles.
Instructions for connecting the range directly to the electrical panel.
Specific wiring steps for a 4-wire power supply cord.
Specific wiring steps for a 3-wire power supply cord.
Guidelines for direct wiring using copper or aluminum electrical wire.
Torque specifications for connecting bare wires to terminal blocks.
Steps to verify the anti-tip bracket is correctly installed and engaged.
Instructions for removing and replacing warming or storage drawers.
Steps for safely removing and reinstalling the oven door.
Instructions for safely moving the range for maintenance or cleaning.
Checks required after moving, including anti-tip bracket and leveling.
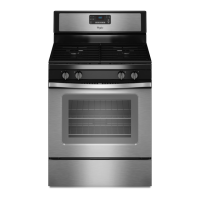
| Brand | Whirlpool |
|---|---|
| Model | WFC315S0JS |
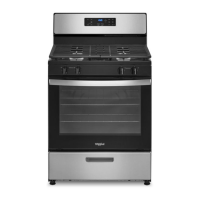
| Type | Freestanding |
| Fuel Type | Gas |
| Oven Capacity | 5.0 cu. ft. |
| Number of Burners | 4 |
| Self-Cleaning | Yes |
| Color | Stainless Steel |
| Burner Type | Sealed |
| Width | 30 inches |
| Cooktop Material | Porcelain |
| Weight | 150 lbs |