10
IMPORTANT: Proper installation of your dryer prior to use is your responsibility. Be sure to read and follow the Installation Instructions
that came with your dryer.
Automatic Setup Instructions – Wi-Fi Protected Setup (WPS)
Press the WPS button on the router. An indicator light will
begin blinking.
HELPFUL TIP: The WPS function on your router is active
for 2 minutes. Complete the next step within that timeframe
or you will need to reinitiate WPS.
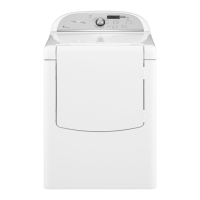
1. Router setup
INTERNET
WI-FI PROTECTED
SETUP (WPS)
HOME WIRELESS
ROUTER
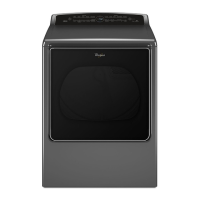
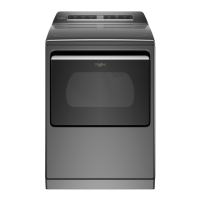
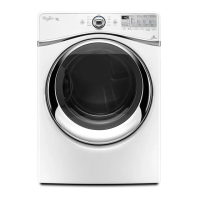
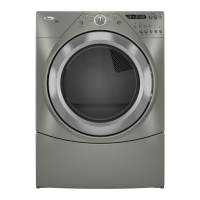
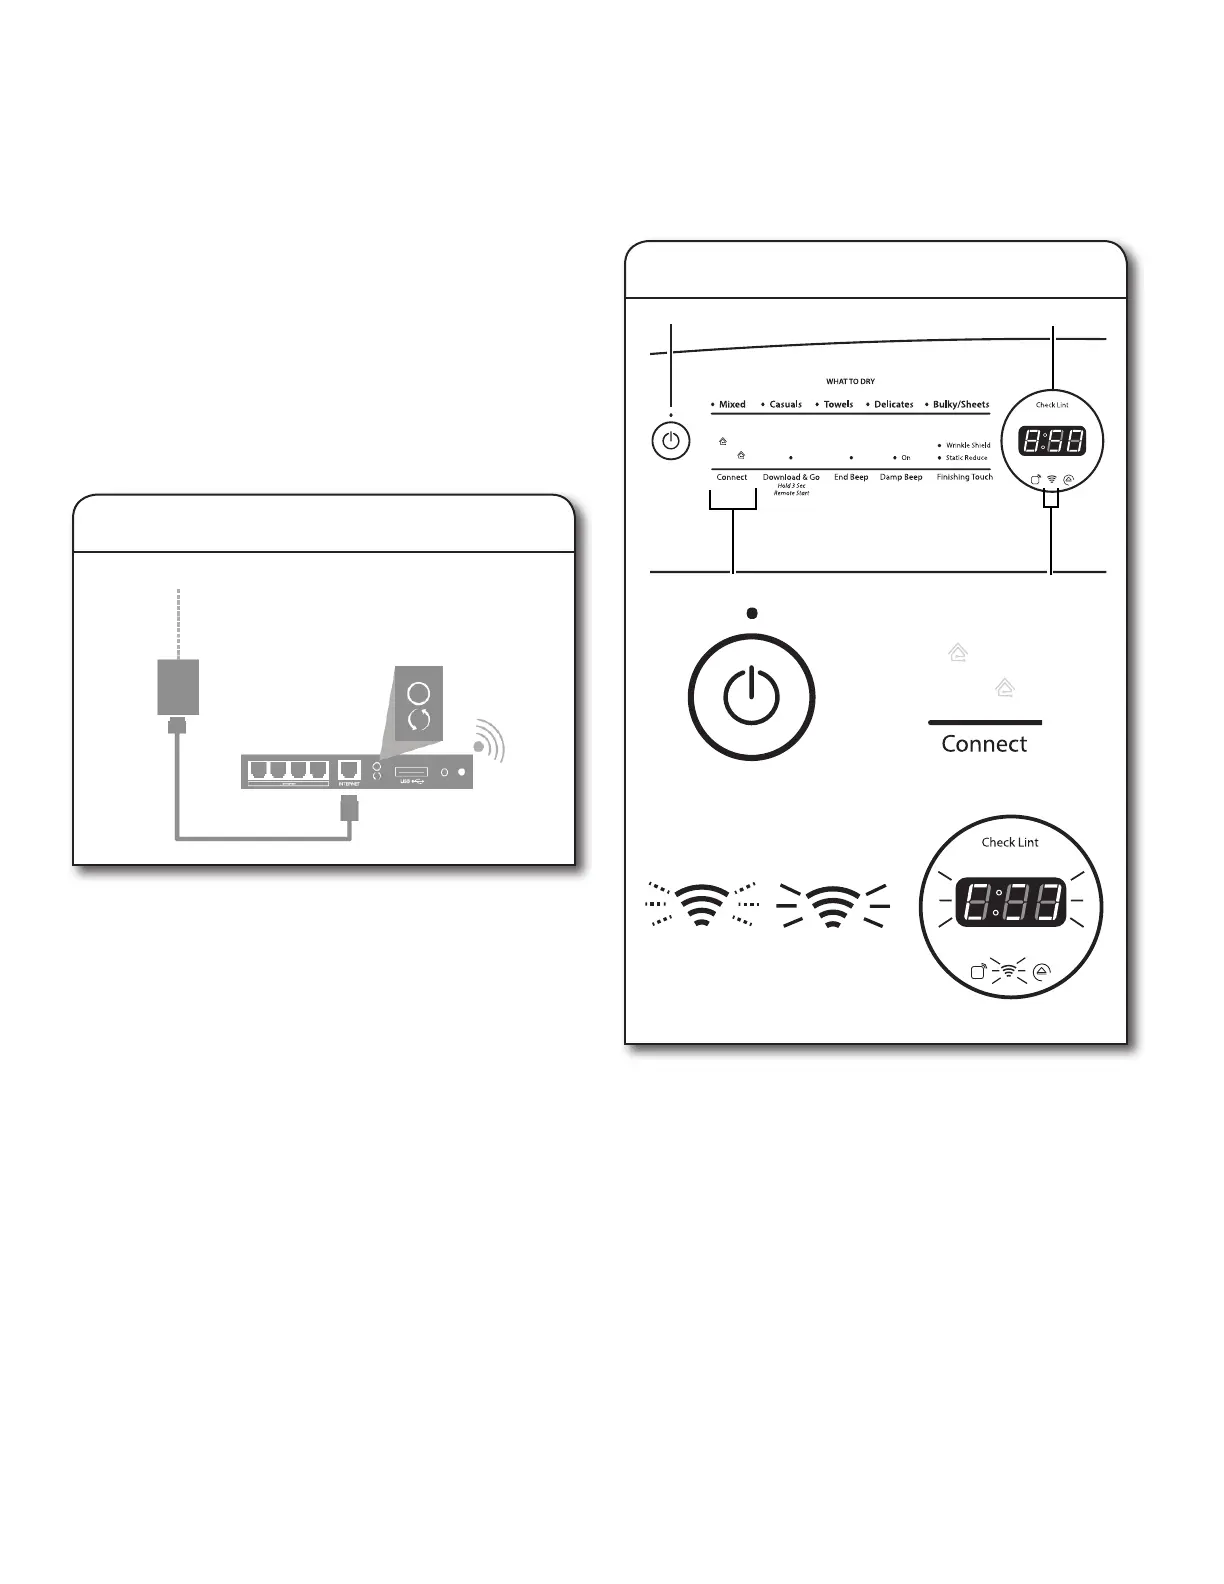
Touch the POWER button (A) to turn on the dryer, then touch
the CONNECT button (B).
The Wi-Fi status indicator (C) on the dryer control panel will
blink slowly while your dryer and router attempt to connect.
The Time/Status display (D) will show a “sensing animation”.
This can take up to 2 minutes.
If the connection is successful, the Wi-Fi status indicator will
come on and remain lit.
If Your Dryer Doesn’t Connect
If your dryer and router fail to connect after 2 minutes,
the Wi-Fi status indicator (C) will blink rapidly for 2 seconds
and then turn off. Refer to the “Troubleshooting — Connectivity”
section of this Use & Care Guide, check any connection
instructions for your specic router, and refer to alternate
instructions at www.whirlpool.com/connect.
2. Dryer setup (time sensitive step)
Connectivity Setup
You will need:
• A home wireless router capable of Wi-Fi Protected Setup
(WPS). The router should be on and have a live Internet
connection.
• The Smart Appliance ID (SAID) from your dryer. This is located
on a sticker inside the dryer door.
NOTE: If your home wireless router is not equipped with a WPS
button, please check the user manual of your router to conrm
if it is WPS capable. If not, alternate setup instructions are at
www.whirlpool.com/connect.
u
q
A
B
C
D
u
q
A
C
D
B