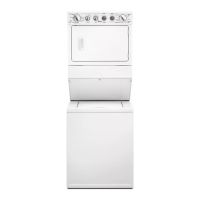
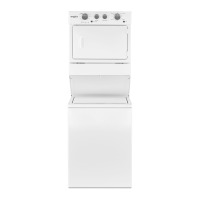
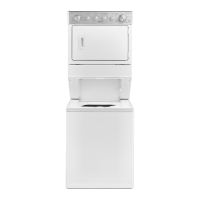
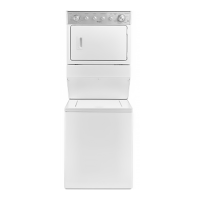
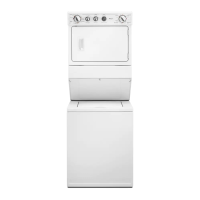
27"(69CM)GASWASHER/DRYER
INSTALLATIONINSTRUCTIONS
INSTRUCCIONESDE INSTALACIONDELALAVADORM
SECADORAAGASDE27'(69CM)
p •
INSTRUCTIONSD'INST TION- LAVEUSE/SECHEUSEAGAZ
DE27'(69CM)
Table of Contents / Indice / Table des matDres
WASHER/DRYER SAFETY ............................. 2
INSTALLATION INSTRUCTIONS ................... 3
Teels and Parts ............................................. 3
Alternate Parts ............................................... 3
Location Requirements ................................ 3
Drain System ................................................. 4
Electrical Requirements ................................ 5
Gas Supply Requirements ............................ 5
Venting Requirements ................................... 6
Remove Shipping Strap ................................ 7
Install Leveling Legs ...................................... 8
Connect the Drain Hose ................................ 8
Connect the Inlet Hoses ............................... 8
Secure the Drain Hose .................................. 9
Plan Vent System ........................................ 10
Install Vent System ...................................... 11
Level Washer/Dryer ..................................... 11
Make Gas Connection ................................ 11
Connect Vent .............................................. 12
Complete Installation .................................. 12
SEGURIDAD DE LA
LAVADORA/SECADORA ............................... 13
INSTRUCCIONES DE INSTALACION .......... 14
Herramientas y piezas ................................. 14
Piezas altemativas ...................................... 14
Requisitos de ubicacion ............................. 14
Sistema de desagiJe .................................. 16
Requisitos el_ctricos ................................... 16
Requisitos del suministro de gas ................ 17
Requisitos de ventilaci6n ............................ 18
Quite el fleje de embalaje ............................ 19
Instalacion de las patas niveladoras ........... 20
Conecte la manguera de desagL_e.............. 20
Conecte las mangueras de entrada ........... 20
Fijacion de la manguera de desagiJe .......... 21
Planificaci6n del sistema de ventilaci6n ..... 22
Instalacion del sistema de ventilacion ........ 23
Como nivelar la lavadora/secadora ............ 23
Conexi6n del suministro de gas ................. 23
Conexi6n del ducto de escape ................... 24
Complete la instalaci6n ............................... 24
SleCURITle DE LA LAVEUSE/SleCHEUSE ... 25
INSTRUCTIONS D'INSTALLATION .............. 26
Outillage et pi_ces ....................................... 26
Autres pi_ces .............................................. 26
Exigences d'emplacement ........................ 26
Systeme de vidange ................................... 28
Specifications _lectriques ........................... 28
Specifications de I'alimentation en gaz ...... 29
Exigences concernant I'_vacuation ............ 30
Enlever la sangle d'exp_dition .................... 31
Installation des pieds de nivellement .......... 31
Raccordement du tuyau de vidange .......... 31
Raccordement des tuyaux d'alimentation.. 32
Immobilisation du tuyau de vidange ........... 33
Planification du systeme d'_vacuation ....... 33
Installation du systeme d'_vacuation ......... 35
Nivellement de la laveuse/s_cheuse ........... 35
Raccordement &la canalisation de gaz ...... 35
Conduit d'_vacuation .................................. 36
Achever I'installation ................................... 36
WASHER/DRYERSAFETY
Your safety and the safety of others are very important.
We have provided many important safety messages in this manual and on your appliance. Always read and obey all safety
messages.
This is the safety alert symbol.
This symbol alerts you to potential hazards that can kill or hurt you and others.
All safety messages will follow the safety alert symbol and either the word "DANGER" or "WARNING."
These words mean:
You can be killed or seriously injured if you don't immediately
follow instructions.
You can be killed or seriously injured if you don't follow
instructions.
All safety messages will tell you what the potential hazard is, tell you how to reduce the chance of injury, and tell you what can
happen if the instructions are not followed.
W10118290A