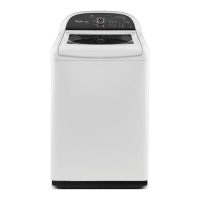
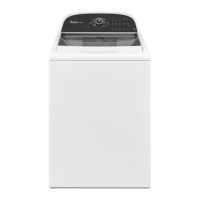
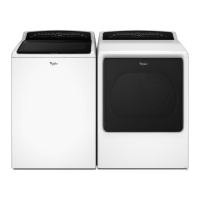
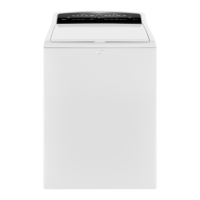
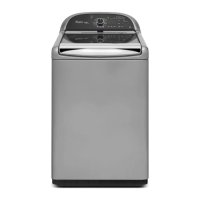
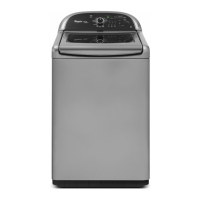
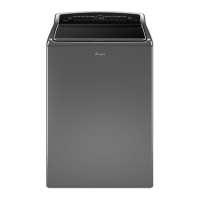
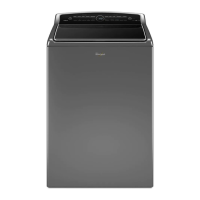
Washer
Installation
Instructions
Instructions
d’installation
de
la
laveuse
Para
una
version
de
estas
instrucciones
en
espanol,
visite
www.
whirlpool.com
Table
of
Contents
Table
des
matiéres
WASHER
SAFETY
......cscssscsssescsesecsssssceesesescseesscaeseeeeesenseaces
1
SECURITE
DE
LA
LAVEUSE
........c.ccscssscsscsssesseesessseeeaes
9
INSTALLATION
REQUIREMENTS.
..........ccssssssosssorsnseerens
2
EXIGENCES
D’INSTALLATION
........ccccsesscssssssssscesconsees
9
TOONS
ANC
Parts
.....cccccccccccececnenensssssssesesesesesesessessseececnenesecens
2
Outillage
Ot
PISC)S
2...
.ccccccccccessssssssssssssssssesesesesceeeeeseececenenerene
9
Location
Requirement
.......cccccscssssssssssssssssssssssssssrcncnseeceeers
3
Exigences
c’emplaceMe
nt
.....ccccccccscscststeessensseseseesaccaaaeaeaee
10
Drain
SYStOIN
.....ccscscsnscccccceteeeeeceeeeeeeeecececeeececececaceaacaracaceeeeees
4
Syst@Me
de
VICANGE
...ccccccccscscssscscscsscscscsescscseceeeeeeseeeseenenene
10
Electrical
Requirements
....ccccccccccccceececeeeeeseeesecececerarecaeeeeeeee
4
Spécifications
GlOctrique
.....cccccececsecscecscscccceccceeceeeeeeeenenene
11
INSTALLATION
INSTRUCTIONS..........cccccsssssssssssssssseeeens
5
INSTRUCTIONS
D’
INSTALLATION
.......ccccscssssssnsesesees
12
Before
you
start:
Remove
shipping
materials
.........ccc00
5
Avant
de
commencer
:
Retirer
Connect
Drain
HOSC.....cccccccscscssscscssscccscseccceeceseeeeessseeseseeeseee
5
le
matériel
P’exXPEditiOn
......cccccccccccccesescessrerersstsasaeseseseoeoees
13
Connect
Inlet
HOSCS....cccccccccececescsceesccccccecececceeeeeeeeneeeneneeeeee
6
Raccordement
du
tuyau
de
VIAN
GC.....ccscccsssssesssscssscsaeaes
14
Level
WaSKer
....cccccscscscscectctcteeeeeeeeeeeeeeecececececeeecaaacacanacaeeeeeees
7
Raccordement
des
tuyaux
d’alimentation
........cccccccsccseaee
14
Mise
a
niveau
de
la
laVCUSC.
i
ccccceceeeeeeeeeeeeeeeseeeeeeaeeneene
15
COMPLETE
INSTALLATION
GHECKLIST
...........ssccsscsnees
9
.
LISTE
DE
VERIFICATION
.
POUR
INSTALLATION
TERMINEE............ccsssssssssssnsennens
16
INSTALLATION
NOTES
NOTES
CONCERNANT
L'INSTALLATION
Date
of
purchase:
Date
d’achat:
Date
of
installation:
Date
d’installation
:
installer:
installateur
:
Model
number:
Numéro
du
modéle:
Serial
number:
Numéro
de
série
:
WASHER
SAFETY
Your
safety
and
the
safety
of
others
are
very
important.
We
have
provided
many
important
safety
messages
in
this
manual
and
on
your
appliance.
Always
read
and
obey
all
safety
messages.
This
is
the
safety
alert
symbol.
This
symbol
alerts
you
to
potential
hazards
that
can
kill
or
hurt
you
and
others.
All
safety
messages
will
follow
the
safety
alert
symbol
and
either
the
word
“DANGER?”
or
“WARNING.”
These
words
mean:
You
can
be
killed
or
seriously
injured
if
you
don't
immediately
vit
DANGER
follow
instructions.
You
can
be
killed
or
seriously
injured
if
you
don't
follow
ys
WARNING
instructions.
All
safety
messages
will
tell
you
what
the
potential
hazard
is,
tell
you
how
to
reduce
the
chance
of
injury,
and
tell
you
what
can
happen
if
the
instructions
are
not
followed.
W10196566A
W10196567A-SP