WP410, WP480G, WP490G Wildix Phones Guide
WP410, WP480G, WP490G Wildix Phones Guide
Page 2 of 13
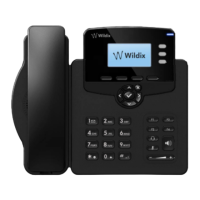
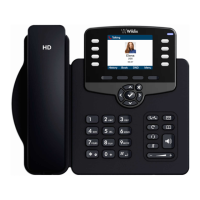
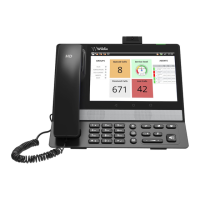
Phone overview
Connecting the phone
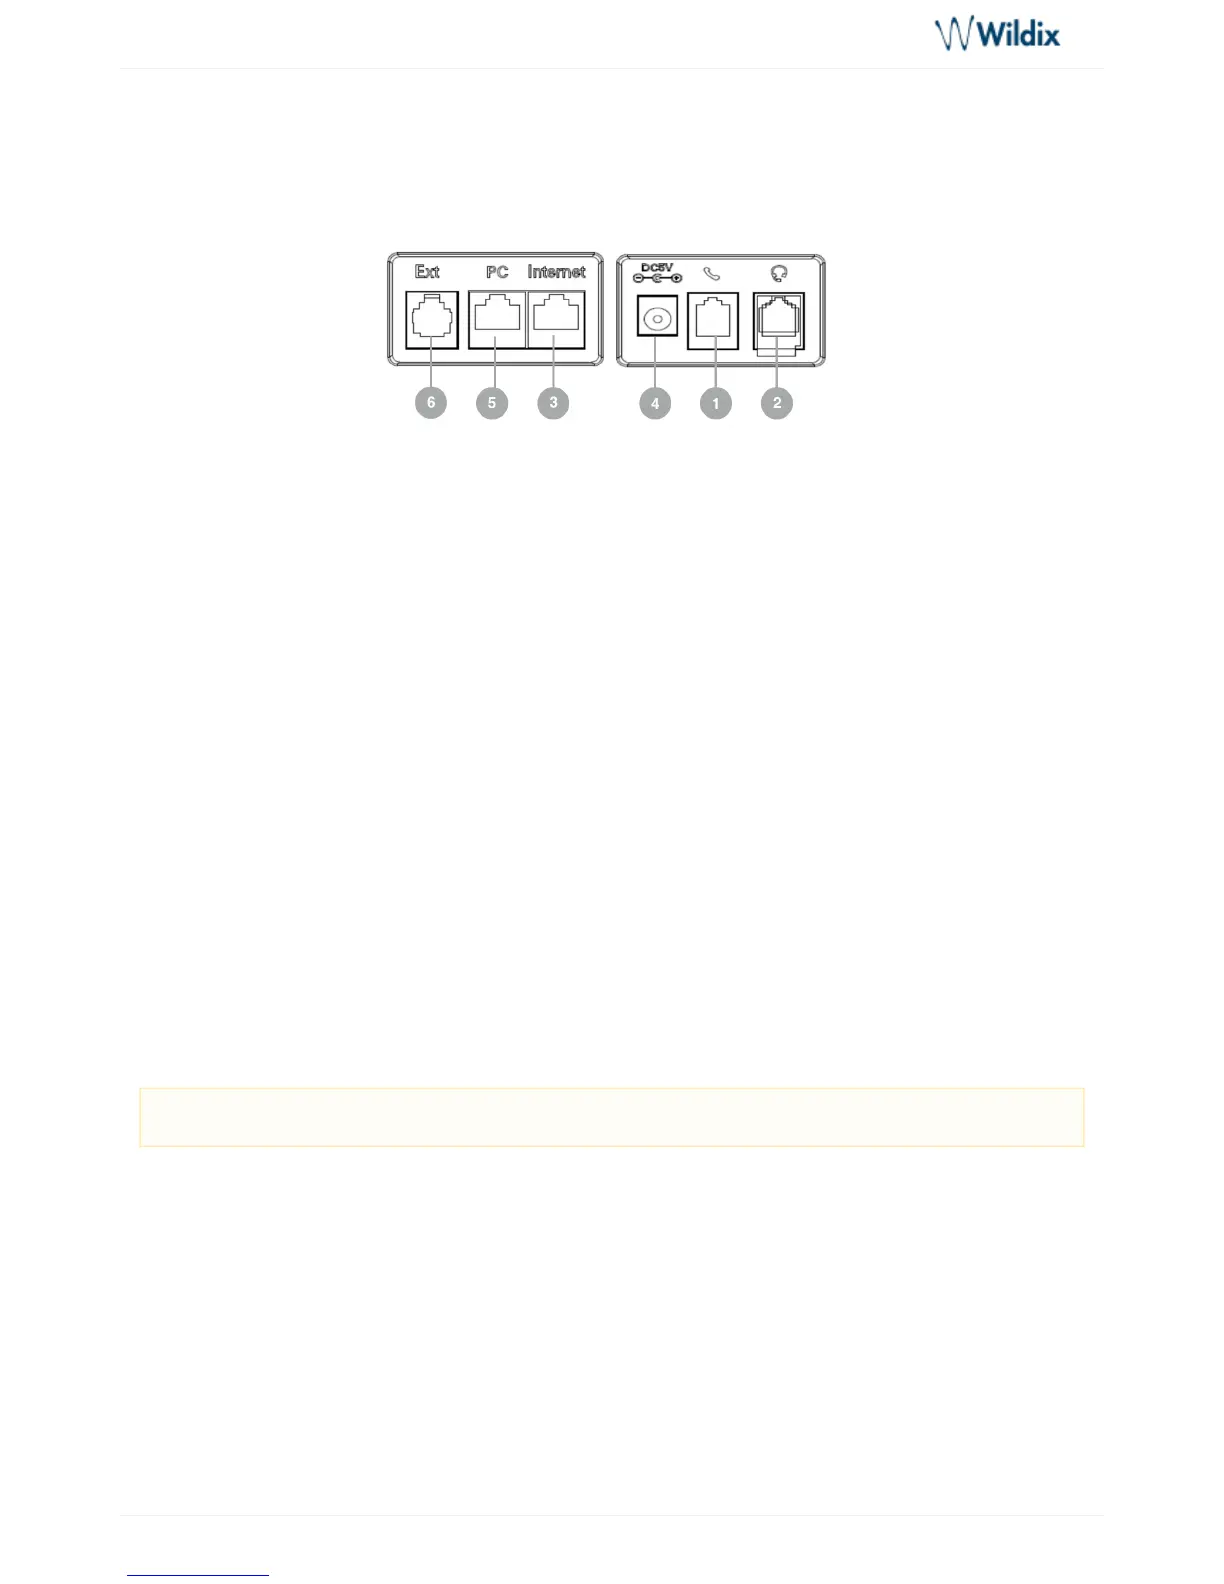
Rear panel:
1 – handset port
Attach the handset using the handset cord
2 – headset port
Attach the headset (optional; we recommend Wildix Headsets WHS-MONO, WHS-DUO)
3 – Internet port
Connect the phone to the Wildix PoE Switch using Ethernet cable
4 – AC power jack
If Power Over Ethernet is not used: connect the phone to AC power using an External Power Adapter
(check for compatible adapters) and connect the phone’s Internet port (3) to the InternetWP datasheet
using Ethernet cable
5 – PC port
For connection to PC (optional)
6 – Ext port (WP480G/WP490G)
Used to connect wireless headset adapter WPEHS (WP480G/WP490G) / keypad extension module
WP490EXT (WP490G); online guide: WHS, WP490EXT, WPEHS – Quick Start Guide
Mounting instructions
: attach the stand to the phone (desk mounting) or hang the phone on the wall (without attaching theWP410
stand)
: aWP480G / WP490G ttach the stand to the phone (desk mounting); for wall mounting, use wall mount
bracket (article can be purchased separately, code: WP480-WM)
Keypad instruction
Note: for provisioning of WP4X0, read .WMS Start Guide