Advanced Settings:
Hold SET and UP buttons for 3 seconds to enter the advanced
settings menu.
The default unit is set according to region.
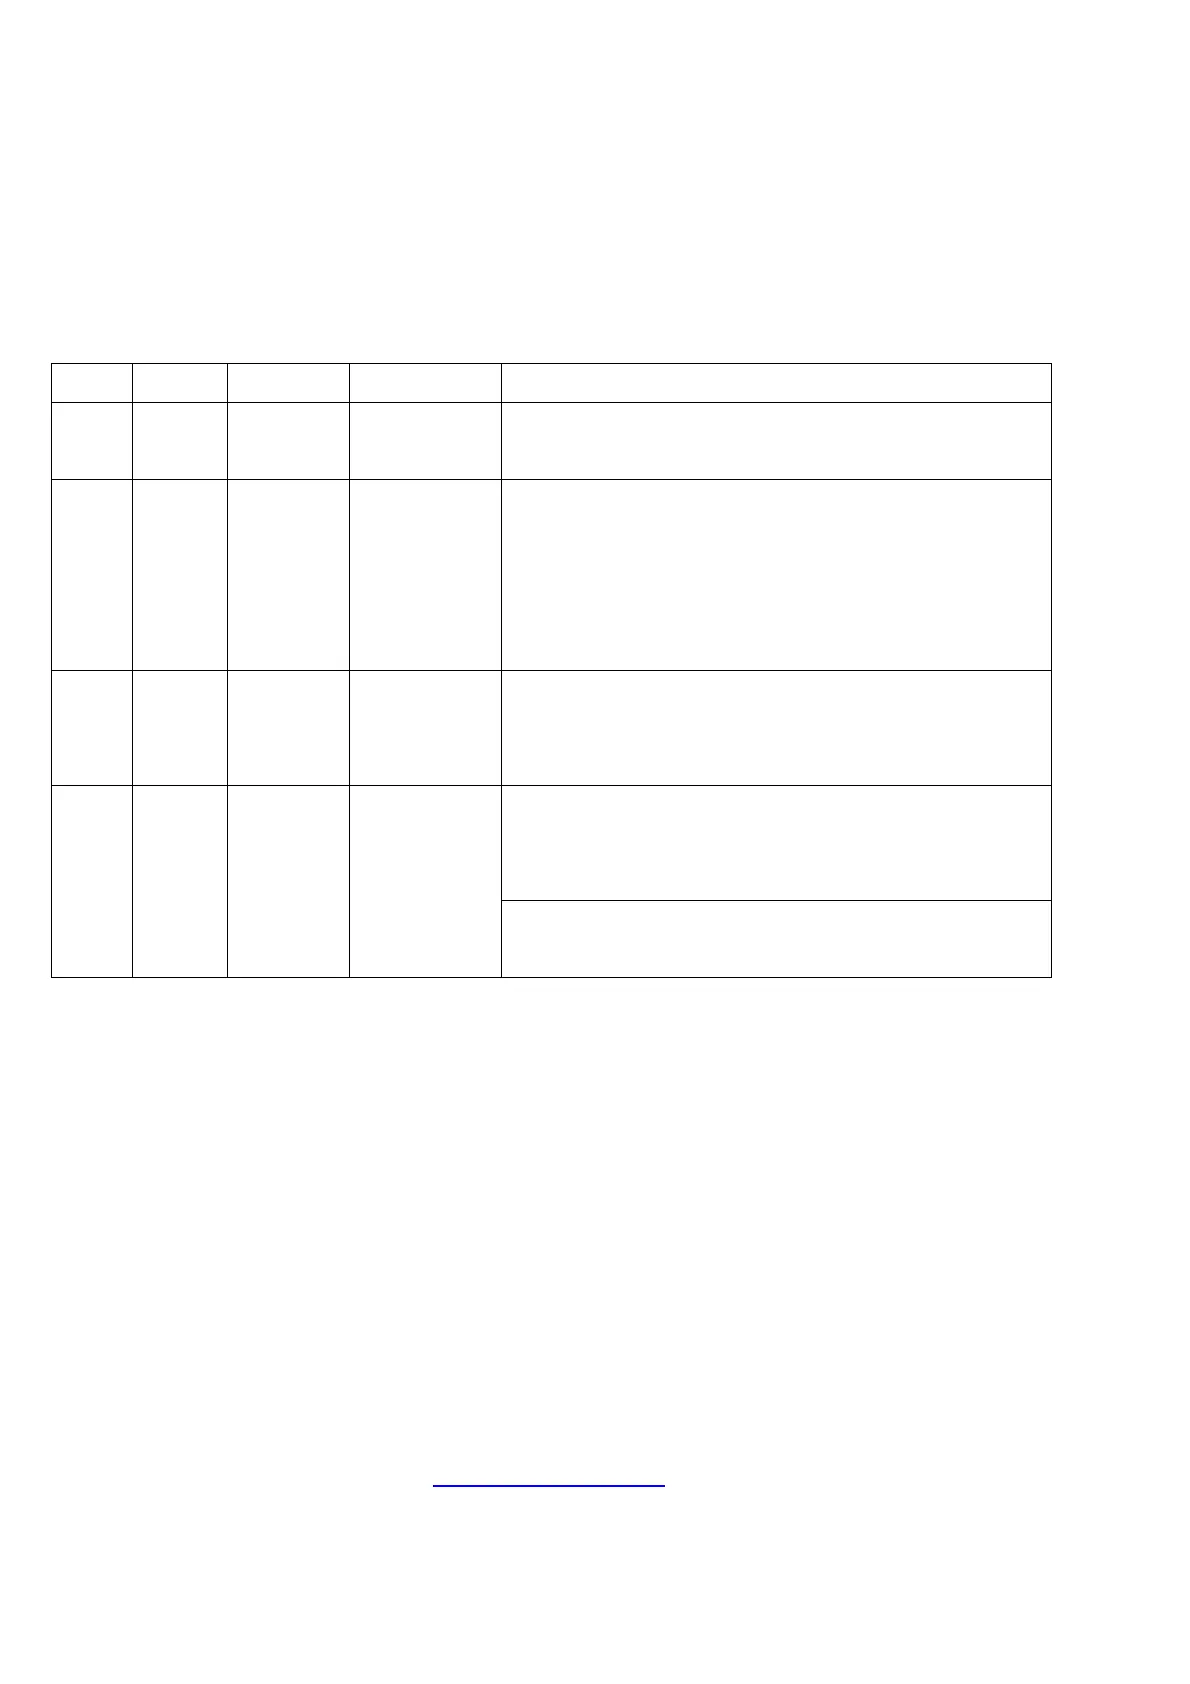
Number
increment for
each click on
UP/DOWN
button
Optional. If you choose 10, the number jumps by 1. IE: 1, 2, 3,
4…. If you choose 1, the number jumps by 0.1. IE: 2.1, 2.2,
2.3…
Optional. Once you choose ON, AT parameter will appear in
main menu. And timer will only work after you set an AT
value.
Defines when
to start
counting down
ON: timer starts counting down once the
process is started (the last step after you press
POWER once). Refer to Setup procedure 1
OFF: timer starts counting down once target temp is reached.
Refer to Setup procedure 2
*Setup procedure 1: Enter advanced menuset dL=ON set U=ONPress POWER
once to quit advanced settingenter main menu to set related parameter and set
AT Press POWER once to quit settingnow the screen displays ‘current temp’ and
‘OFF’ alternately Press POWER once again to start the process. You’ll hear a long
beep. Now the timer starts counting down. The screen alternately displays ‘remaining
minutes’ and ‘current temp’. After counting down finishes, you can press POWER once
to restart timer.
*Setup procedure 2: Enter advanced menuset dL=ON set U=OFF Press POWER
once to quit advanced setting enter main menu to set related parameter and set
AT Press POWER once to quit settingThe timer will start counting down only when
the target temperature is reached.
※ Please contact us at Service@bayite.com if you have any difficulty.
 Loading...