Installation Options
Vehicle Installation Option
1.
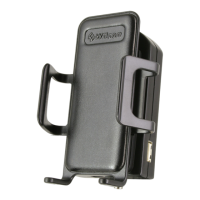
Attach the Mounting Bracket to the
vehicle's
dashboard.
• Clean
the area where the bracket is to be
mounted with the
alcohol wipe
included.
Allow
the area to dry.
• Peel
the backing to expose the adhesive
and press the bracket onto the desired
location
on the dashboard. NOTE: Be
sure the
tab is positioned vertically.
• Allow
the adhesive to cure for 24 hours
before you attach the Sleek
(Step 4
).
2.
Install
the Outside Antenna.
Select
a
location
on top
of
the car that is:
•
Near the center
of
the
vehicle's
roof.
•
At
least 12 inches from any other
antennas.
•
Free
of
obstructions.
•
At
least
6 inches from any windows
(including
sunroofs).
The Outside Antenna must be
installed
vertically.
3. Run the Outside Antenna
cable
into the car.
The
cable
is strong enough that it may be
shut
in
most
vehicle
doors without damaging
the
cable.
For
a
cleaner look, carefully pull
down the door
seal,
run the cable under the
seal,
and push the seal
back into
place.
This
method reduces wear on the
cable
as the
door opens and
closes.
4. Attach the
Sleek
to the Mounting Bracket.
After waiting 24 hours for the adhesive on
the bracket
to
cure, attach the
Sleek by
aligning
the rectangular
hole
on the back
of
the
Sleek
with the
tab on the Mounting
Bracket, grasping the sides
of
the
Sleek,
and
sliding
it downward approximately
%
inch into
place.
The Mounting Bracket is designed to
swivel
for more convenient viewing
angles.
Once
the
Sleek
is
in
place,
you can adjust
the
angle of the bracket by
loosening
the
knurled
nut,
applying gentle
pressure to
the top or bottom
of
the
Sleek,
and then
tightening the nut when the desired
angle is
achieved.
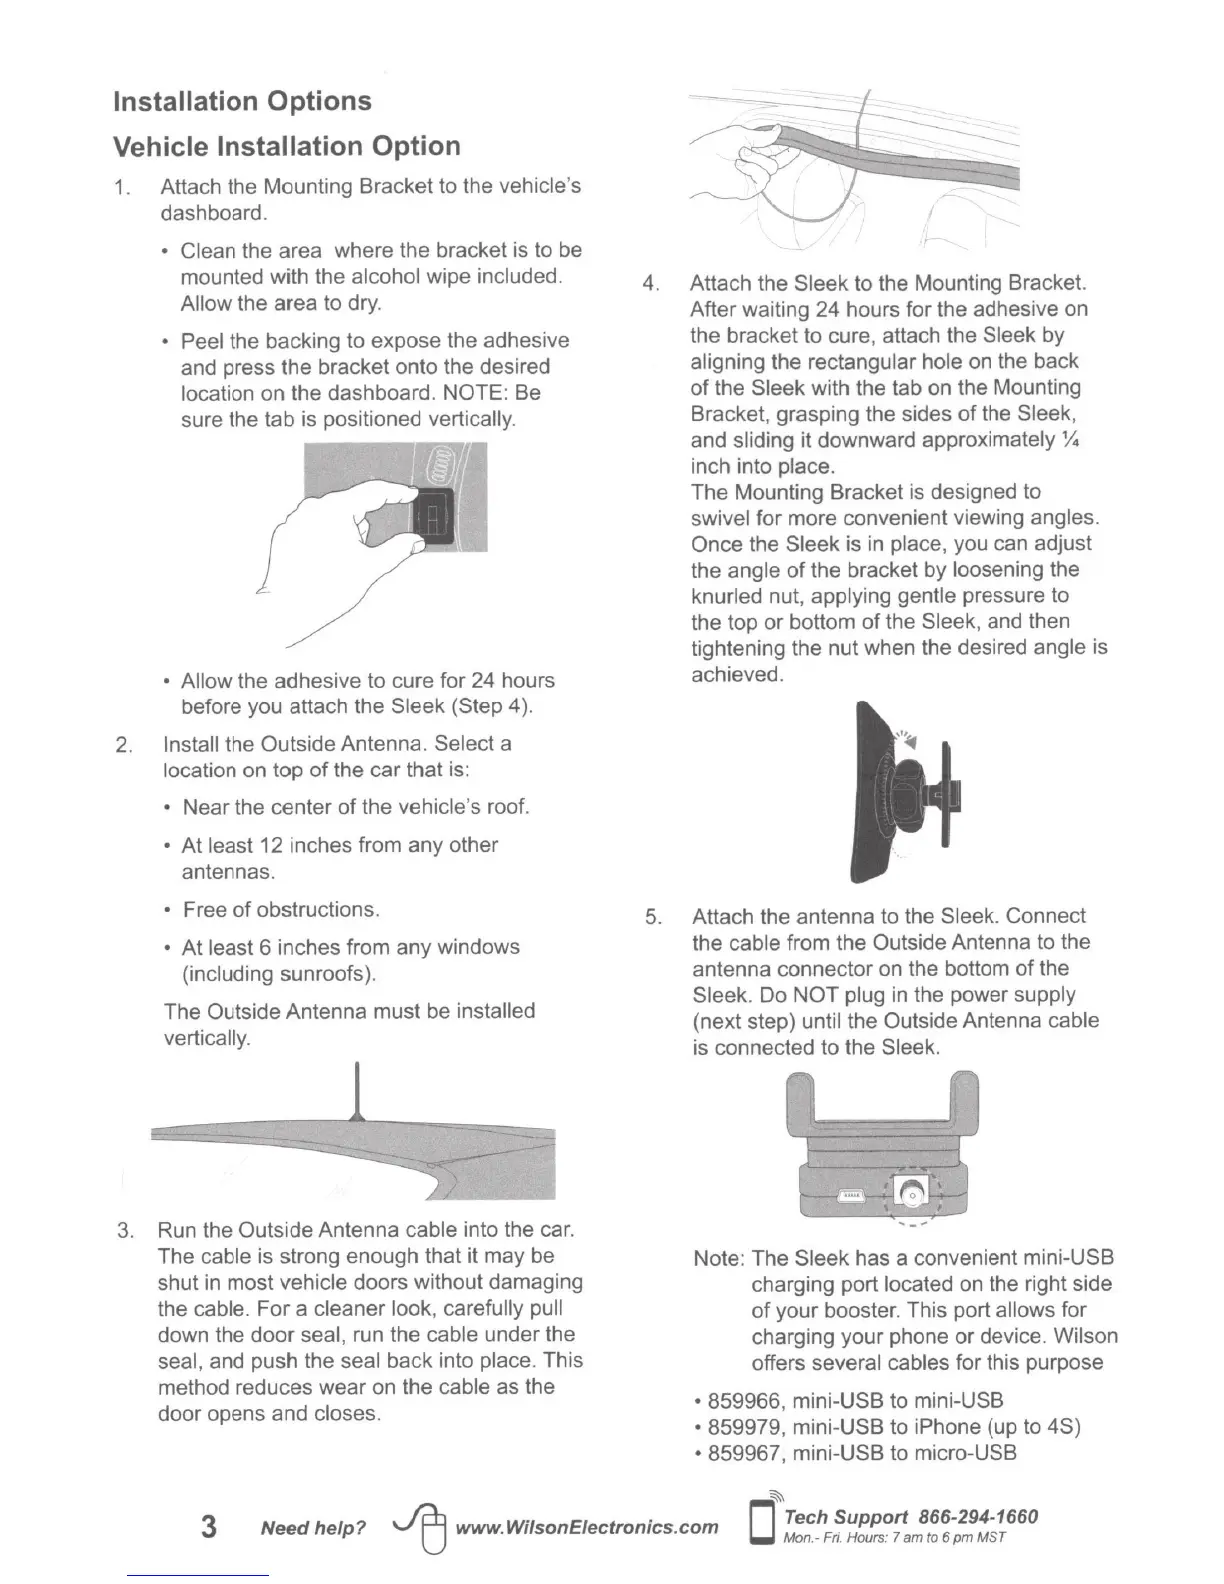
5.
Attach the antenna to the
Sleek. Connect
the
cable
from the Outside Antenna to the
antenna connector
on
the bottom
of
the
Sleek. Do
NOT plug
in
the power
supply
(next step)
until
the Outside Antenna cable
is connected to the
Sleek.
Note: The
Sleek
has a convenient mini-USB
charging port located
on the right side
of
your booster. This port allows
for
charging your phone or device. Wilson
offers
several cables
for this purpose
•
859966, mini-USB to mini-USB
•
859979, mini-USB to
iPhone
(up to 4S)
•
859967, mini-USB to micro-USB
~
3
Need
help?
~
www.WilsonEiectronics.com
0
Tech
Support
866-294-1660
Mon
.-
F
ri.
Hours:
7
am
to
6 pm MST