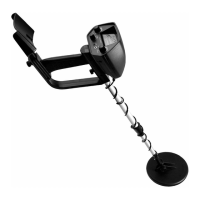
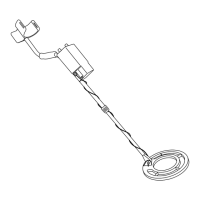
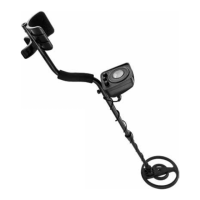
PREPARAT ION
ASSEMBLING T HE DETECTOR
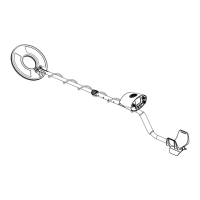
As semblin g the detec t or is easy and requires no special tools. Just follow
these steps.
1. Unscr ew the knobs on the searc h coil and remove the knobs a nd
the connector. Insert the smaller stem a nd align the holes on the
search coil bracket and the stem. Push the connector through the
holes, the n replace and tighten the knobs.
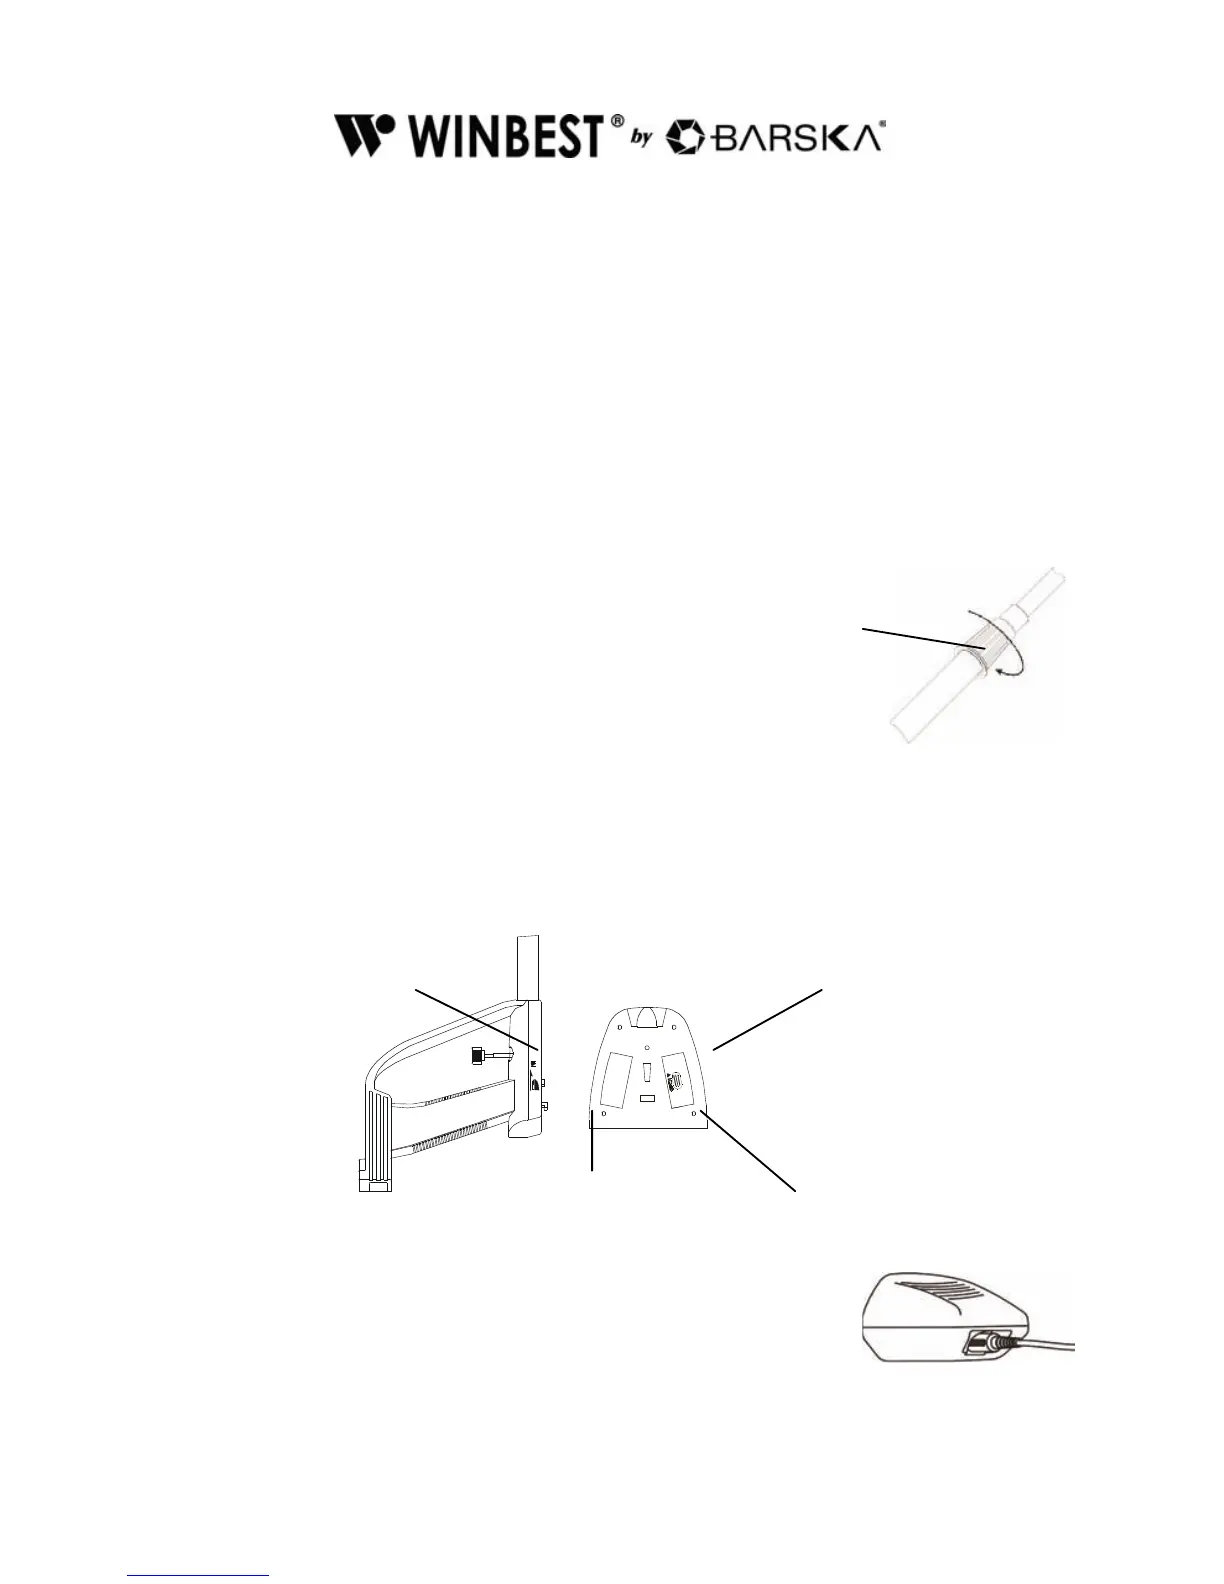
2. Loosen the stem’s lock nut (connected
with the hand le) i n the directi on of the
arrow. Then insert the smaller stem into
the big stem connected with the handle.
Turn the stem’s lock nut in the reverse
direc t ion of the arrow to lock it i n place.
3. Insert the latch on the top of the hand le into the assembly hole on
the botto m of the control box. Then slightly push the control box in the
direc t ion of IN on the handle to fix the latch in place.
4. Tighten the fixing screw.
5. Insert the search coil cable plu g into the five pin
jack on the front control box’s housing.