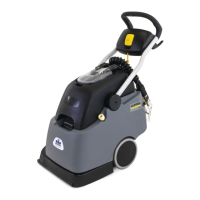
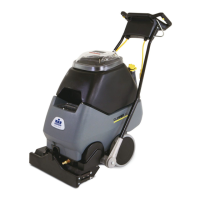
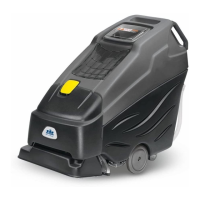
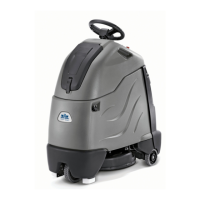
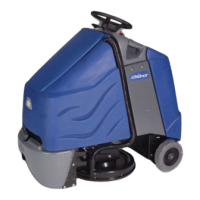
OPERATING THE CLIPPER
(Cont.)
NOTE:
1.
Starting
the
machine
with
dry
brush
resting
on
the
carpet
may
trip
brush
circuit
breaker.
2.
The
vacuum
motor
is
also
protected
by
a
circuit
breaker.
The
breaker
will
only
trip
under
conditions
of
abuse
or
faulty
vac
motor.
Dispense
solution
by
using
either
the
“Continuous Flow”
switch
for
large, open areas
or
the
“Intermittent Solution”
button
for
cleaning
in
smaller,
more
confined
areas.
Walk-
ing
backwards, move the machine over the area to be cleaned.
The machine’s brush assistance should allow the unit to be
moved
As
you
work,
check
to
see
if
there
is
a
foam
build
up
in
the
recovery
bucket,
If
there
is,
turn
the
machine
off
and
add
the
recommended
amount
of
defoaming
compound
to
the
recovery
tank.
Never put defoamer in solution tank!
WARNING:
An
overflow
of
foam
into
the
vacuum
intake
can
damage
the
vac
motor.
Always
be
aware
of
the
waste
water
level
in
the
recovery
tank.
When
is
about
three-quarters
full,
turn
off
the
machine,
remove
the
dome
and
lift
off
the
recovery
tank
to
empty.
The
tank
has
a
convenient
carrying
handle
grip
on
the
underside.
9.
When
the
machine
runs
out
of
cleaning
solution
(this
can
be
easily
detected
by
streaking
and
incomplete
cleaning
of
the
carpet,
or
by
looking
at
spray
manifold
from
side
of
machine)
turn
off
the
machine,
remove
the
dome
and
re-
covery
bucket,
and
re-fill
the
clean
solution
tank.
Replace
the
recovery
tank
and
dome.
Turn
the
machine
back
on
and
continue
cleaning.
10.
Ventilate
area
after
carpet
has
been
cleaned.
Keep
children
and
pets
away
and
do
not
walk
on
carpet
until
it
is
through-
ly
dry.
OPERATING THE CLIPPER WITH
ACCESSORY TOOLS
The
CLIPPER
is
easily
adapted
for
use
with
the
following
Windsor
accessory
tools:
DHT-UPII3-SW-SFW-SW/PRO
1.
Turn
solution
valve
to
“Accessory Tool”
position.
2.
Remove
recovery
hose
from
dome
and
insert
vacuum
hose
for
accessory
tool
in
its
place.
3.
Attach
solution
hose
from
accessory
tool
to
brass
solution
nipple
on
lower
back
of
chassis.
4.
Make
sure
that
solution
tank
has
cleaning
solution
and
that
recovery
tank
and
dome
are
in
place
and
ready
for
operation.
5. Switch
on
CLIPPER’s
Vacuum and Continuous switches
only.
Use
accessory
tools
as
with
and
standard
extractor.
WARNING:
Do
not
switch
on
brush
switch
when
operating
the
machine
with
accessory
tools.
Carpet
damage
may
occur.
6.
Make
sure
that
the
solution
valve
is
returned
to
the
“Carpet
Spray”
position
before
using
the
machine
again
for
self-
contained
carpet
cleaning.
I
1
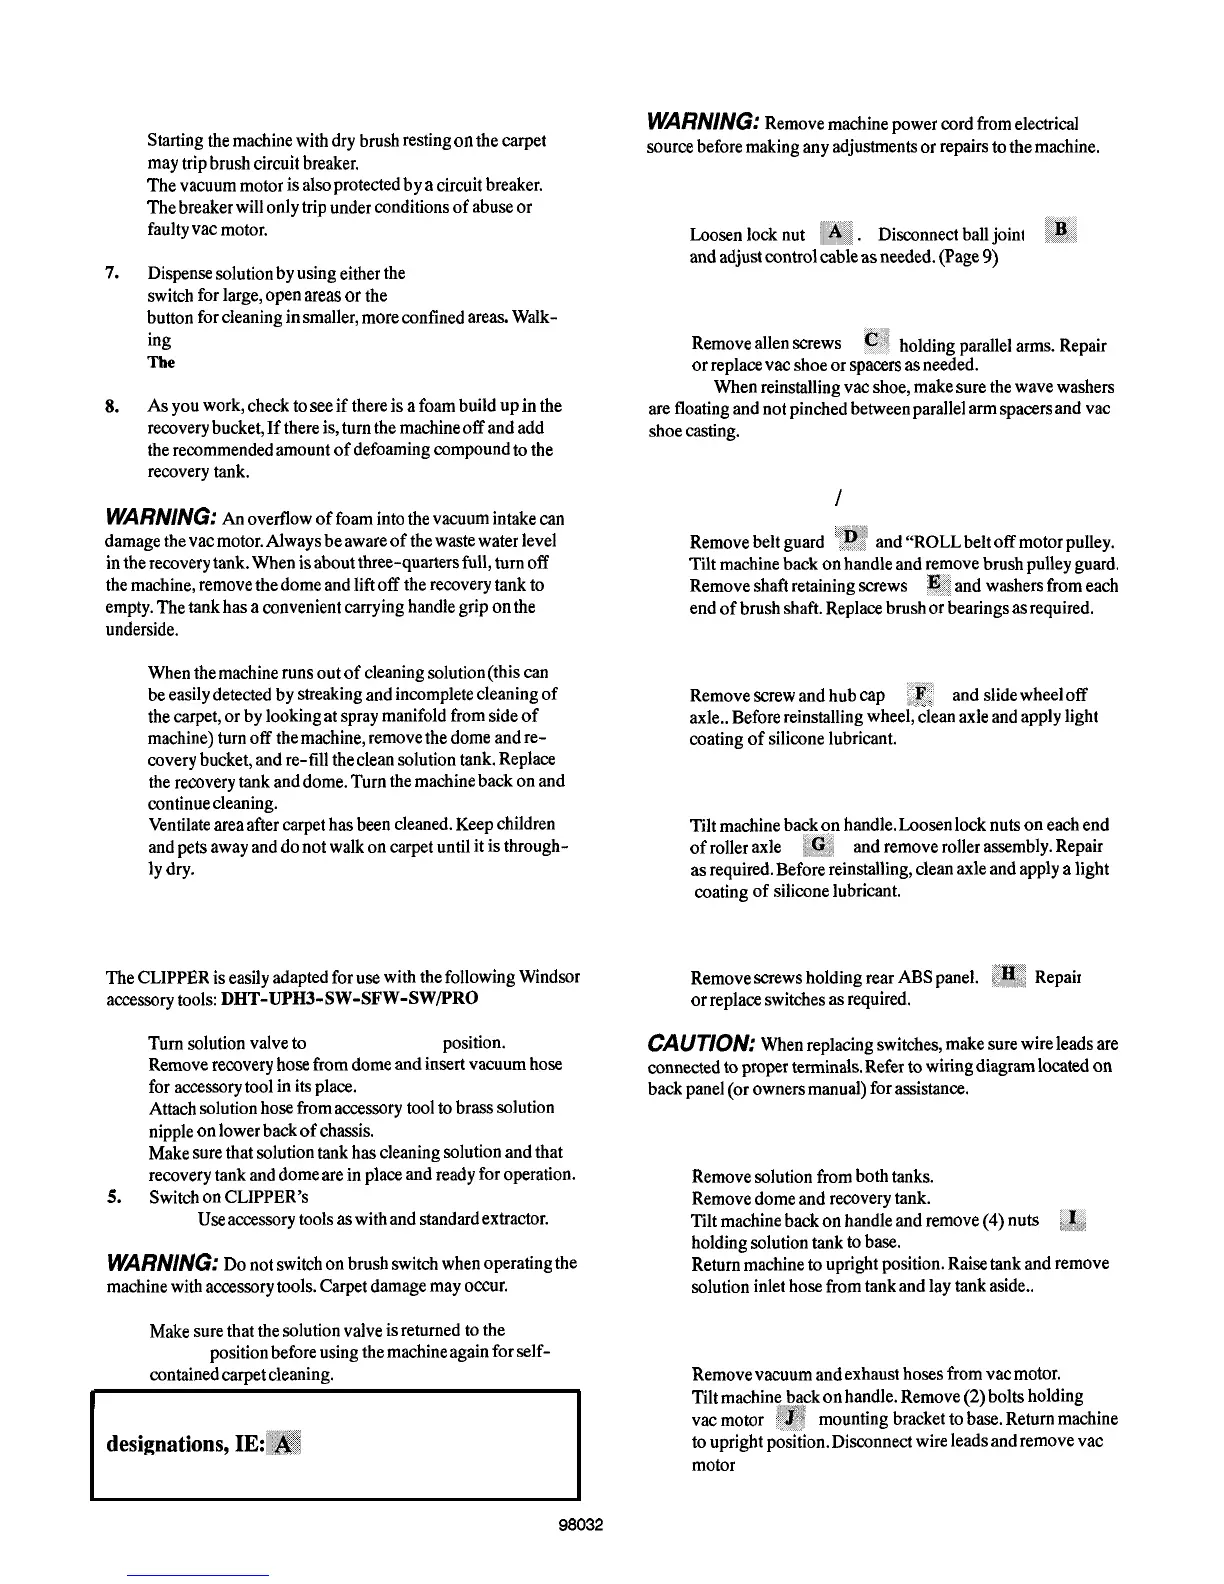
NOTE:
In the following instructions all letter
will be shown in the up-
coming graphical examples in this guide.
MAINTENANCE INSTRUCTIONS FOR CLIPPER
WARNING:
Remove
machine
power
cord
from
electrical
source
before
making
any
adjustments
or
repairs
to
the
machine.
Only qualified maintenance personnel are to perform repairs.
To adjust handle locking lever
1.
and
adjust
control
cable
as
needed.
(Page
9)
VAC SHOE
1.
Remove
allen
screws
or
replace
vac
shoe
or
spacers
as
needed.
NOTE:
When
reinstalling
vac
shoe,
make
sure
the
wave
washers
are
floating
and
not
pinched
between
parallel
arm
spacers
and
vac
shoe
casting.
BRUSH ASSEMBLY
/
BEARING
1.
2.
3.
Remove
belt
guard
and
“ROLL
belt
off
motor
pulley.
Tilt
machine
back
on
handle
and
remove
brush
pulley
guard.
Remove
shaft
retaining
screws I$,:
and
washers
from
each
end
of
brush
shaft.
Replace
brush
or
bearings
as
required.
TRANSPORT WHEELS
1.
Remove
screw
and
hub
cap
and
slide
wheel
off
I
.
:
axle..
Before
reinstalling
wheel,
clean
axle
and
apply
light
coating
of
silicone
lubricant.
SUPPORT ROLLER
1.
Tilt
machine
back
on
handle.
Loosen
lock
nuts
on
each
end
of
roller
axle
and
remove
roller
assembly.
Repair
as
required.
Before
reinstalling,
clean
axle
and
apply
a
light
coating
of
silicone
lubricant.
SWITCH CONTROL PANEL
1.
Remove
screws
holding
rear
ABS
panel.
or
replace
switches
as
required.
CAUTION:
When
replacing
switches,
make
sure
wire
leads
are
connected
to
proper
terminals.
Refer
to
wiring
diagram
located
on
back
panel
(or
owners
manual)
for
assistance.
TO ACCESS VAC, PUMP AND BRUSH MOTOR
1.
2.
3.
4.
Remove
solution
from
both
tanks.
Remove
dome
and
recovery
tank.
Tilt
machine
back
on
handle
and
remove
(4)
nuts
holding
solution
tank
to
base.
Return
machine
to
upright
position.
Raise
tank
and
remove
solution
inlet
hose
from
tank
and
lay
tank
aside..
VAC MOTOR
1.
Remove
vacuum
and
exhaust
hoses
from
vat
motor.
2.
Tilt
machine,back
on
handle.
Remove
(2)
bolts
holding
mounting
bracket
to
base.
Return
machine
to
upright
position.
Disconnect
wire
leads
and
remove
vac
motor
5
98032