Do you have a question about the Wine Guardian TTW018 and is the answer not in the manual?
Definition of the surrounding area outside the cellar.
Water formed when air is cooled below dew point, collected via drain line.
Section that cools air inside the wine cellar using refrigerant.
Desired temperature or humidity set on the thermostat.
Check contents against the packing slip for accuracy.
Inspect for power cord, mounting sleeve, and ordered accessories.
Warning regarding proper lifting points to avoid damage to the unit.
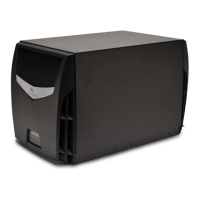
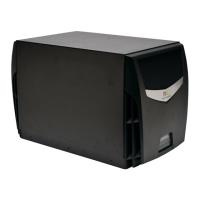
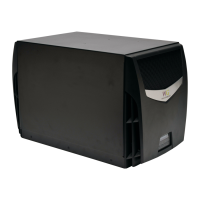
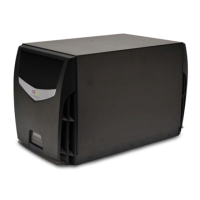
Overview of the self-contained climate control system and its sections.
Explains how air is cooled, dehumidified, and circulated by the system.
Describes the function of the condenser section and fan.
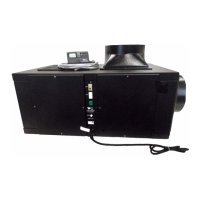
Details the main control board, local/remote interfaces, and sensors.
Explains how to use the local and remote user interfaces for settings and monitoring.
Lists essential parts like expansion device, filter dryer, grilles, and high-pressure switch.
Details materials, drain system, thermostat, compressor, and power supply.
The EasyMount™ sleeve essential for through-the-wall mounting.
Details remote interface controllers and sensors for extended monitoring.
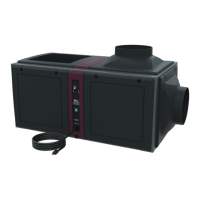
Describes accessories for air management and temperature control.
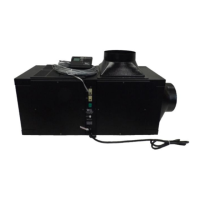
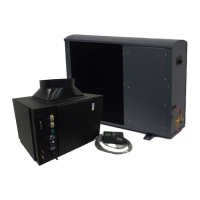
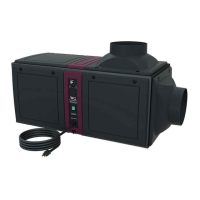
Describes the unit's cabinet, condensing, and evaporator sections.
Details internal wiring, controls, and factory testing procedures.
Defines DANGER, WARNING, and CAUTION message indicators.
Explains severe (DANGER) and moderate (CAUTION) risks and required procedures.
Steps to safely shut down and secure the system before maintenance.
Details electrical, shock, hot parts, and moving parts hazards.
Hazards from fans, interlocks, and On/Off switch operation.
Guidelines for protecting the power cord and when to seek service.
Advises on power sources, grounding, and using specified attachments.
Procedure to test the system before final installation for shipping damage.
Diagram showing the direction of airflow into and out of the unit.
Critical warnings about weight, modification, openings, and power outlets.
Lists tools needed for the installation process.
Guidance on unit location, power outlet, and ducting requirements.
Steps to verify breaker size and cellar insulation before installation.
Information on factory cord location and options for relocation.
Steps for removing face plates, disconnecting ground lug, and releasing the cord.
Connecting wires, switching power, and reinstalling unit covers.
Finding and marking wall stud locations for secure mounting.
Marking and cutting the wall opening for the installation sleeve.
Sliding and leveling the sleeve into the wall opening and fastening it.
Inserting screws, sliding unit into sleeve, and sealing the joint.
Connecting the drain line to the unit's overflow port.
Connecting the clear plastic tube to the drainport and routing it.
Ensuring proper height and pitch for gravity drainage.
Notes on how the internal drain trap primes itself.
Details the LCDI power cord for 60Hz models and its safety function.
Describes the plug configuration for European 50Hz applications.
Factory default settings and basic adjustments for temperature preference.
Explains the operation of ON/OFF, UP, DOWN, and SETTINGS buttons.
Details settings for cooling, humidifier, and fan operation.
Identifies symbols for cooling, heating, alarms, and battery life.
How to turn the system on/off, change temperature, and adjust humidity.
Instructions for selecting cooling, heating, or auto modes.
Settings 1-5 for temperature scales, low/high temperature, and humidity alarms.
Setting 6 for adding or removing the humidifier and its type.
Settings 7 for fan operation and 8 for compressor anti-short cycling time.
Settings 9-10 for enabling/disabling defrost and cut-in temperature.
Settings 11-13 for defrost cut-out, interval, and room temperature offset.
Setting 14 for adjusting the relative humidity reading.
Settings 15 for differential temp adjustment and 16 for temperature deadband.
Setting 17 for condensate switch and 20 for system type defaults.
Setting 30 to configure remote interface units and addresses.
Setting 31 for enabling and selecting RF channels for wireless devices.
Settings 40-42 for thermistor configurations, reserved for future use.
Setting 43 for defrost sensor temp and 50 for output testing.
Settings 70-72 for initial temperature, humidity, and mode.
Codes for high/low temperature and humidity alarms.
Codes for High Pressure Switch Fault and Condensate Switch Fault.
Alarm code !3 for defrost sensor issues.
Alarm code !4 for data transfer loss between devices.
Warning regarding sequential setup of units for proper pairing.
Overview of touch screen controller, wired vs. wireless options.
Notes on wired recommendation and wireless range limitations.
Details programmable options like change over, defrost control, and adjustments.
Specifications for connection type, wireless range, and channels.
Lists system alarms, temperature/humidity tolerances, and diagnostics.
Disconnect controller cable and route it to the desired location.
Remove back plate, mark points, drill holes, and install plate.
Plug in cable, attach controller to wall, and reconnect cable to unit.
Disconnect wire, plan location, remove back plate, mark, drill, and mount plate.
Insert batteries, acknowledge wireless device, and attach controller to wall.
Disconnect cable, plan location, and prepare sensor face plate.
Mark mounting points, drill holes, and secure sensor to the wall.
Plug in cable, reattach faceplate, and connect multiple sensors if applicable.
Disconnect wire, plan location, mark points, drill, and secure sensor.
Insert batteries and pair the sensor with the system.
How to change each sensor's unique device number using a pin.
How to set the RF channel for wireless sensors to match the system.
Setting thermostat for continuous fan operation for consistent temperature.
Manual adjustment of louvers behind the front panel to direct airflow.
Routine checks for noise, vibration, and short-cycling.
Annual inspection of coils, drain pan, cabinet, wiring, and ducts.
Explains high head pressure causes and how to resolve them.
Step-by-step guide to reset the high pressure switch.
How the system displays and indicates alarm conditions.
Addresses incorrect thermostat setup and delayed start-up.
Solutions for when the thermostat light is off or on, but the unit doesn't run.
Diagnoses for thermostat setup, compressor, airflow blockage, and HP switch.
Solutions for temperature being too low, too cold, or too high.
Addresses low humidity with or without an optional humidifier.
Solutions for high humidity when the unit is running or not running.
Addresses high humidity when the unit is idle, requiring dehumidification.
Solutions for water leaks and objectionable operational sounds.
Covers defects in material and workmanship for two years.
Details limitations of liability, warranties, and purchaser indemnification.
Covers severability, additional requirements, and voiding conditions.
Details the two-year warranty and importance of installation guide.
Steps for contacting dealer, unit replacement/repair, and RGA number.
Information on obtaining service for units outside the warranty period.
Provides Wine Guardian's physical address and toll-free number.
Lists the company's website and email address for inquiries.
| Brand | Wine Guardian |
|---|---|
| Model | TTW018 |
| Category | Wine Cooler |
| Language | English |