Installing the Power Switch
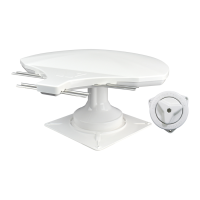
MiniMax Antenna 6
Choose a location to install the RoadTrip MiniMax power On/Off switch.
When selecting a location, remember that you will need to run the
+
12VDC
power cable from the RoadTrip MiniMax antenna to the switch.
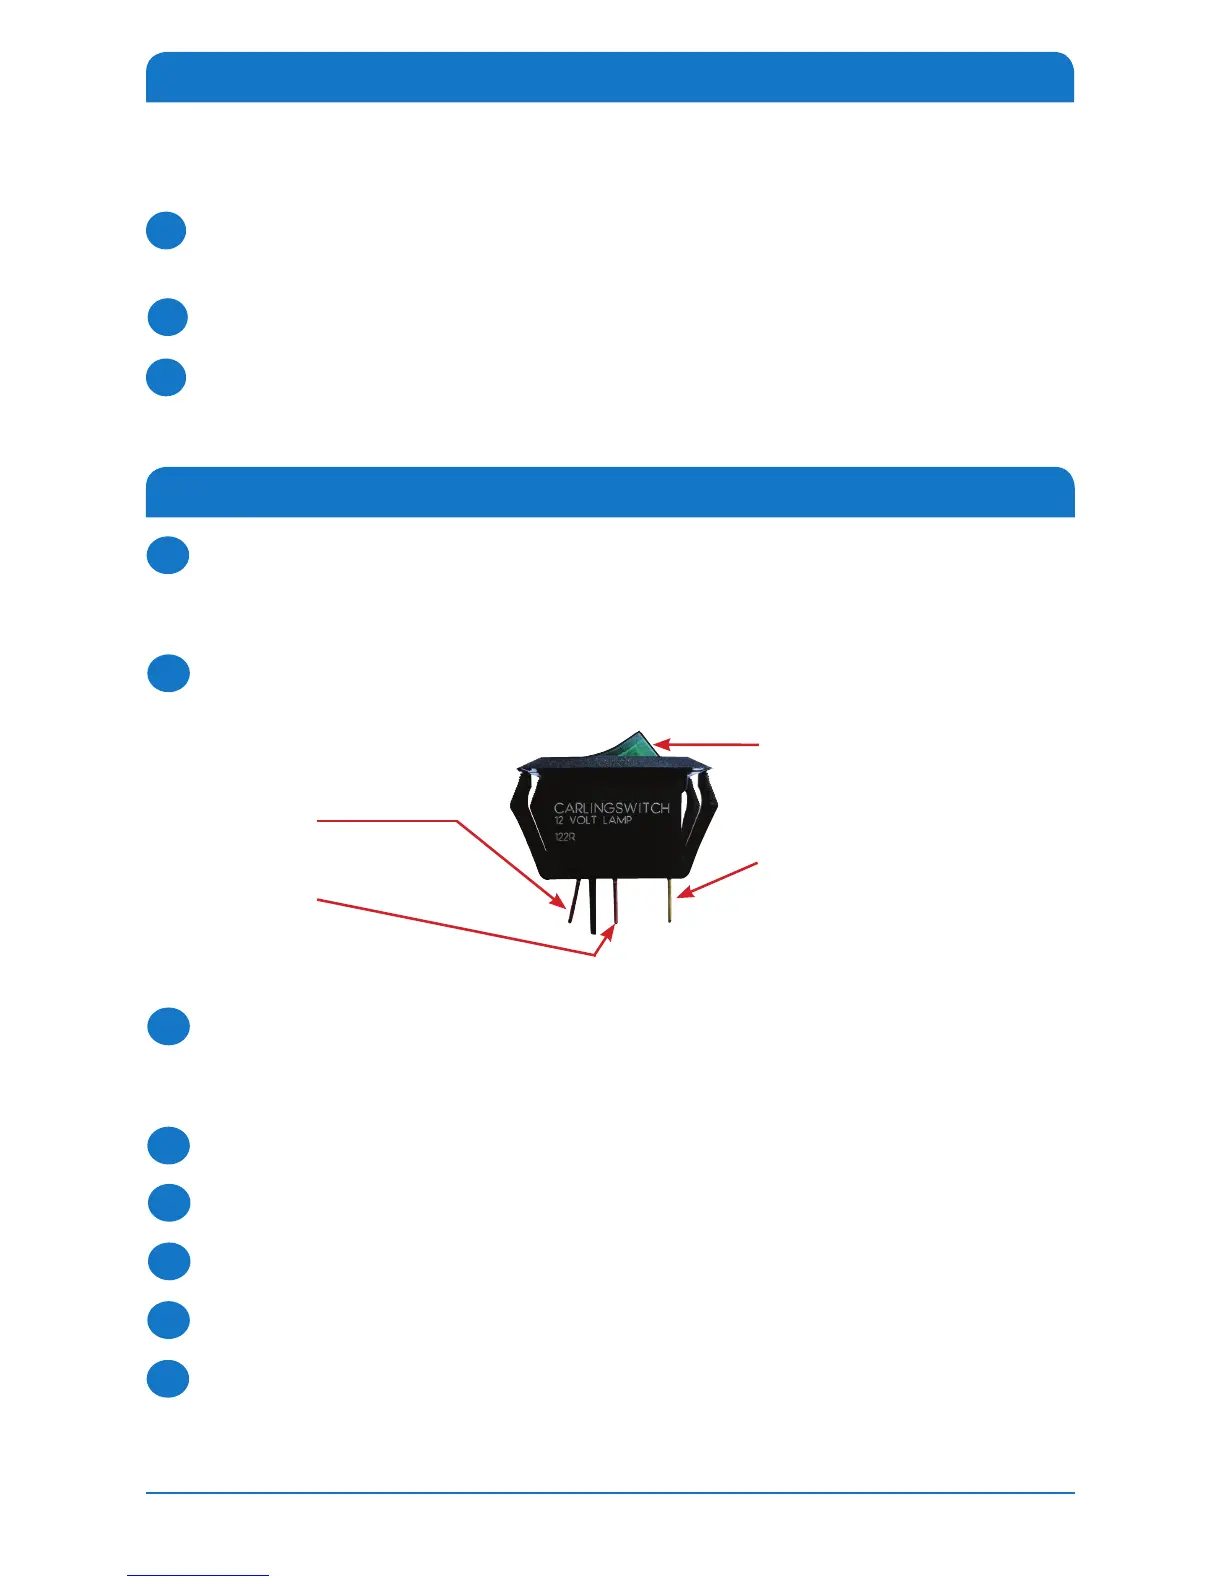
Be sure the switch is in the Off position before continuing. See Figure 6.
For a wall or panel mount, drill 1¼” hole, and pull wires through wall or
panel. Using a large yellow flag connector, connect the ground wire from the
vehicle and the black ground wire from the antenna.
Connect the yellow flag connector to the spade on the switch.
Connect the red wire from the antenna to the small red flag connector.
Connect the small red flag connector to the center spade on switch.
Connect the
+
12V power wire from the vehicle to a small red flag connector.
Connect a small red flag connector to isolated spade on switch.
Continue to page 7 for DISH receiver setup or page 11 for DIRECTV receiver
setup.
1
3
4
5
6
7
8
Figure 6
On/Off Rocker Switch with
Light (shown in Off Position)
Steps 3 and 4
Two ground wires:
1 from vehicle, 1 black wire
from satellite dish
Steps 7 and 8
+12 V from vehicle
Steps 5 and 6
+12 V from dish
2
Installing the Dome
Note: this is not required for DIRECTV Installation. This is only required if the
dome has been removed to change the switch settings (see page 3).
Place the RoadTrip MiniMax dome over the unit so that the decals on the
dome face away from the centerline of the vehicle.
Line up the holes in the dome with the holes in the RoadTrip MiniMax base.
Insert all of the dome screws, and tighten.
1
2
3