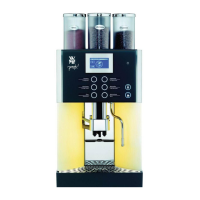
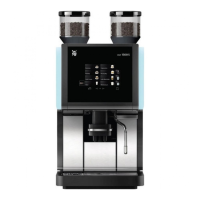
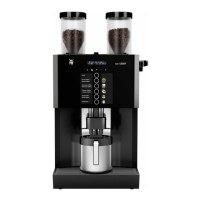
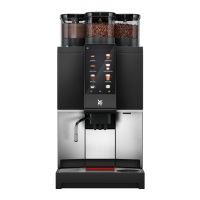
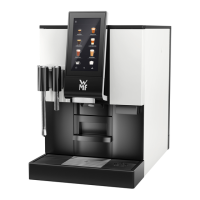
Initial setup
8
Depending on the quality of your tap water, you should insert the water fi lter from the scope of supply
here (see “2.1 Supplied kit and optional accessories” on page 5).
The water fi lter ensures a genuine coffee taste. It fi lters out chlorine and other impurities from the water.
> First rinse the water fi lter under water.
> Insert the water fi lter (1) in the locating ring on the fl oor of the water tank without pressing it in.
As time goes on, the quality of the water fi lter deteriorates. With a daily average consumption of 8 cups
of coffee, the water fi lter should be changed not later than after every 2 months (approx. 500 cups).
> Set the changeable display (2) on the tank cover to the time of the next water fi lter replacement.
Water fi lters are available from the specialist dealers
Even if you do not use a water fi lter, the suction cap must be correctly assembled, otherwise the tank
cannot be completely emptied during drink preparation and the last cup is not fi lled completely.
> Take the suction cap (3) and fi x it fi rmly on the locating ring on the fl oor of the water tank.
> When doing so, ensure that the arrow marking on the suction cap points towards the fl oating capsule
(4).
Inserting the water
fi lter
1
Changeable display
setting
2
Suction cap - fi tting
3
4
GB