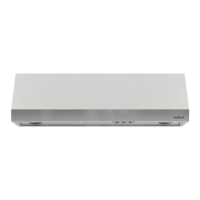
Step 5: Install the Hood
1) Align both ends of the hood
assembly with the ends of the rough-
in plate.
2) Insert the back ends of the hood
assembly into the rough-in plate and
push the hood assembly toward the
wall.
3) Using the hex nuts provided with
rough-in plate, secure the hood
assembly to the rough-in plate.
4) Install remaining #10 x 2" screws
in the lower section of the hood.
Verify that wall studs or framing are
engaged. Wall anchors are required if
the screws will not hit the wall stud.
IMPORTANT NOTE: Do not run
remote blower connects through
ductwork.
6) If installing internal blower
WBLOWER-90INT (805086) or
WBLOWER-120INT (804702) see
installation guidelines on page 16
and installation instructions provided
with blower.
14
27-INCH D EEP W ALL H OODS
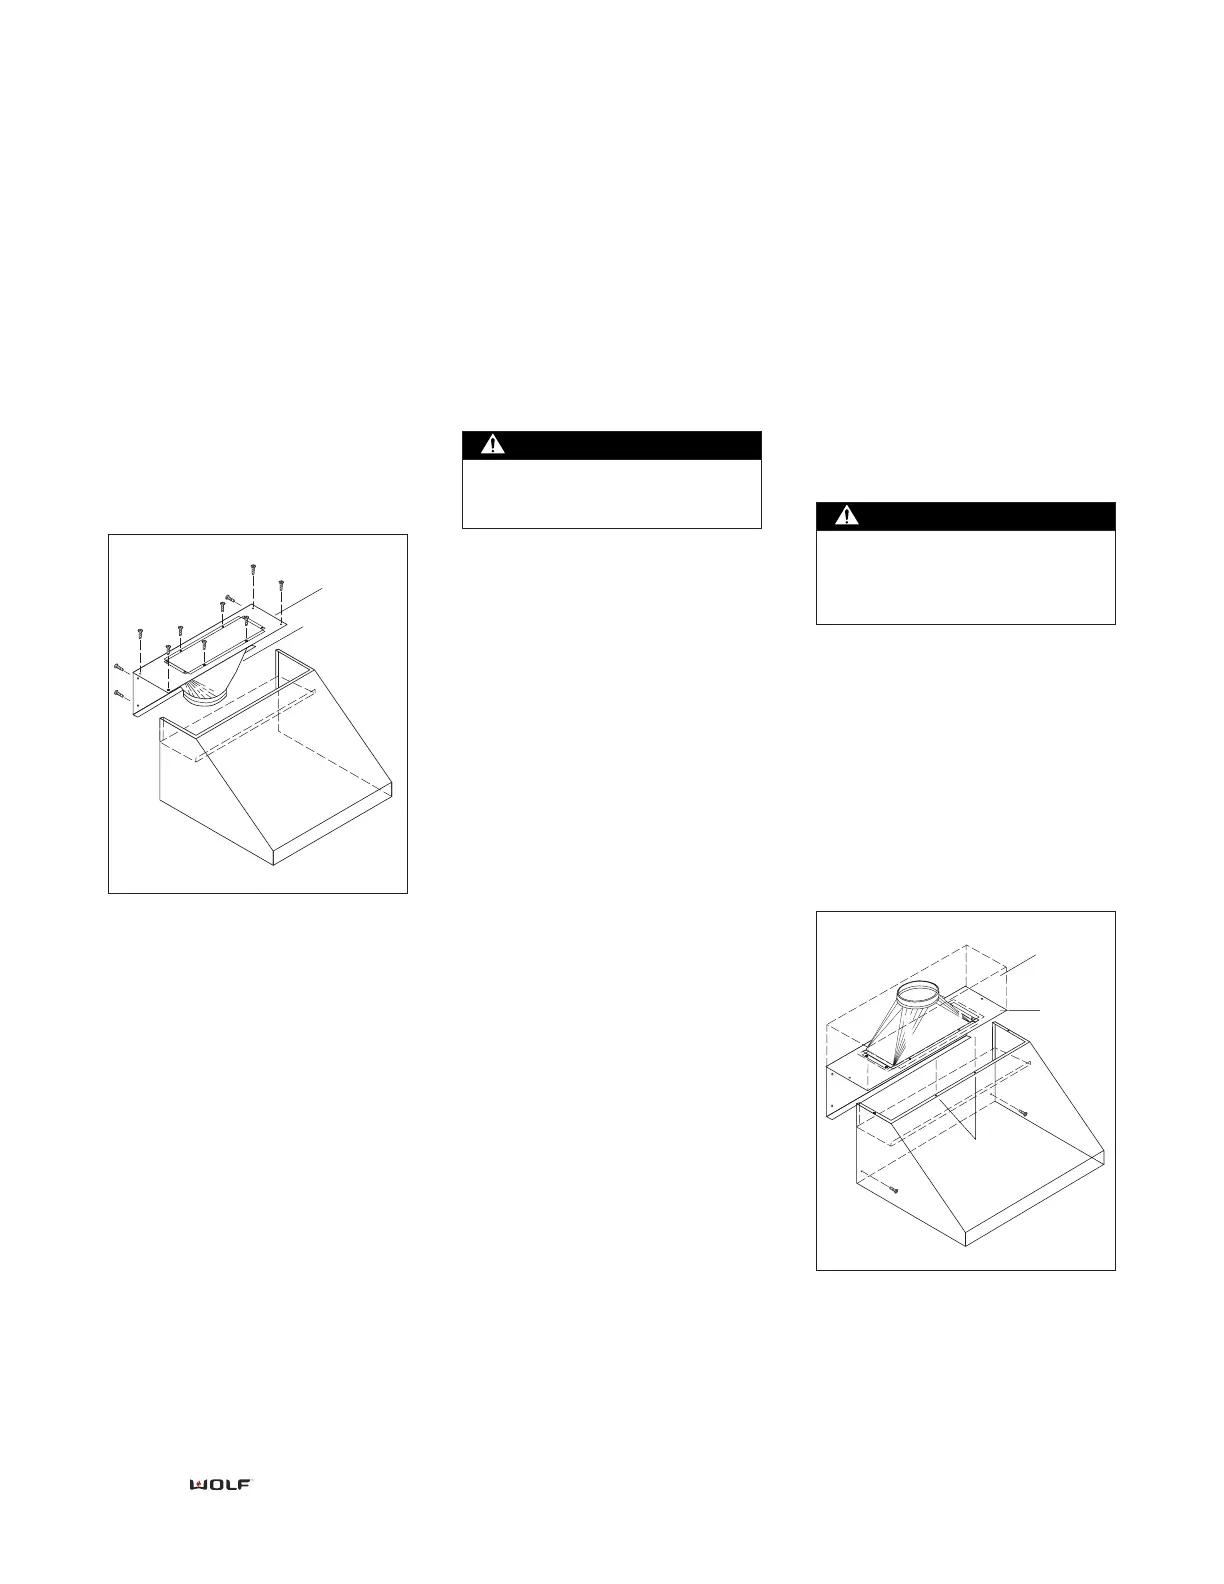
Step 4: Install the Rough-In Plate
1) Use rough-in plate assembly to
determine stud locations.
2) Install #10 x 1" screws through
rough-in plate into wall framing.
3) If additional mounting holes are
required for adequate hood support,
drill additional mounting holes in
rough-in plate and use these holes to
attach rough-in plate assembly to
wall framing.
Hood installation