5.
6.
7.
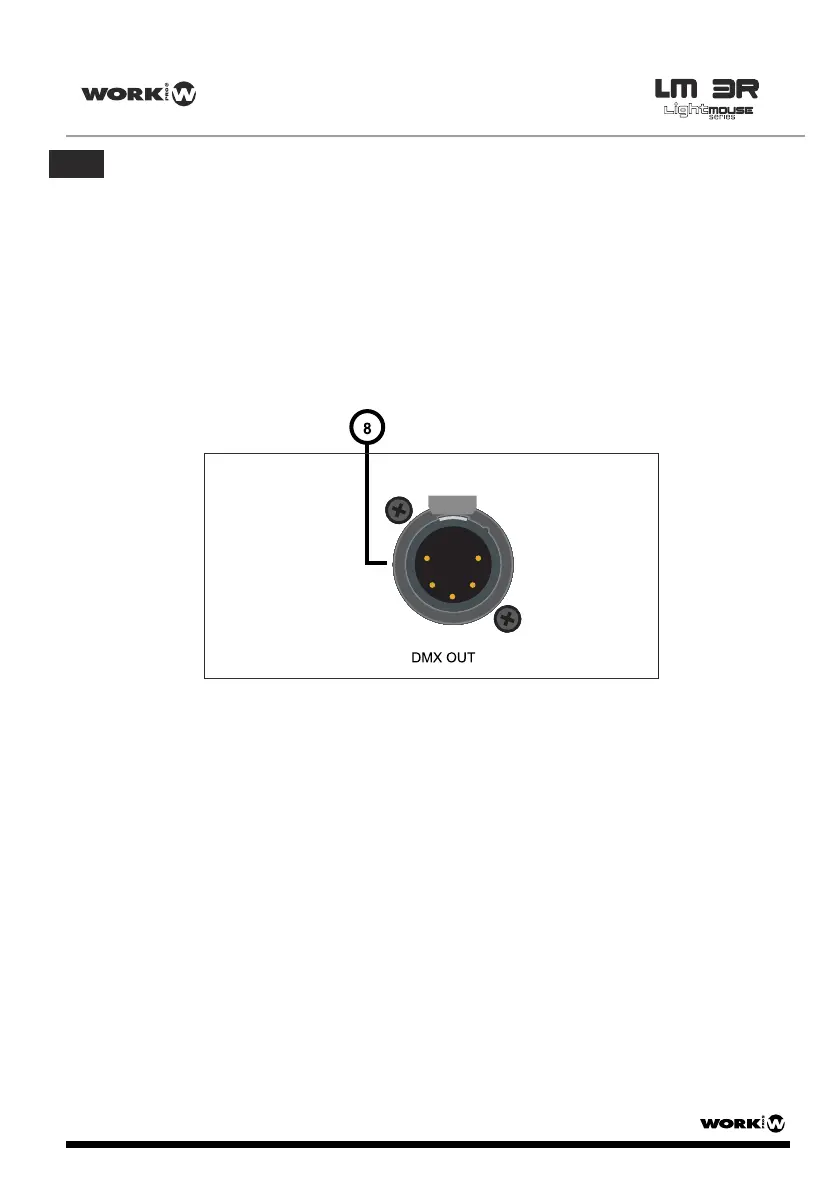
8.
Micro USB power connector: the device can be powered with a power supply of 5V DC,
500 mA by using this connector, or using de adequate USB port in the laptop. If this is used,
then the Plug In power connector MUST NOT be used.
5. Connecting the device
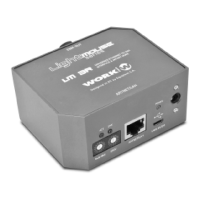
4. Rear Panel
LM 3R - 3 -
NOTE: Remember, this port is ONLY for power supply purpose.
ARTNET/LAN: RJ45 connector used to connect the device to an Ethernet network.
Sub-Net / Universe selectors: In Art-NET mode, this selector allows to select up to 16 Sub-Nets
and 16 Universes rotating the selector between 0 to F.
DMX OUT: This XLR-5 female connector is the DMX output signal. It sends DMX frames to
DMX compatible devices like moving heads, scanners,RGB drivers, amplifiers, etc.
1. Select the Sub-Net and Universe with the selectors according to installation requirements (7).
2. Plug in a CAT 5 cable in the Ethernet/LAN connector (6).
3. Plug in a XLR 5 male cable in the DMX OUT connector (8) to send DMX frame to the devices.
4. Plug the included power supply or use a Micro USB power supply or use a microUSB cable
to supply the unit from a standard USB port. The POWER LED (3) will lit immediately. After
some seconds, if the device is plugged to a network, the ACT LED (1) and the LINK LED (2)
will begin to blink.
User Manual/Manual de Uso
EN