WORKHORSE CUSTOM CHASSIS
Service Manual
W SeriesWCC
SECTION
6.2
PAGE
34
Engine Mechanical
W Series Chassis
TOC
© 2006 WorkhorseCustom Chassis — All Rights Reserved
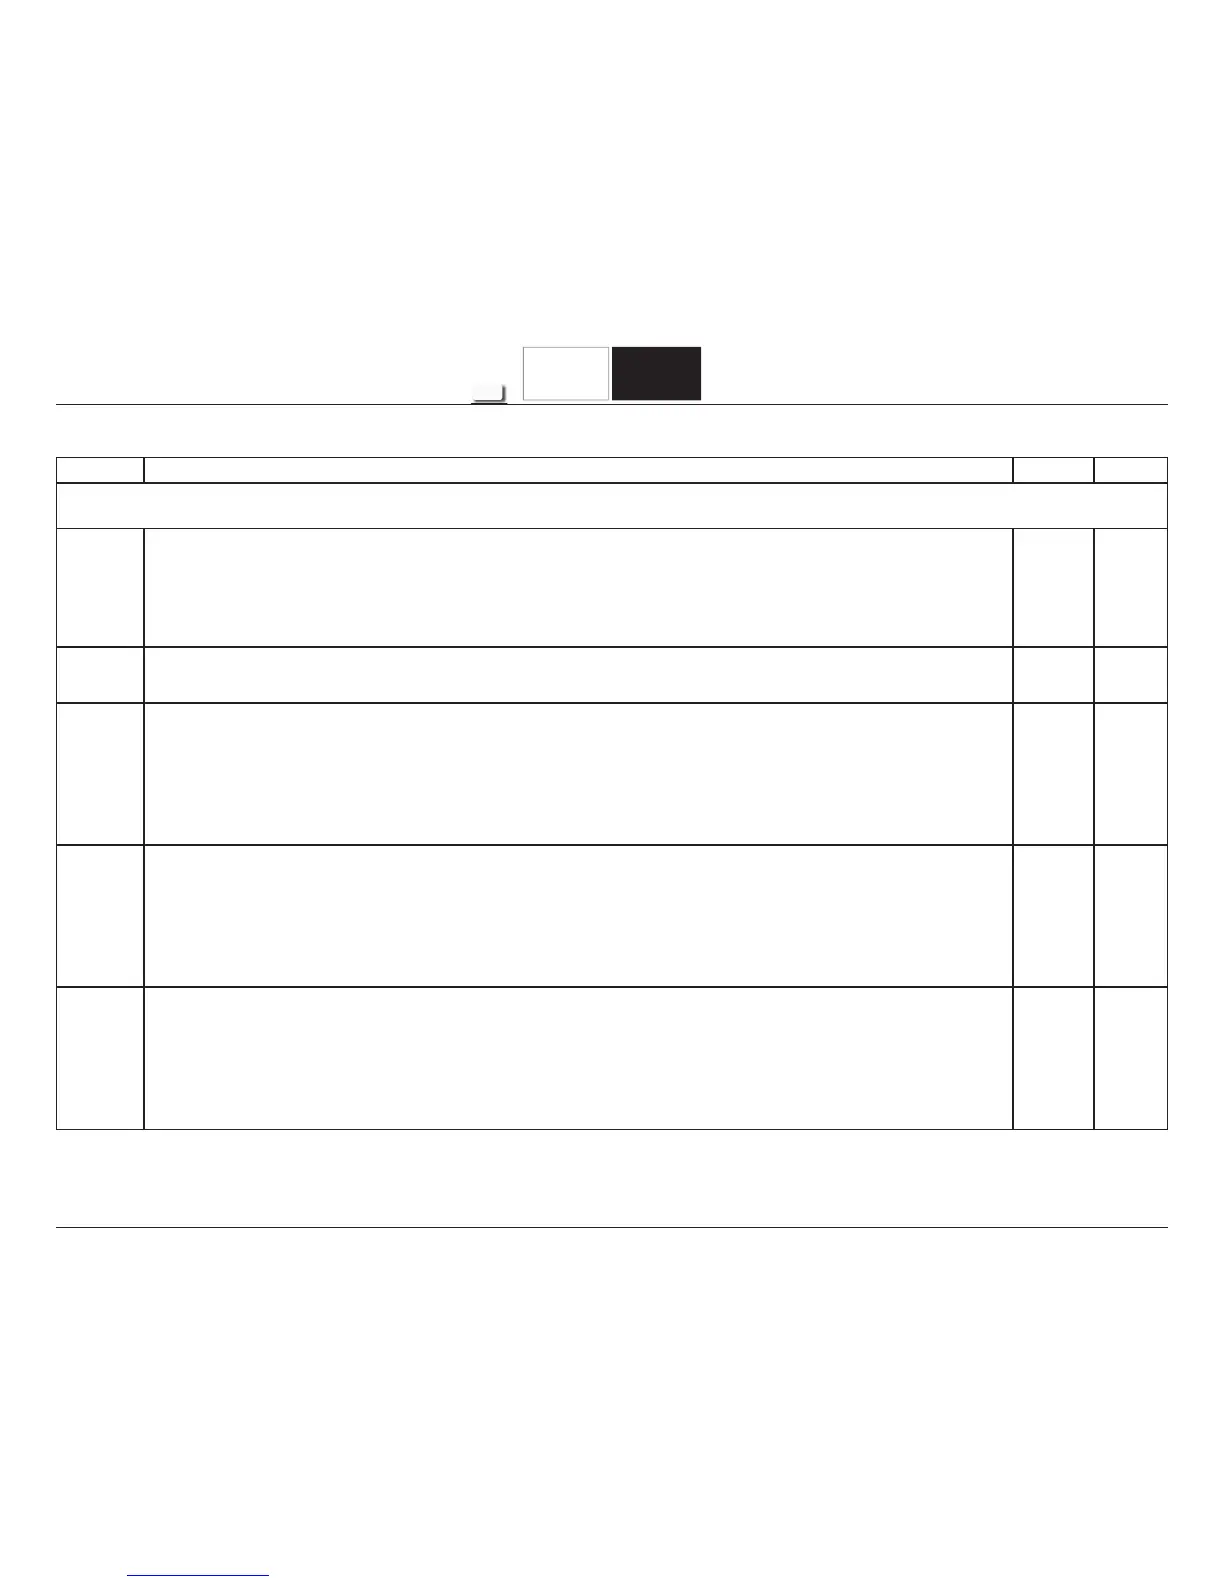
OIL LEAK DIAGNOSIS
Step Action Yes No
Important: You can repair most fl uid leaks by fi rst visually locating the leak, repairing or replacing the component, or by resealing the gasket
surface. Once the leak is identifi ed, determine the cause of the leak. Repair the cause of the leak as well as the leak itself.
1
1. Operate the vehicle until it reaches normal operating temperature.
2. Park the vehicle on a level surface, over a large sheet of paper or other clean surface.
3. Wait 15 minutes.
4. Inspect for drippings.
Are drippings present?
Go to
Step 2
System
OK
2
Can you identify the type of fl uid and the approximate location of the leak?
Go to
Step 10
Go to
Step 3
3
1. Visually inspect the suspected area. Use a small mirror to assist in looking at hard to see areas.
2. Inspect for leaks at the following locations:
- Sealing surfaces
- Fittings
- Cracked or damaged components
Can you identify the type of fl uid and the approximate location of the leak?
Go to
Step 10
Go to
Step 4
4
1. Completely clean the entire engine and surrounding components.
2. Operate the vehicle for several kilometers, miles, at normal operating temperature and at varying speeds.
3. Park the vehicle on a level surface, over a large sheet of paper or other clean surface.
4. Wait 15 minutes.
5. Identify the type of fl uid, and the approximate location of the leak.
Can you identify the type of fl uid and the approximate location of the leak?
Go to
Step 10
Go to
Step 5
5
1. Visually inspect the suspected area. Use a small mirror to assist in looking at hard to see areas.
2. Inspect for leaks at the following locations:
- Sealing surfaces
- Fittings
- Cracked or damaged components
Can you identify the type of fl uid and the approximate location of the leak?
Go to
Step 10
Go to
Step 6
 Loading...