BEFORE EACH USE, inspect the general condition
of the tool. Check for:
Loose hardware
Misalignment or binding of moving parts
Cracked or broken parts
Damaged electrical wiring, and any other
condition that may affect its safe operation
AFTER USE, wipe external surfaces of the tool with
clean cloth.
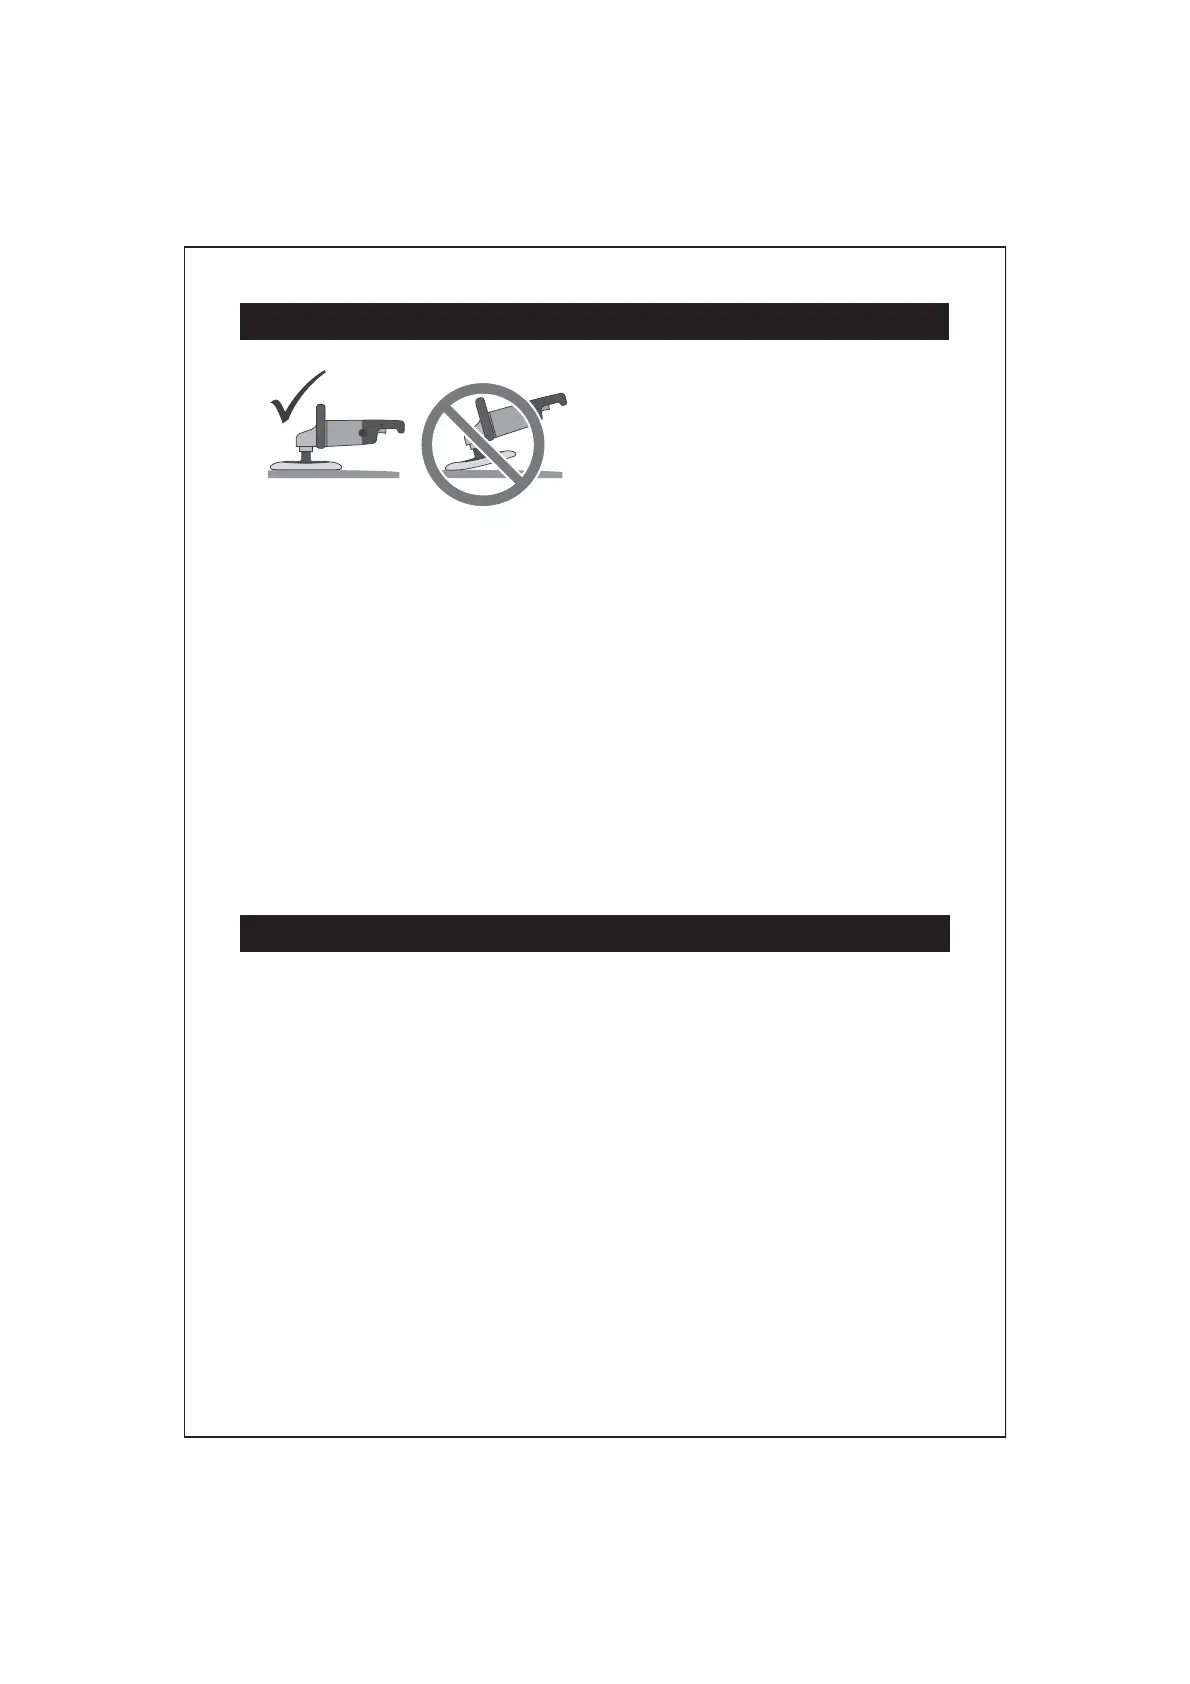
SANDING
OPERATION INSTRUCTIONS
MAINTENANCE
13
1.
2.
Periodically blow dust and grit out of the motor
vents using dry compressed air. Wear ANSI-ap-
proved safety goggles and NIOSH-approved
breathing protection while doing this.
Periodically recheck all nuts, bolts, and screws
for tightness.
3.
Remove foam pad from backing pad when
polisher/sander is not in use. This will allow
backing pad to dry and retain its original shape.
Wash with mild soap and water before storing.
5.
The polishing bonnet may be machine washed in
cold water with mild detergent. Do not put in the
dryer.
6.
4.
Make sure that the surface to be sanded is wiped
clean of all dirt and debris, especially that of
previous courser sanding sessions, which will
scratch the surface of a finer grit sanding session.
1.
To start, grip the polisher/sander firmly with both
hands and press the trigger. Release the trigger to
stop. To use the lock on button, while holding in the
trigger, press the lock on button, then release the
trigger. The polisher/sander will stay on. Press and
release the trigger to stop.
5.
Attach the desired grit sanding disc (sold
separately) onto the backing pad.
2.
Rotate the speed dial to select the desired speed
setting.
3.
Plug the power cord of the polisher/sander into a
grounded 120 volt, electrical outlet.
4.
Wait until the polisher/sander has reached full
speed, then gently contact the surface.
6.
Keep heavy pressure off of the polisher/sander
when operating. Allow the sanding disk to do the
work.
7.
Move the polisher/sander in a uniform pattern up
and down or side to side as you sand to ensure
even sanding.
8.
Periodically, stop the polisher/sander and check
for possible disc wear. Replace used or worn
sanding discs when necessary.
9.
When finished, turn off and unplug the
polisher/sander.
10.
Allow the tool to come to a complete stop before
setting it down.
11.
To prevent accidents, turn off the tool and
disconnect its power supply after use. Clean,
then store the tool indoors out of children’s reach.
12.