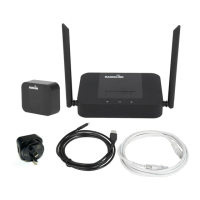
Place the Charging Base in its designated spot, without fixing it
permanently. The “IN” arrow should be oriented so that it indicates
the inside of your lawn.
Feed the boundary wire through the tunnel underneath the charging
base.
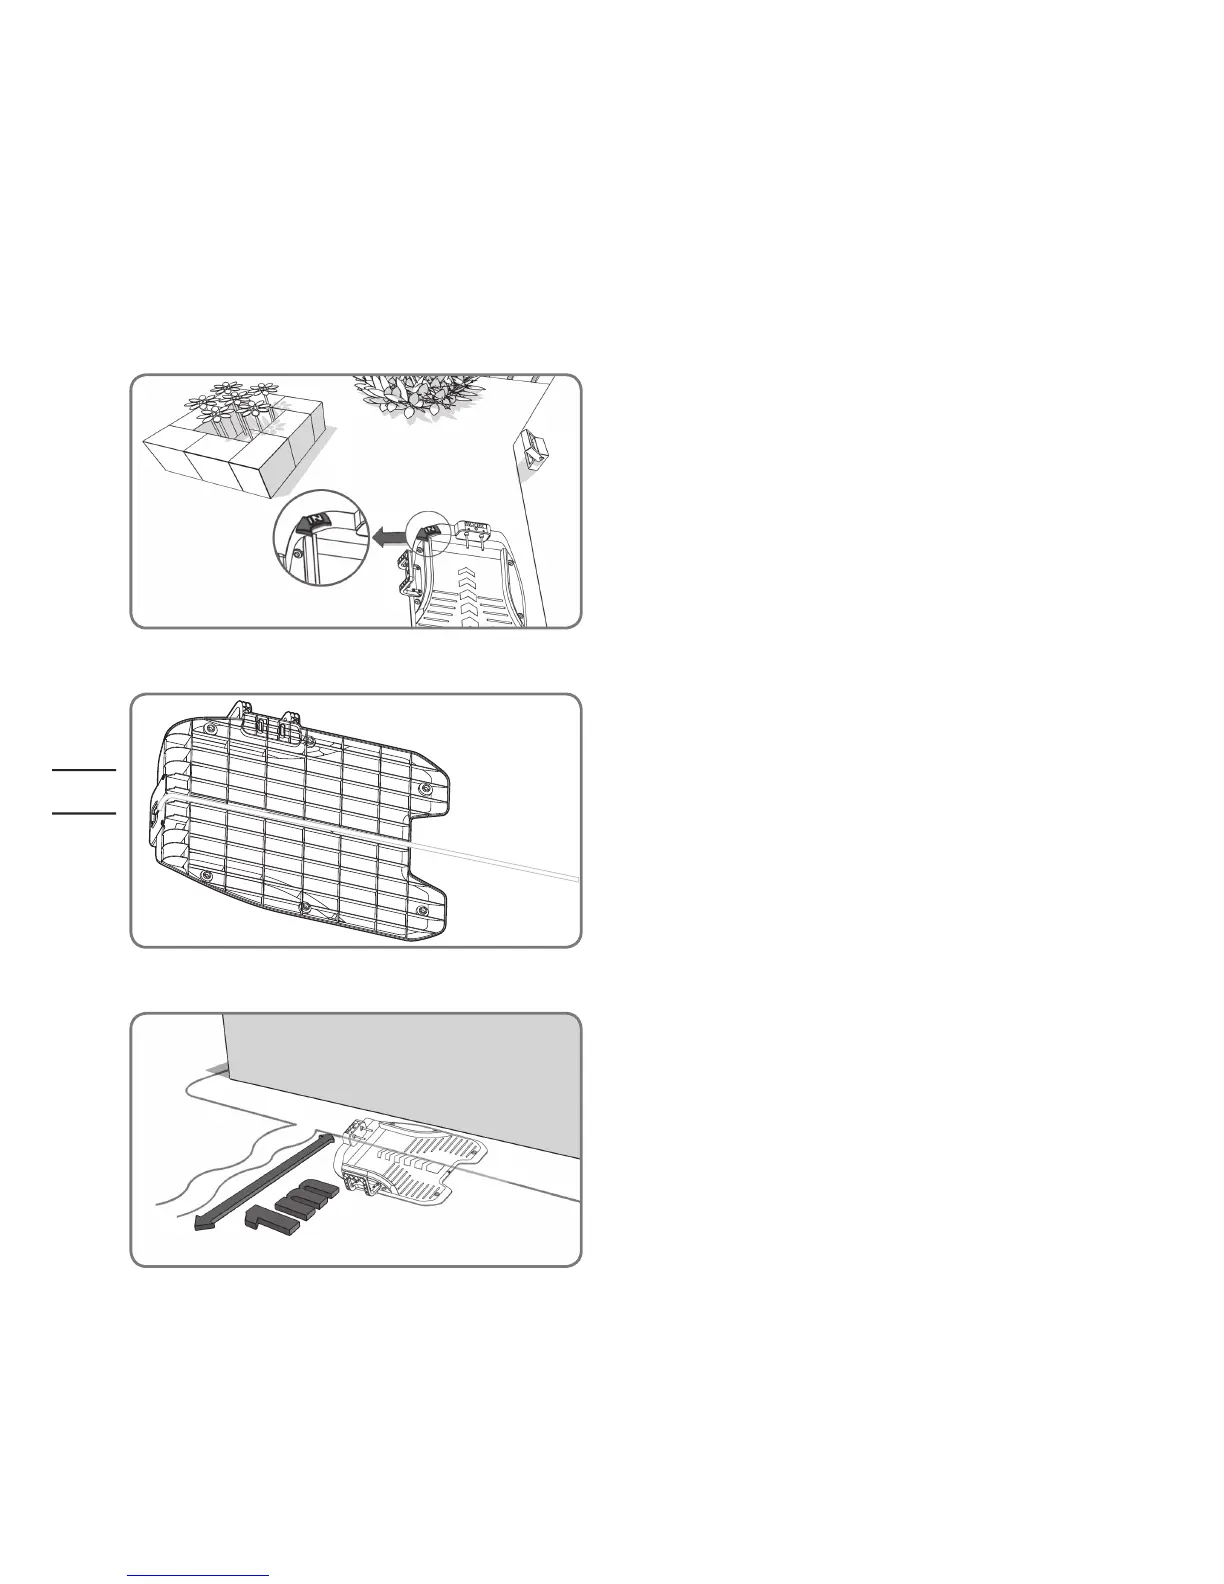
Leaving about 1 meter in length of extra wire, start from the rear of
your charging base and begin pegging the wire along the boundary.
When you’ve finished laying the wire along the boundary back to
the charging base, leave another meter of extra wire and then cut it.
Pegging your boundary wire
Installation
We recommend that you first mow the lawn where the wire is to be laid using a normal lawn mower or a
grass trimmer. This ensures that the wire is laid as close to the ground as possible so the Landroid
®
L does
not accidentally cut the wire. The boundary wire is powered with a very low voltage so that it is totally safe to
human beings and pets.
1
2
3

 Loading...