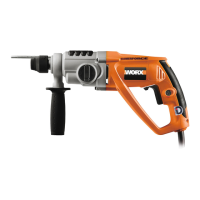
Warning: Always use the auxiliary
handle.
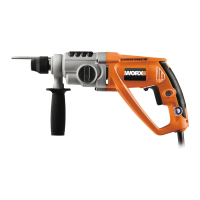
8. FORWARD AND REVERSE ROTATION
CONTROL
With the drill pointing away from you, push
the forward/reverse-lever (3) to the left “ ”
for forward rotation. Push the forward/reverse-
lever (3) to the right for reverse rotation “ “ .
Warning: Never change the
direction of rotation while
the tool is rotating, wait until it has
stopped.
9. ADJUSTABLE DEPTH STOP
Fit the drill bit or driver bit into the chuck.
Loosen the depth stop by rotating the handle
anti-clockwise. Slide the depth stop until the
distance between the depth stop end and the
drill/driver bit end is equal to the depth of
hole/screw you wish to make. Then clamp the
depth stop by rotating the handle clockwise.
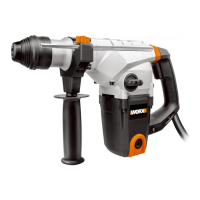
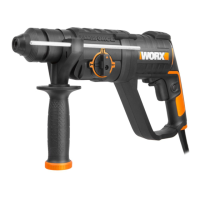
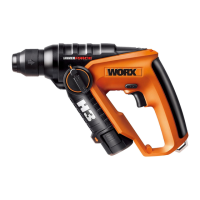
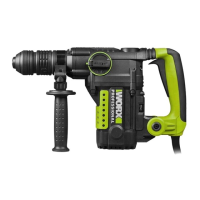
10. FUNCTION MODE SELECTION (See F)
The operation of the gearbox for each
application is set with the function mode
selection switch (4), To change between
functions, depress the unlocking button
(15) and rotate the selector to the desired
operating mode.
For simultaneous drilling and impacting of
concrete or masonry, choose the Hammer
drilling position.
For screw driving, drilling into steel, wood and
plastics choose the Rotary drilling position.
For impacting only - for light chipping,
chiseling and demolition applications choose
the Hammer position.
Warning: The operating mode
selector switch may be actuated
only at a standstill.
Warning: Prolonged use will cause
the aluminum housing to become
hot, do not touch.
WORKING HINTS FOR
YOUR DRILL(HAMMER)
If your power tool becomes over heated, set
the speed to maximum and run no load for 2-3
minutes to cool the motor. SDS-plus tungsten
carbide drill bits should always be used for
concrete and masonry. When drilling in metal,
only use HSS drill bits in good condition.
Always use a magnetic bit holder when using
short screwdriver bits. Where possible use a
pilot hole before drilling a large diameter hole.
MAINTENANCE
Your power tool requires no additional
lubrication or maintenance. There are no
user serviceable parts in your power tool.
Never use water or chemical cleaners to clean
your power tool. Wipe clean with a dry cloth.
Always store your power tool in a dry place.
Keep the motor ventilation slots clean. Keep
all working controls free of dust. If you see
sparks flashing in the ventilation slots, this is
normal and will not damage your power tool.
ENVIRONMENTAL
PROTECTION
Waste electrical products should not
be disposed of with household waste.
Please recycle where facilities exist.
Check with your local authorities or retailer for
recycling advice.
PLUG REPLACEMENT
(UK & IRELAND ONLY)
If you need to replace the fitted plug then
follow the instructions below.
IMPORTANT
The wires in the mains lead are colored in
accordance with the following code:
BLUE = NEUTRAL
Brown = Live
As the colors of the wires in the mains lead of
this appliance may not correspond with the
10
 Loading...