22
▸ Clamping sleeve [17], clamping sleeve
housing [16] and electrode [18] must have the
same diameter.
▸ The gas nozzle [15] must be adapted to the
electrode diameter.
Connect the workpiece lead
▸ Connect the workpiece lead to the workpiece
lead socket [4] and secure the lead by turning the
connector in clockwise direction.
Fasten the earthing clamp
▸ See "Electrode welding method".
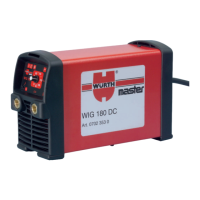
Connect the power supply
▸ See "Electrode welding method".
Connect the shielding gas cylinder
(Fig. V)
▸ Secure the shielding gas cylinder [21] (e.g. using
a safety chain).
▸ Open the gas cylinder valve [22] briey several
times to blow out any dirt particles.
▸ Connect the pressure reducer [25] to the
shielding gas cylinder [21].
▸ Connect the shielding gas hose [27] to the
pressure reducer [25] and open the shielding gas
cylinder [21].
▸ Start the "gas test" and adjust the gas ow rate at
the setting screw [26] of the pressure reducer.
▸ The gas ow rate is displayed on the ow-
meter [24].
Setting the protective gas ow rate
(Fig. V)
▸ Open the valve [20] on the TIG valve torch.
Shielding gas ows out.
▸ Set the shielding gas ow rate at the setting
screw [26] of the pressure reducer (see table
Indicative values for welding currents and gas
ow rates).
Note
The owmeter [24] shows the gas
ow rate; the pressure gauge [23], the
amount of gas left in the cylinder.
Striking an arc ("Lift Arc")
▸ Briey touch the workpiece with the electrode
tip at the point to be welded and slightly lift the
electrode tip : The arc burns between workpiece
and electrode.
Oxidised tungsten electrodes (thorium oxide, e.g.
electrode WT 20, or cerium oxide WC 20) ignite
more easily and have higher current loads than
electrodes of pure tungsten. Electrodes of oxidised
tungsten are generally used for DC welding.
Attention!
If the welding current is too low, no arc can be
drawn; if the welding current is too high, the tung-
sten electrode melts.
Indicative values for welding cur-
rents and gas ow rates
Tungsten
electrode
dia. [mm]
Welding cur-
rent [A]
Gas ow rate
[l/min]
1.0 15 - 80 4
1.6 70 – 150 5 – 6
2.4 150 – 250 6 – 7
3.2 140 – 320 6 – 8
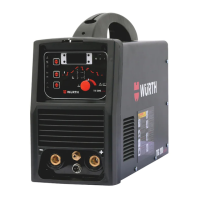
Call ancillary parameters
▸ Select the required operating mode with the
button [14].
3 The LED [11], [12] or [13] lights up.
▸ Press the button [14] for 2 seconds.
3 The parameter code and the corresponding set
value are indicated in the 7-segment display [7].
▸ Select the desired ancillary parameter by turning
the rotary knob [10].
3 The set value ashes in the 7-segment display [7].
▸ Set the required value by turning the control
knob [10].
▸ Conrm the set value by pressing the control
knob [10].
▸ Select the next ancillary parameter [10] by
turning the rotary knob orexit the ancillary param-
eters by pressing the button [14].