X – 60 Instructions Version 1.0 Page 8
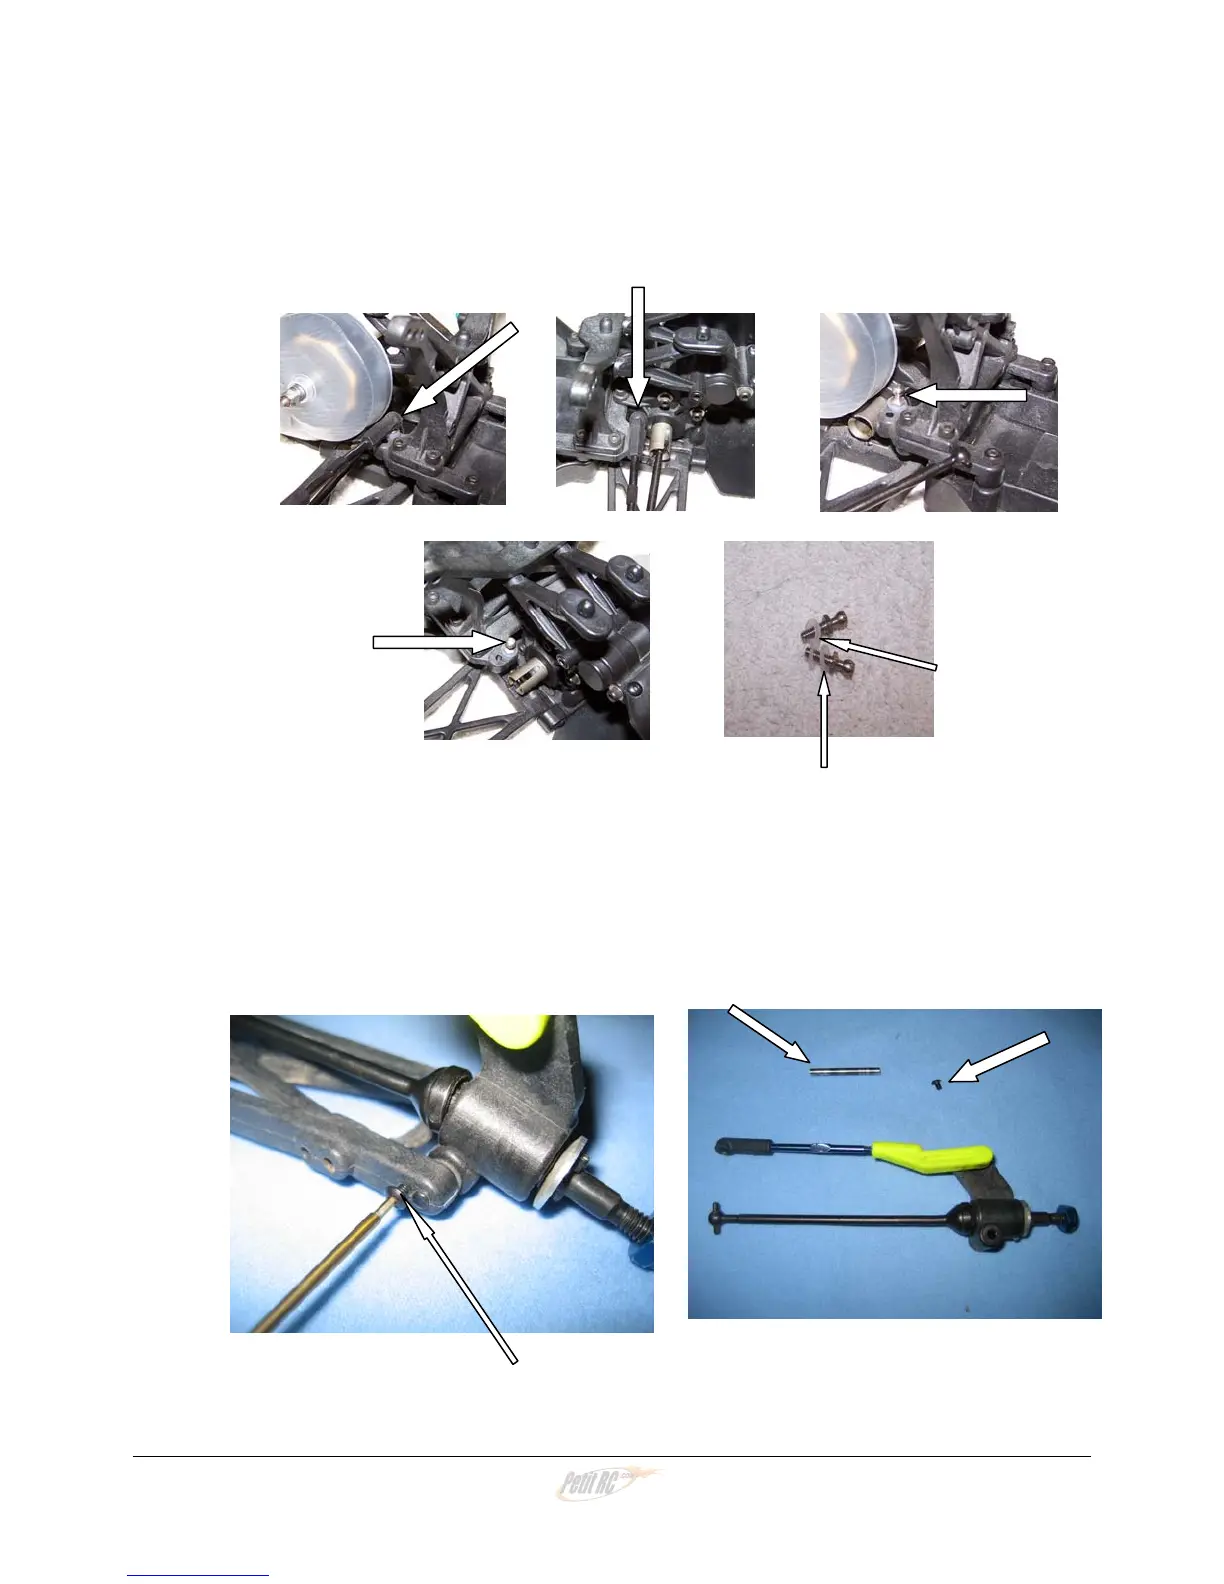
12) Remove the inner camber link ball cups from their studs. Leave them attached to
the turnbuckle and leave the other end of the link attached to its ball stud at the
hub carrier. Then remove the ball studs. Save the ball studs and any washers
that were under them for re-use.
13) From the outside end of the front of the rear control arm, remove the little 2-56
screw that holds in the hub carrier. Don’t lose it! Now, from the rear of the
control arm, use your wrench to push the hinge pin forward so you can remove
the pin. The hub carrier, with camber link and CVD assembled, will fall off. Save
the spacers. Set all these parts, hub carrier assembly, hinge pin, spacer(s) and
little screw, aside for re-use.
14) Repeat for the other side.