9
Reinstall the removed parts
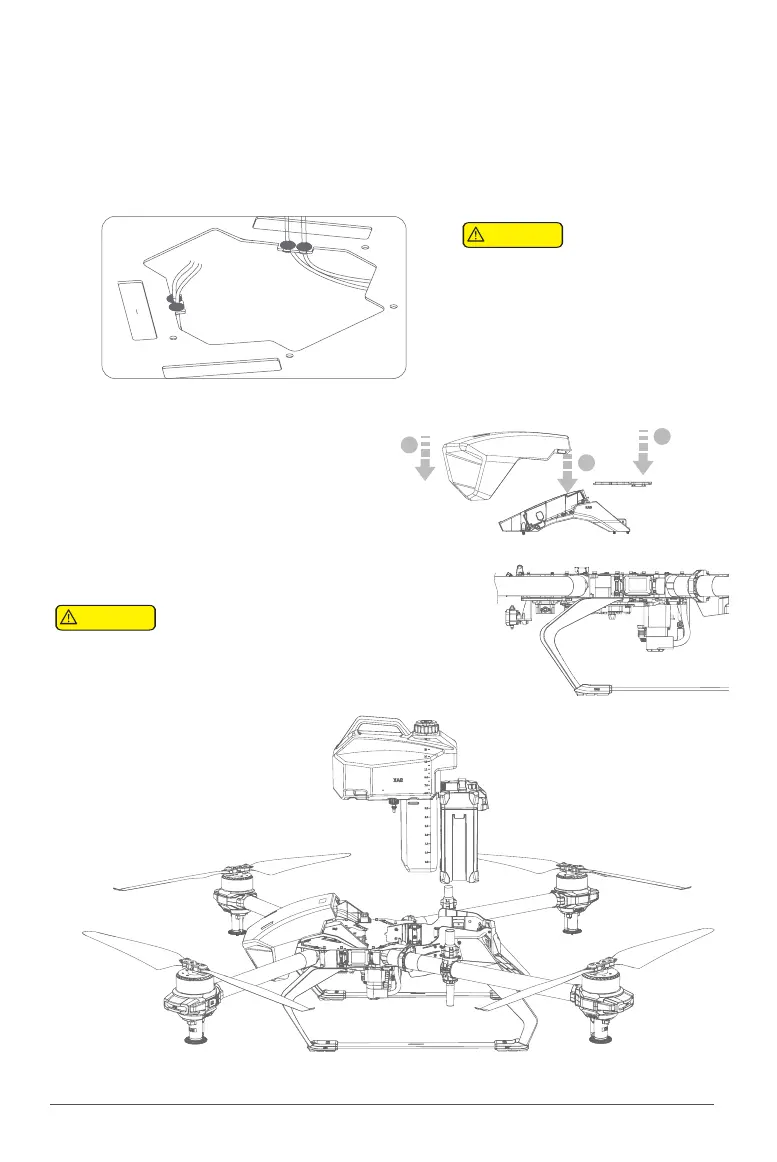
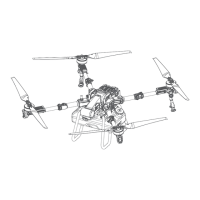
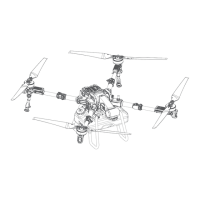
9. Install the center hatch cover, antenna
rack and head cover back to their
original position sequentially.
1
2
3
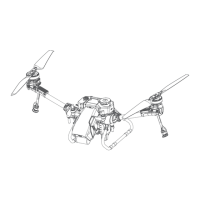
Attention: Before installing the
center hatch cover, the feeder and
protective sleeve of No.3/4 arms
shall be installed into the card slot as
shown in the figure.
Connecting infusion tube
8. Connect circuits and infusion tube correctly
*You can also find the "P Series Aircraft Module Wiring Guidelines" on the back of head cover.
After the assembly is completed, please check if the
head hood is firmly secured to avoid accidents
during flight.
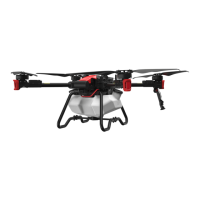
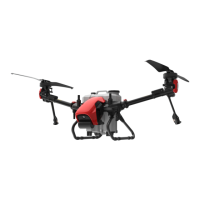
10.Finish Assembly
The battery and the Liquid container
are sequentially loaded onto
the aircraft, and the Aircraft
assembly is completed.
Attention
Attention
After installation of arms, all the plugs of each circuit and the infusion tube of the
spray system should be correctly connected. For the connection method, see “P
Series Aircraft Module Wiring Guidelines” on page 10 and 11.*.