Job Assembly
ColorQube 9301/9302/9303 Multifunction Printer
User Guide
117
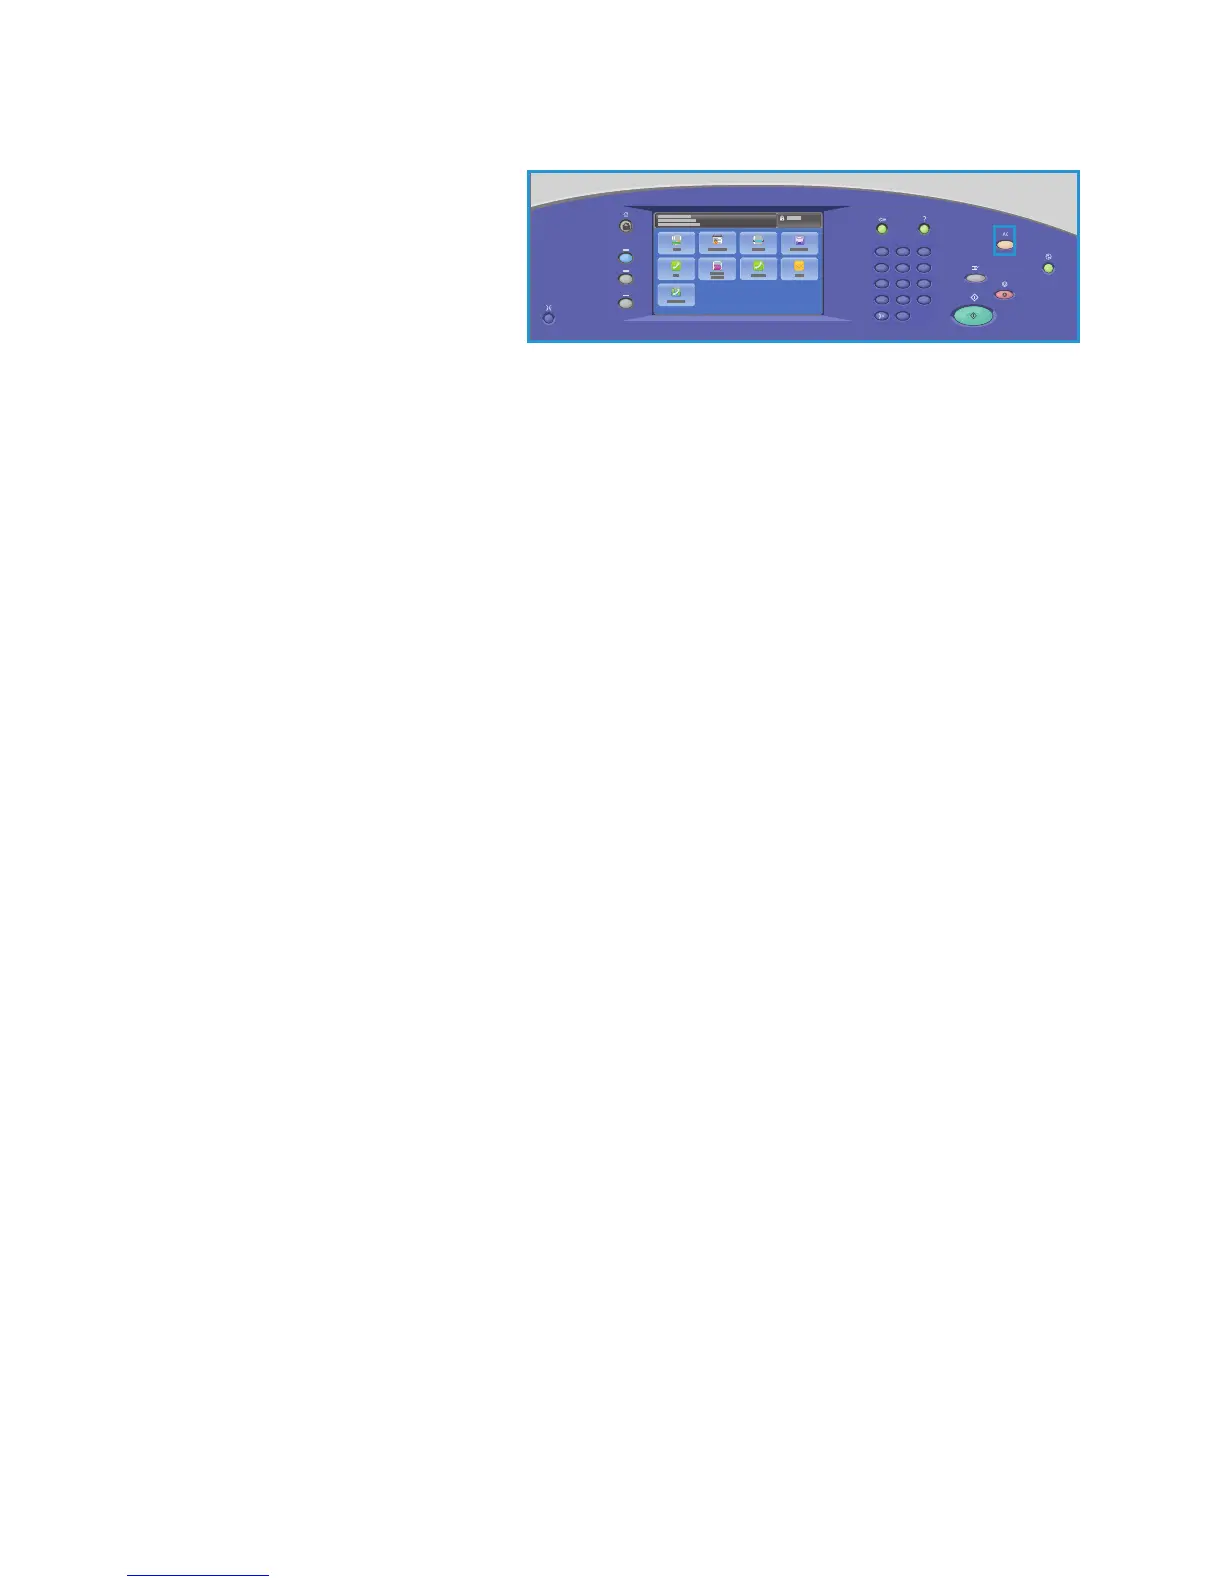
2. Press the Clear All (AC) button
twice and then Confirm to cancel
any previous screen programing
selections.
2
5
8
0
C
ABC
JKL
TUV
3
6
9
#
DEF
MNO
WXY
1
4
7
*
GHI
PRS
3. Press the Services Home button
and touch Workflow Scanning.
The Workflow Scanning features
are dis
played.
4. Select the private folder template from the templates list.
5. Enter the folder password by using the touch screen keyboard.
The template settings are updated to the customized se
ttings defined when the folder is created.
6. Make programing changes to Output C
olor, 2-Sided Scanning, Original Type, and Scan Presets,
as required.
Refer to Workflow Scanning Options on page 102 for more information.
7. Additional Workflow Scanning options are provided on each of the tabs. Refer to the following
s
ections for further information:
• Advanced Settings on page 104
• Layout Adjustment on page 107
• Filing Options on page 109
• Job Assembly on page 111
8. Press St
art to scan the originals and process the Workflow Scanning job.
Remove the originals from the automatic document feeder or glass when scanning is complete.
The Workflow Scanning job enters the job list ready for filing.
9. Press the Job St
atus button to view all the job lists and check the status of the job. Refer to the
Machine and Job Status on page 185 for more information.
The scanned images are filed in the private folde
r and are accessed using CentreWare Internet
Services.
10. To access CentreWare Internet Services, open the
Web browser from the Workstation.
In the URL field, enter http:// followed by the IP A
ddress of the printer. Example: If the IP Address
is 192.168.100.100, enter the following into the URL field: http://192.168.100.100.
Press En
ter to view the Home page.
The CentreWare Internet Services options for the printer are displayed.
Note: To find out the IP address of the printer,
print a Configuration Report. Refer to the Machine
and Job Status on page 185 for instructions.
11. Touch Sc
an and touch Mailboxes. Select the private folder, enter the folder password, and touch
OK.
A list of the folder contents is displayed. If necessary, use Updat
e View to update the list of
contents.
12. Select the file required. The following options are available:
• Do
wnload is used to save a copy of the file to a specified location. If Download is selected,
you need to touch Save and specify the file location.
• Re
print can be used to print the file on the printer. The job is sent to the printer immediately
and printed.
 Loading...


