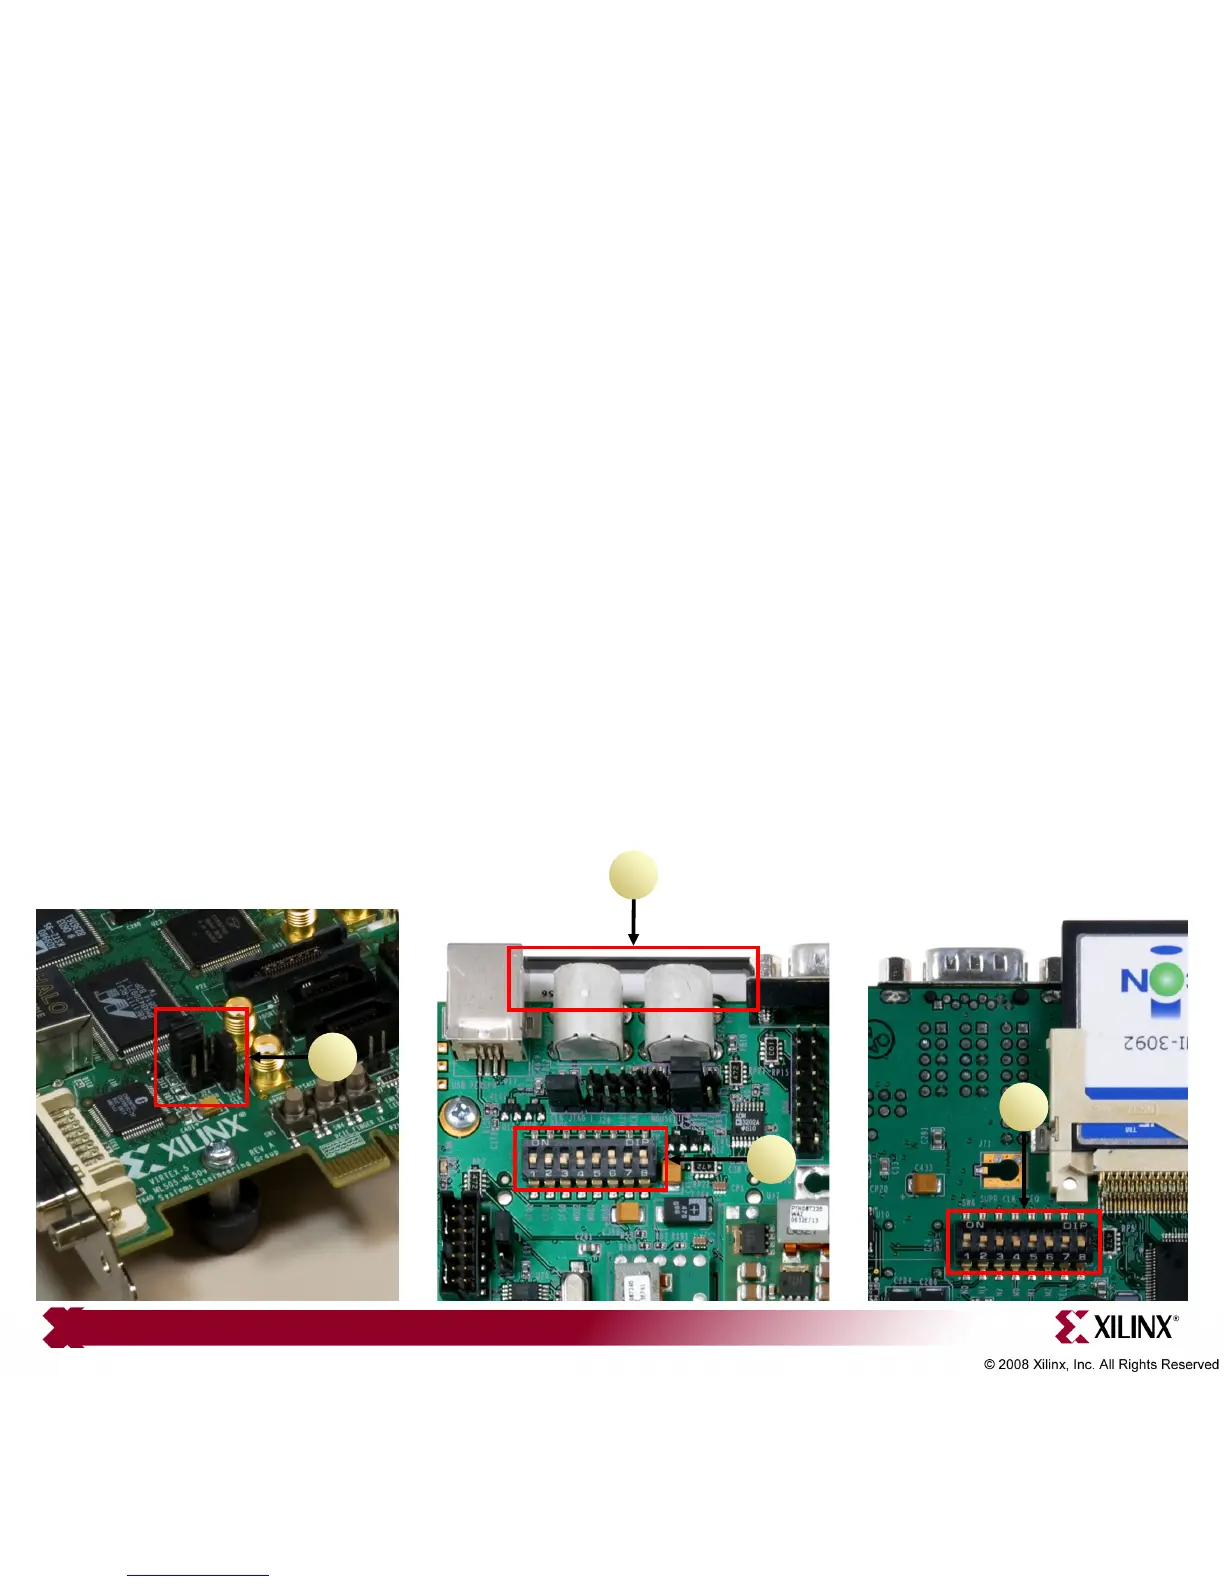
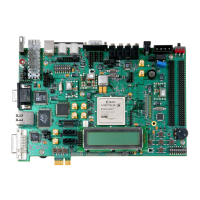
Verify Factory Default Settings
• Set the Ethernet PHY jumpers, J22, J23 to positions 1-2 (1)
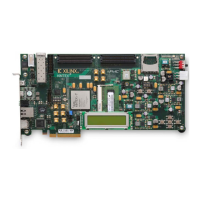
• Insert the Factory CompactFlash into the ML505 board (2)
• Set the Front DIP switches (SW3) to 00010101 (1 = ON) (3)
• Set the Rear DIP switches (SW6) to 11001010 (4)
• Power-up the ML505 board
4
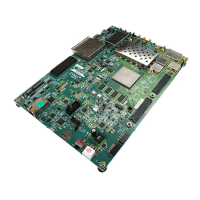
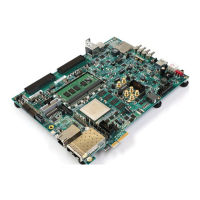
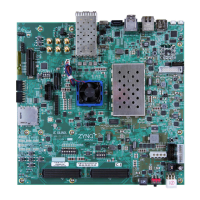
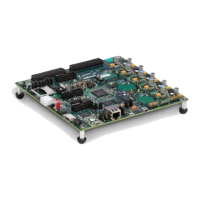
Note: Presentation applies to the ML505 and ML506
2
3
1



 To Next Page