Do you have a question about the xLab MINI WING 105 and is the answer not in the manual?
Scan QR code to verify saddle compatibility or call for recommendations before proceeding with installation.
Position the saddle rail mount on the vertical rail section, avoiding corners for proper fit.
Secure the Xenon cage to the saddle rail mount using specified bolts and washers for standard or extended fit.
Attach the assembled mount to the bicycle's saddle rail, ensuring correct orientation of the bevelled washer.
Torque all bolts to the specified values (1.7 Nm for cage, 4.0 Nm for mount) to ensure security.
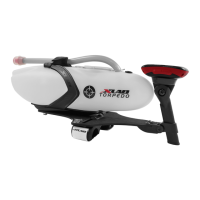
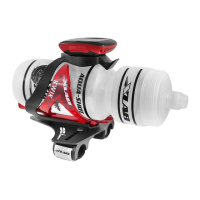
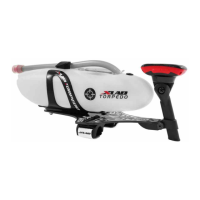
Verify the installed Mini Wing 105 matches Image 1 for a correct and secure final assembly.
Install a mini bag between the arms of the Mini Wing 105, ensuring at least 6.5cm clearance.
Loosen the saddle rail mounts and rotate them away from the seatpost to prepare for bag installation.
Follow the detailed steps (7a-d) to correctly attach the mini bag to the mounted system.
Rotate saddle mounts to touch the mini bag, then torque bolts to specification as per Step 4.
The XLAB Mini Wing 105 is a rear hydration and storage system designed to mount onto the saddle rails of a bicycle. It provides a secure and aerodynamic way to carry water bottles and essential repair items during cycling.
The Mini Wing 105 system primarily functions as a rear hydration carrier, accommodating two water bottles using XENON cages. It attaches directly to the vertical section of the saddle rails, positioning the bottles behind the rider for easy access and minimal aerodynamic drag. The system also offers an optional storage solution for a MINI BAG, which can hold repair items like CO2 cartridges, inflators, and tire levers.
Parts Included:
Tools Required:
Torque Specifications:
Compatibility:
Warranty:
Installation Process:
Optional MINI BAG Installation:
Routine Checks:
Replacement:
Support:
| Brand | xLab |
|---|---|
| Model | MINI WING 105 |
| Category | Bicycle Accessories |
| Language | English |