— 7 —
If you are sure this is the lens you wish to occlude,
press the button again for ten seconds to permanently set
this lens to be the occluded lens. The left lens will now blink
three more times and your choice will become permanent.
If you wish to change your mind, disconnect the USB cable.
6. If you need to occlude the right eye – press the
button shortly. Now, the lens over the right eye should be
blinking. Press the button for ten seconds. The right lens
should now blink faster. If you are sure this is the lens
you need to occlude, confirm your choice by pressing the
button again for ten seconds - the right lens will now blink
three times and your choice will become permanent. If you
wish to change your mind, disconnect the USB cable.
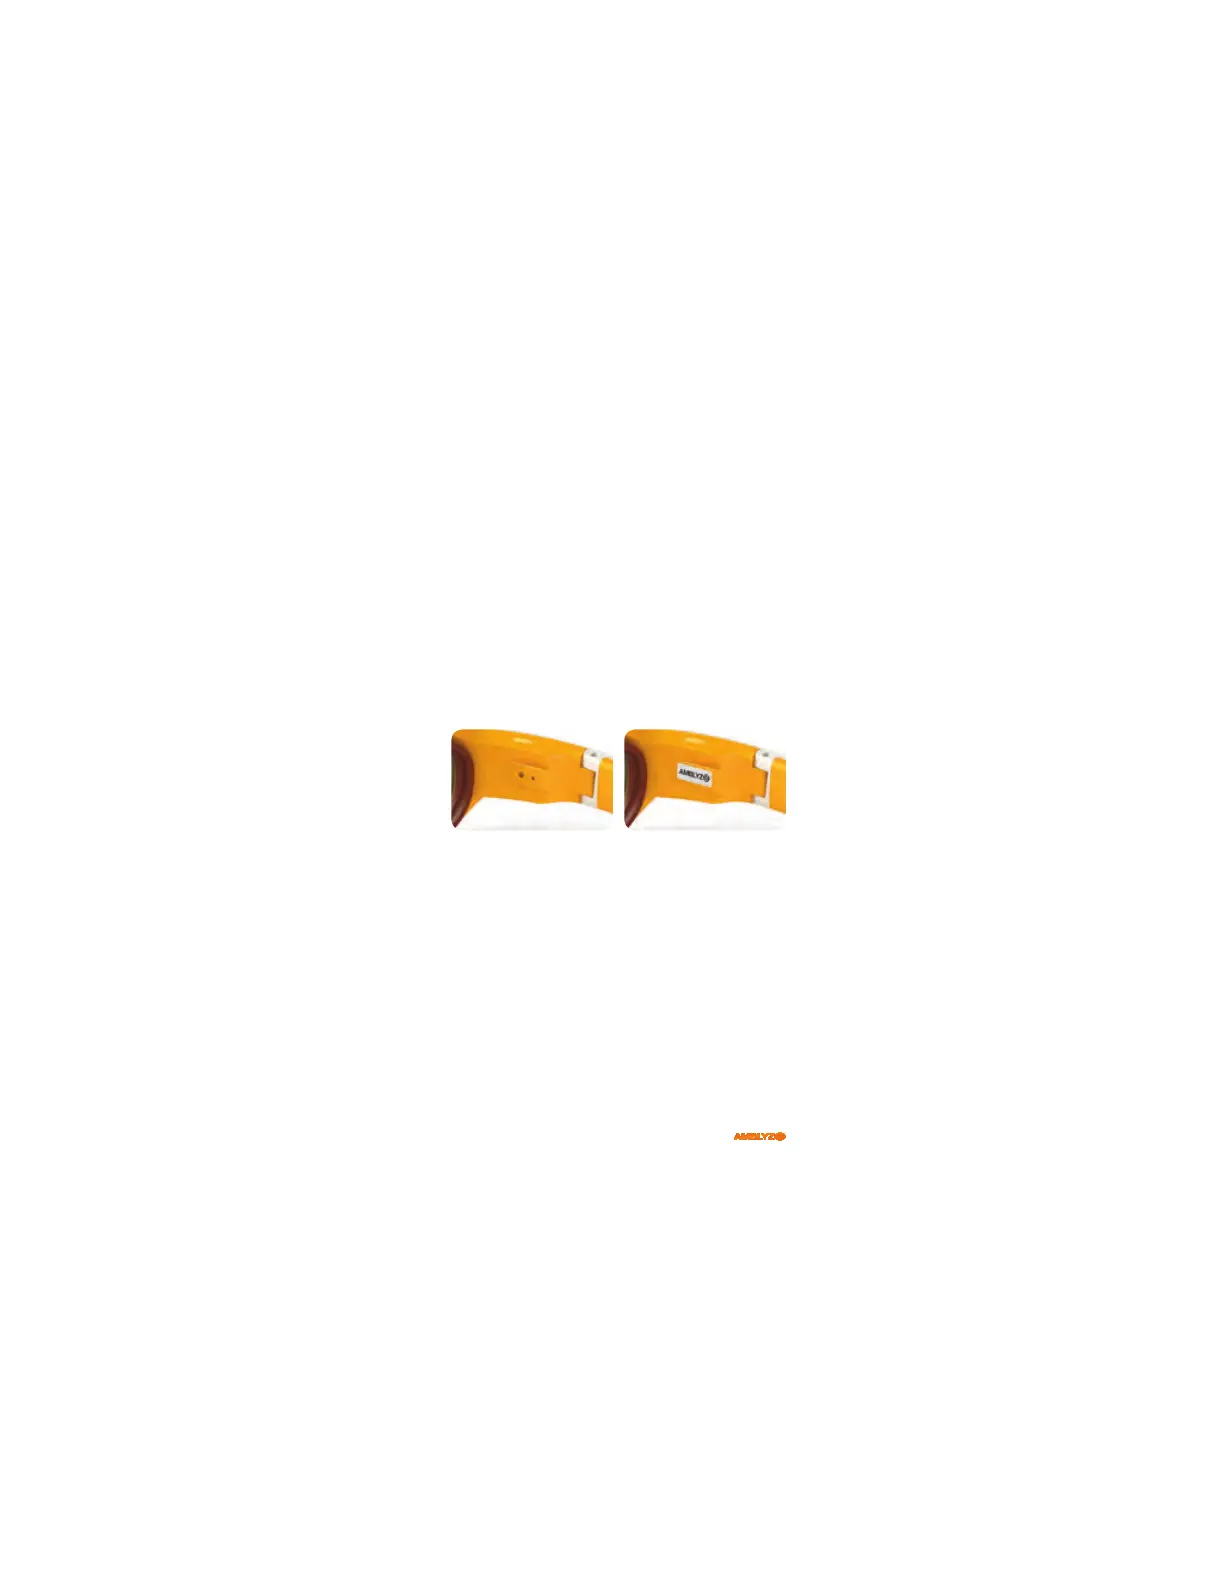
After the eye was set, use the enclosed sticker to protect
the two holes.
Customizing Glasses
Important: When first using the glasses, it is necessary to
customize them to match your child. This is to be done by
trained healthcare providers only!
Nosepiece Sizing
t Try the glasses with the nosepiece and without it.
Choose the option with which the glasses feel more
comfortable. The lenses should have sufficient distance
from the eye to avoid contact with eyelashes.
t When glasses are optimally matched, the center of the
lenses should be in front of the pupil.
 Loading...