-4-
PARTS AND FUNCTIONS
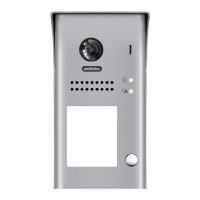
Mounting
1 2 3 4 5
AcDbMLeader (ACDB_MLEADER_CLASS)
AcDbMLeader (ACDB_MLEADER_CLASS)
1 2 3 4 5
AcDbMLeader (ACDB_MLEADER_CLASS)
AcDbMLeader (ACDB_MLEADER_CLASS)
AcDbMLeader (ACDB_MLEADER_CLASS)
1. Connect the cable correctly.
2. Drill holes in the wall to match the size of screw stoppers,then attach the rainy cover and
main unit to the wall.
3. Install the name plate.
4. Attach the front panel to the main unit.
5. Use the special screwdriver and the screws to x the panel.
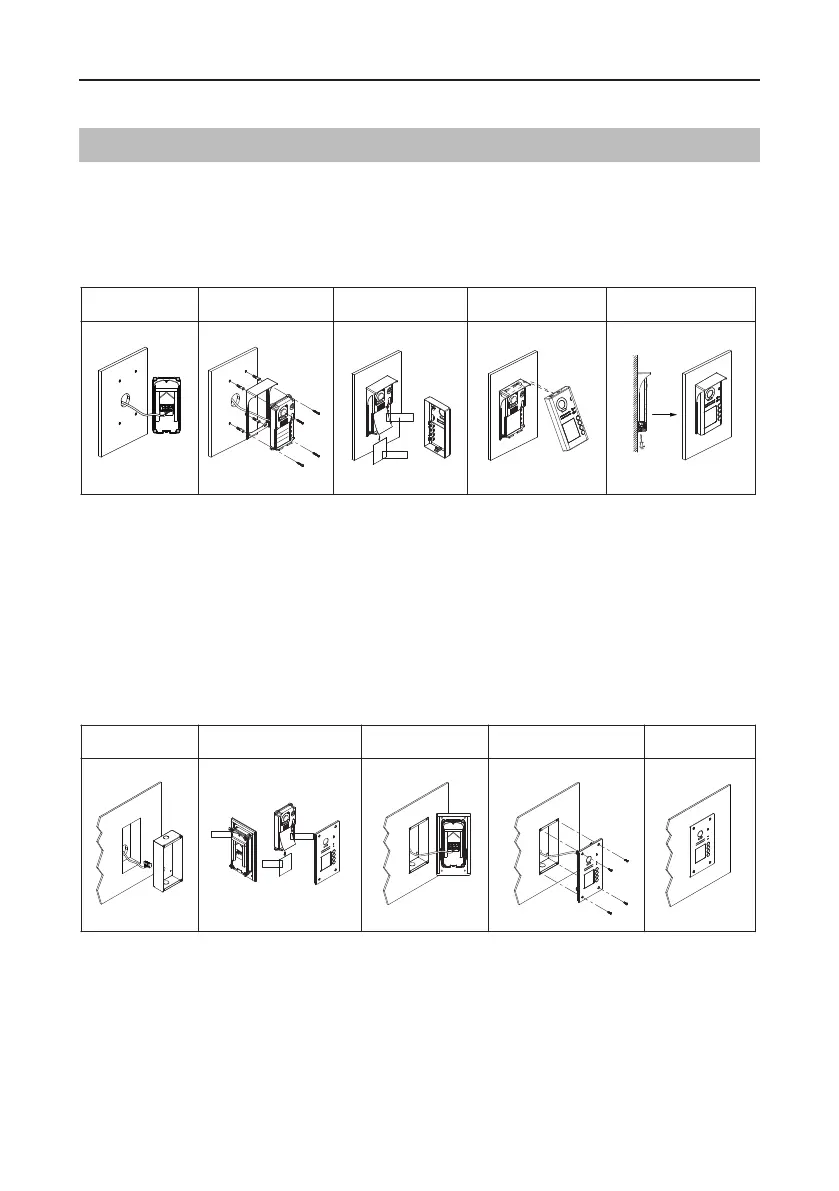
1. Drill a hole in the wall to match the size of mounting box,then attach the mounting box to the
wall.
2. Loosen the high screws to install the name plate.
3. Connect the cable correctly.
4. Attach the front panel to the mounting box,then use the special screwdriver and the screws to
x the panel.
5. Finish the installation.
Surface mounted
Flush mounted
The installation height is suggested to 145~160cm.
* The camera angle view of surface mount model may be less than 170
0
.
 Loading...