4
Focusing on Laser Imaging and Decorating
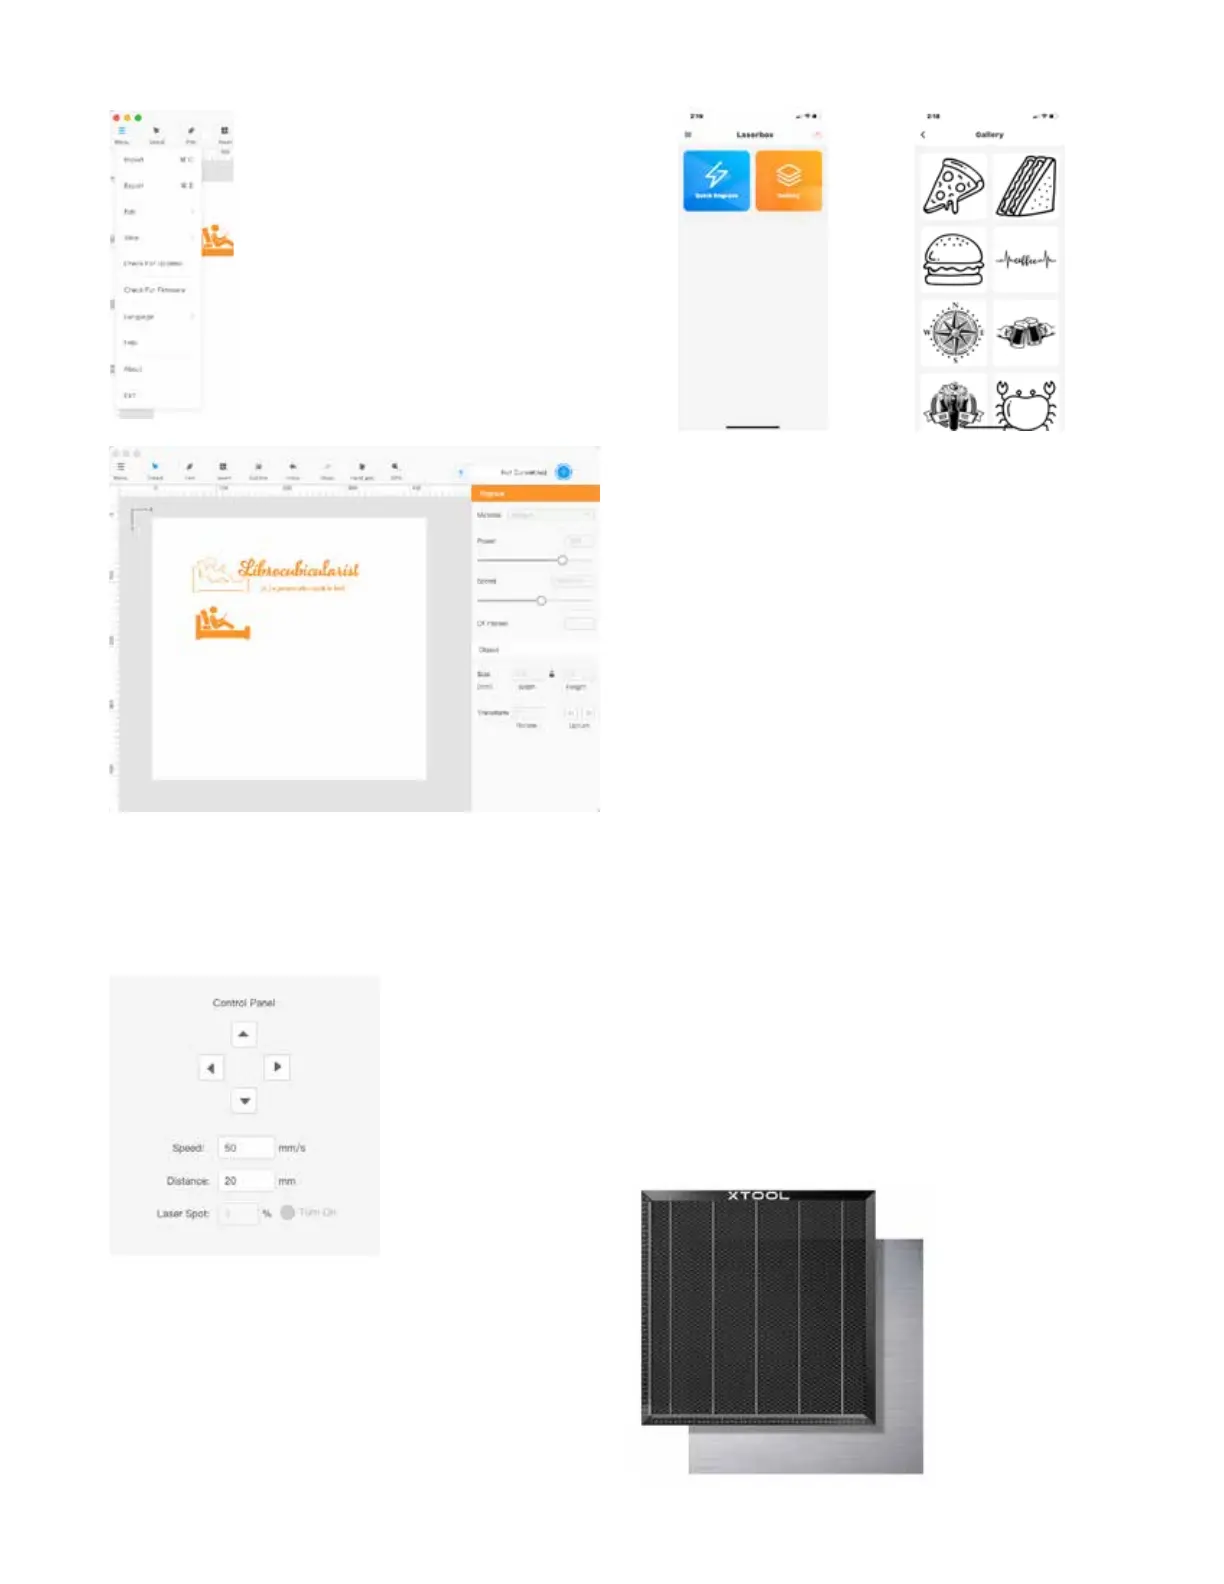
e iPhone/Android app is very simplistic, offering only two op-
tions (FIG. 10). e user can engrave an image that they have
captured on their phone, or engrave one that is among the small
number in the contained gallery (FIG. 11).
Fortunately, xTool D1 is compatible with LightBurn, unlocking
its full capabilities. LightBurn is considered the software stan-
dard for controlling laser engravers and cutters.
FIG. 7. e Laserbox Basic menu provides only
the most rudimentary commands.
FIG. 8. e Outline option creates an outline of a shape to reduce
processing time.
using the Laserbox Control Panel (FIG. 9). e user can set the
speed that the cross-hair will advance, and how much it will
advance with each step, as executed using the compass arrows.
FIG. 9. e user can define
the incremental movement
of the laser head as it
frames its intended image
FIG. 10. e two default
options for the xTool D1 iPhone
app are Quick Engrave and
FIG. 11. e built-in gallery
contains vector images in cat-
egories that include animals,
food, flora, and others.
Laser Positioning. Unlike the Ortur Laser Master 2 Pro, which
uses absolute positioning, the D1 uses relative positioning.
What this means is that the Ortur uses built-in limit switches to
ensure that the laser head always starts from, and returns to, the
0,0 starting coordinates, or Home. In LightBurn, for example,
when the user places their design at a certain set of coordinates,
the Ortur knows how to position itself at precisely that loca-
tion. e D1 uses relative positioning, meaning that the user
positions the laser head using the lighted red cross-hair, and
indicates in the software, where on the design the laser should
begin working.
e always-on red cross-hairs are a significant benefit, since the
user can position a workpiece anywhere in the laser bed, and
manually move the laser head to the desired start position.
Workbed. e proprietary Honeycomb Working Panel set is an
optional accessory made from aluminum and iron (FIG. 12).
It fits on the working space of the D1, protecting the surface
on which the D1 sits, and diverting the exhaustion of smoke
through its channels. e surface is magnetic, making it possi-
ble to secure workpieces in place, either directly, if they are thin,
like paper or cardstock, or indirectly, for thicker workpieces, in
custom user-made magnetic jigs.
FIG. 12. e xTool
Honeycomb Working
Panel consists of two
pieces: the honeycomb
top panel, with im-
printed mm incre-
ments along the left
and bottom sides, and
a rigid aluminum
base. Credit: xTool
 Loading...