Do you have a question about the Yaesu FTM-300DR and is the answer not in the manual?
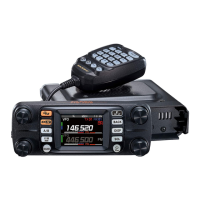
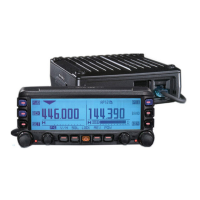
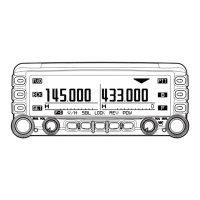
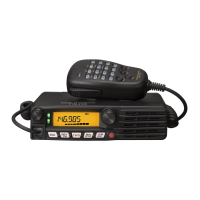
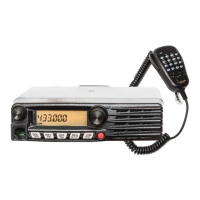
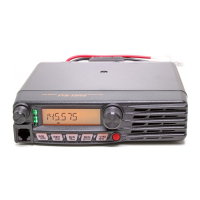
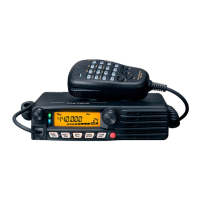
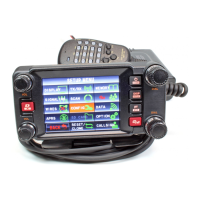
Describes the front panel controls and their functions.
Details the micro-SD card slot, release knob, and EXT GPS jack.
Details control jack, screw hole, and firmware update switch.
Describes the front panel jacks and firmware update switch.
Describes antenna terminal, cooling fan, power, and speaker jacks.
Explains buttons and keys on the microphone.
Details default and configurable functions of programmable keys.
Explains icons and indicators on the status bar.
Explains memory grouping names and VFO/HOME channel displays.
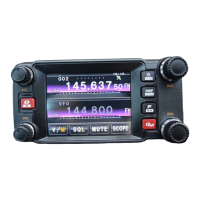
Details the Normal screen (VFO) and Band Scope screen.
Describes accessing frequently used functions via a pop-up menu.
Describes accessing and configuring various functions via the setup menu.
Describes the navigation function for tracking locations.
Details antenna selection and connection for optimal performance.
Illustrates proper connection of antenna coaxial cables and power supply.
Provides steps for mounting the main body and front panel of the transceiver.
Explains how to connect the control panel to the main body using cables.
Allows one-touch access to frequently used functions.
Enables easy recall of memory channels grouped by frequency band.
Automatically monitors multiple memory channels within MAG groups.
Lists supported microSD and microSDHD memory card capacities.
Provides instructions for inserting and removing microSD cards.
Details the procedure for formatting a new microSD memory card.
Steps to power on and off the transceiver, including initial call sign input.
Guide for entering the initial call sign upon first power-up.
Instructions for setting the audio volume level for both A and B bands.
Guidance on adjusting squelch to mute background noise.
Explains how to switch between the A and B operating bands.
How to select desired frequency bands like AIR, VHF, UHF using the BAND key.
Methods for tuning to specific frequencies using the DIAL knob or input screen.
How to change the DIAL knob rotation frequency step setting.
Explains selecting communication modes like V/D, VW, FM, AM.
Details how AMS automatically selects the communication mode.
How to fix the transmit mode regardless of the received signal.
Allows one-touch access to frequently used functions.
How to manually select and fix the transmit operation mode.
Steps for transmitting signals and understanding TX/BUSY indicators.
How to adjust the transmit power output level.
Procedure to lock/unlock keys and the DIAL knob using the Power switch.
Explains DG-ID for group communication and monitoring.
Instructions for using DG-ID for group communication.
How to set DG-ID to "00" for communication with all stations.
How to set DG-ID to a specific number for group-only communication.
Explains using the ARS function for repeater operation.
Temporarily reverses transmit/receive frequencies to check direct communication.
Details using the 1750 Hz burst tone for repeater access.
Step-by-step guide to saving frequencies and settings into memory channels.
Methods to recall stored memory channels.
How to recall memory channels by entering their number.
Recalling memory channels using the microphone's numeric keypad.
How to display the list of all stored memory channels.
Uses MAG to recall memory channels grouped by frequency band.
How to create custom memory groups using M-GRP.
Allows monitoring multiple memory channels in MAG groups.
How to assign or edit memory name tags for channels.
Details character input for memory tags.
Procedure to erase specific memory channels.
How to recall the home channel frequency using the P2 key.
Procedure to set or change the stored home channel frequency.
Registering different frequencies for receive and transmit to a memory channel.
How to scan frequencies in VFO or memory mode.
Scans frequencies within specified limits in PMS channels.
Configures how scanning behaves when a signal is detected.
Allows setting memory channels to be skipped during scanning.
Introduces the built-in Bluetooth functionality for hands-free operation.
Steps to pair the transceiver with a Bluetooth headset for the first time.
Completes the Bluetooth headset pairing process.
How to cancel the Bluetooth operation.
Using Bluetooth headset for hands-free transmission via voice activation.
Configuring VOX gain levels (LOW/HIGH) for hands-free transmission.
Adjusts the delay time before returning to receive after speech stops.
Extends headset battery life by enabling a power-saving feature.
Steps to connect to different Bluetooth headsets.
Details searching and connecting to other Bluetooth devices.
How to delete paired Bluetooth devices from the list.
Visualizes signal strength across a range of frequencies.
How to change the center frequency/channel in Band Scope.
Procedure to return from the Band Scope screen.
Adjusts the display width (WIDE/NARROW) for Band Scope.
Instructions for recording received audio onto the microSD card.
How to stop the voice recording function.
Configures which bands to record and if transmit audio is included.
Steps to play back recorded audio files from the microSD card.
Procedure to delete recorded audio files.
Using the camera microphone to capture images and save them.
How to view captured images stored on the microSD card.
Procedure to delete captured image files.
Guide to navigating and configuring settings in the Setup Menu.
A detailed reference for all setup menu items, options, and default settings.
Further details on setup menu items, descriptions, and options.
Additional setup menu items, descriptions, and options.
More setup menu items, descriptions, and options.
Final setup menu items, descriptions, and options.
Details on SD CARD, OPTION, and RESET sections of setup menu.
Specifics on CLONE and CALLSIGN settings within the setup menu.
Restores all transceiver settings and memory content to factory defaults.
Procedure to erase all registered memory channels.
Restores all APRS settings to factory defaults.
Lists general specifications like frequency range, channel steps, supply voltage.
Details transmitter specifications including power output and modulation type.
Lists receiver specifications like circuit type, sensitivity, and selectivity.
Details Bluetooth version, class, and output power.
| Output Power | 50W (VHF), 50W (UHF) |
|---|---|
| GPS | Yes |
| Bluetooth | Yes |
| Speaker Output | 3W |
| Voltage Range | 13.8 VDC ±15% |
| Frequency Range | 144-148 MHz, 430-450 MHz |
| Modulation Types | FM |
| Weight | 1.2 kg |
| Display Type | TFT Color |
| Digital Voice/Modes | C4FM |
| RF Power Output | 50W |
| Channels/Memory Channels | 1000 |