EasyManua.ls Logo

Yakima HandCuff User Manual

Yakima HandCuff
3 pages
To Next Page IconTo Next Page
Page #1 background imageLoading...
Page #1 background image
HandCuff
A
B
C
Instruction #1034767C - Page 1 of 3
Control Key
Clé de Contrôle
Llave de Control
Lock Core
Serrure
Cerradura
Key
Clé
Llave
End Cap
Capuchon
Capuchón
Cable Insert
Câble et accessoires
Cable con cerradura
Post
Broche
Clavija
Clip
Anneau
élastique
Clip
Wrench
Clé hexagonale
Llave hexagonal
Question and Answer IconNeed help?

Do you have a question about the Yakima HandCuff and is the answer not in the manual?

Yakima HandCuff Specifications

General IconGeneral
CategoryAutomobile Accessories
CompatibilityYakima bike carriers
Locking MechanismKeyed
Weight CapacityNot Applicable
Included Components2 keys

Summary

HandCuff Installation and Operation

Step 1: Lock Core and Cable Assembly

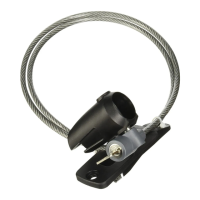
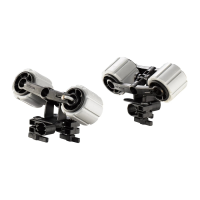
Assemble the lock core and cable insert using the control key.

Step 2: Component Attachment

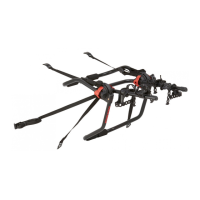
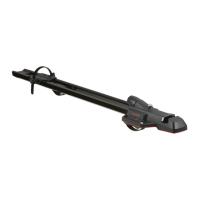
Connect the main assembly parts labeled A and B.

Step 3: Cable and Lock Insertion

Insert the cable with the lock core into the main unit.

Step 4: Cable Securing

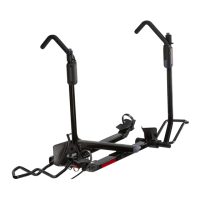
Secure the cable to the mounting point.

Step 5: Securing the Lock Mechanism

Ensure the lock mechanism is properly secured.

Step 6: Bike Mounting

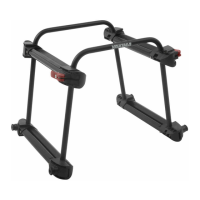
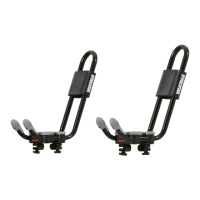
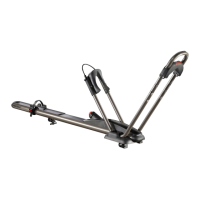
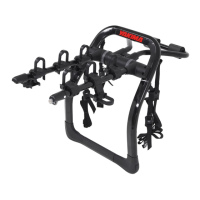
Attach bicycles to the rack using the HandCuff.

Step 7: Cable Routing and Locking

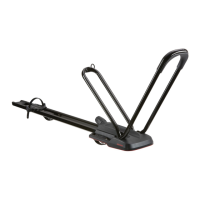
Route the cable and prepare it for locking.

Step 8: Final Locking Procedure

Use the key to lock the HandCuff mechanism securely.

Product Support and Maintenance

Technical Assistance and Parts

Contact dealer or call for technical support and replacement parts.

Maintenance Instructions

Use non-water soluble lubricant for metal parts and mild detergent for rubber.

Warranty Information

Details on the YAKIMA Limited Lifetime Warranty and how to obtain a copy.

Related product manuals